Wedding day comes and goes in a flash, and with many things that happen on the day, sometimes it can be a big blur. It happens so quickly that there might be moments that slip out of your mind or things that you miss.
And this is when your wedding photos come to the rescue.
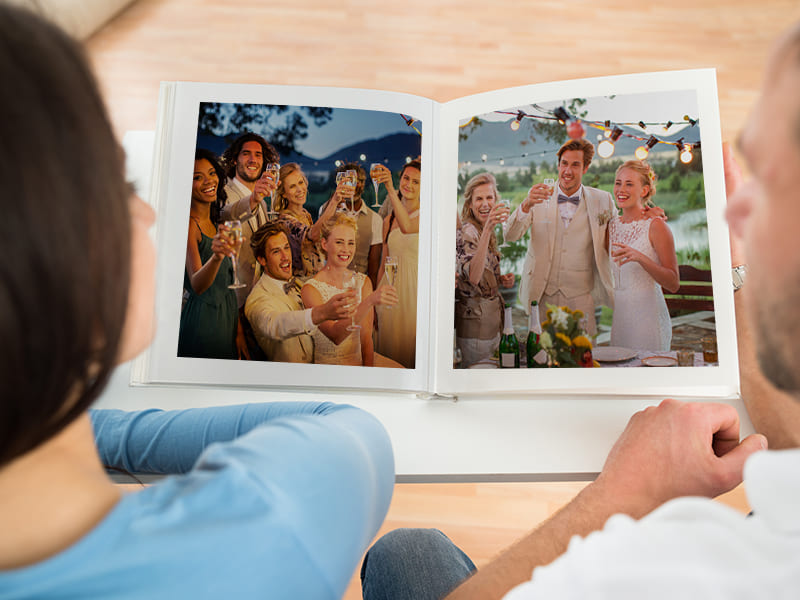
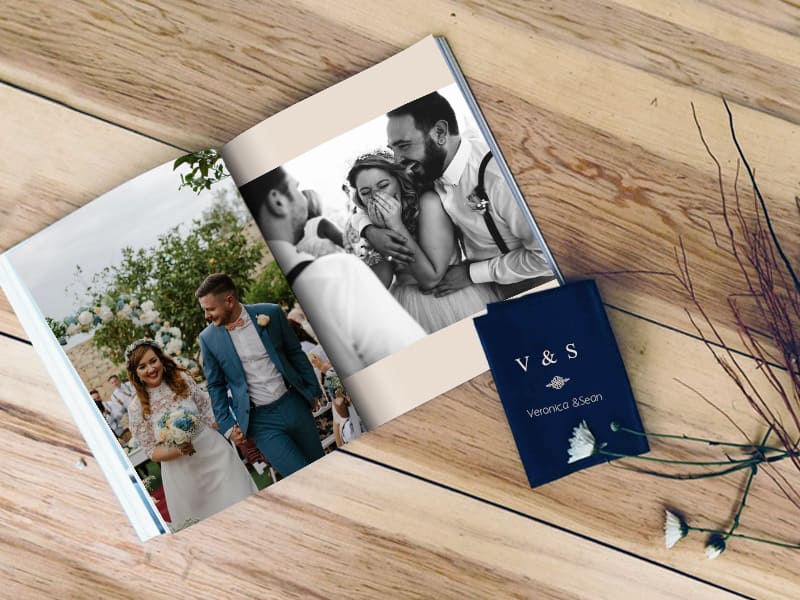
Not only these photos will remind you of the day, but it could also help you re-live the day in the years to come. And what’s a better way to keep the memories of the day alive, than creating a wedding album that tells the story of the day?
You might be surprised to find that your own wedding album design tips are very simple and easy when you’ve got the right tools.
Just like the wedding, you’d want your wedding album to be special and personalized, something that presents not only the wedding day but also the story of you and your partner.
There’s nobody better to design a wedding album than the couple themselves, who knows their wedding and what they exactly want in their wedding album, and how they want to deliver the story of their wedding day. They are the ones who can transform their wedding album design ideas into reality.
As an added bonus, the whole process of how to design a wedding album will be a precious moment where you and your partner will first re-live the wedding.
And remember, the wedding album design doesn’t have to be overly complicated.
Table of Contents
- How to organize a wedding album?
- 1. Marriage Album Size
- 2. Choose the paper
- 3. Select the cover design
- 4. Choose the theme
- 5. Sort your photos chronologically, and pick only your absolute favorites
- 6. Include all the details and little things, but don’t go overboard
- 7. Choose the layout
- 8. How to narrow down photos for the wedding album?
- 9. Make sure the transitions between the segments are smooth
- 10. It’s all about compromise
- 11. Check to see if the story is flowing
- 12. Text for the wedding album photo
- One last tip…
- Here are 10 of our popular premium wedding album themes
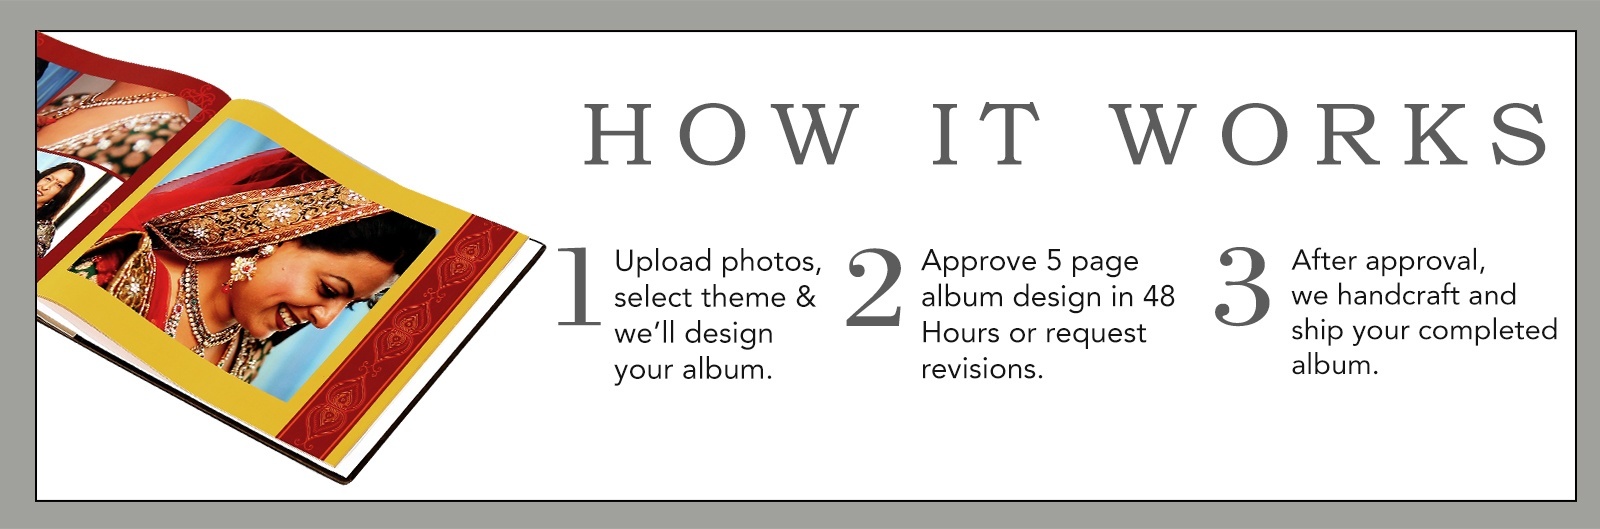
How to organize a wedding album?
How to create your wedding album? If you don’t have any idea where to start or how to design your wedding album, here’s a guide to help you.
Fear no more, we’ve got a guide to help you. From sizing and paper to designs and themes, let us walk you through the entire process!
1. Marriage Album Size
There are various wedding album sizes, but people mostly use 8×8, 10×10, 12×12, or 11×14 albums (all sizes are in inches). It’s entirely up to you to choose the size that fits you. The standard wedding photo album sizes usually have 20 pages, but you can always have more pages with an additional cost.
2. Choose the paper
There are a few options for the paper to use for your wedding album design, some of the most commonly used are:
Glossy paper – as the name suggests, glossy paper is shiny and can help bring out vibrant colors. However, it gets dirty easily with fingerprints.
- Matte paper – Matte paper gives a more muted look, and many photographers like to use this for their prints. It doesn’t give you as much vibrance as glossy paper does, but it’s also more resistant to fingerprint.
- Lustre paper – The appearance and gloss are somewhere in between matte and glossy papers.
Depending on your marriage album design ideas and style, choose the paper that could enhance the look of your wedding photos.
READ: Which Theme Fits Your Personalities? Here you will get ideas on Wedding Invitation Ideas.
3. Select the cover design
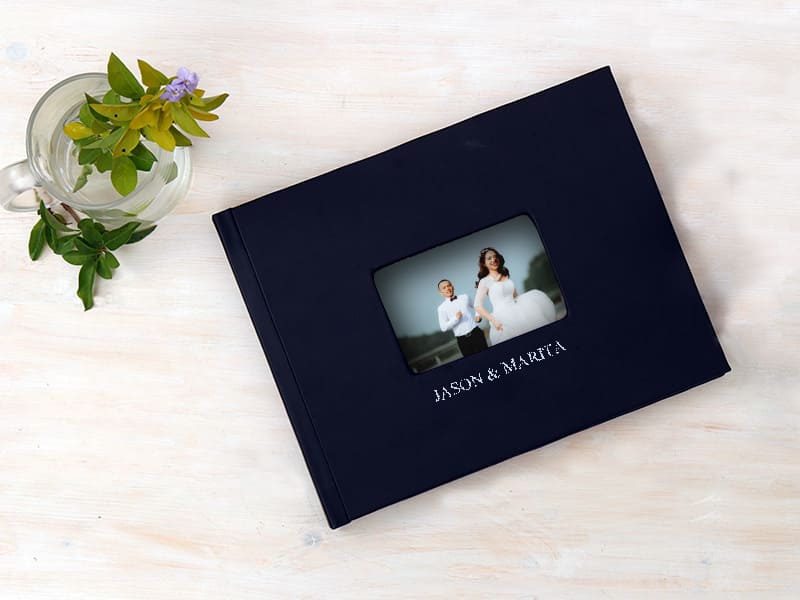
There are so many ways to go with wedding album cover design, and many printing services offer various options for the style, material, and writing. Leather (real or faux), silk, linen, canvas, and suede are some of the materials you can use for the cover.
Different materials come with different motifs, so take your time and choose the one that you like best and can give you the look you’re going for with the marriage album. If you’re struggling to find inspiration, here are some wedding album design ideas to help you.
You can easily customize the cover with a photo and writing. Some people choose to put a photo on the cover, while others prefer to go without it. If you opt for a photo on the cover, decide how big you want it to be (full page, half, or maybe just a small photo in the middle?).
For the writing, the couple’s names and the wedding date are the standard practice, although you can always modify it if you’d like. You can customize the writing by choosing the font, embossing, or foiling (if available).
4. Choose the theme
The theme you choose will set the tone for the entire album. When choosing a theme, be sure to choose neutral colors so it doesn’t clash with your photos. Elegant cream, ivory, or black are usually the favorite colors for wedding albums.
If you can find a pre-made theme that goes together with your stationery design, that’s a bonus. It’s always nice to have your wedding paraphernalia complement each other. Photojaanic has assorted selections of styles and themes for wedding albums that could help you with the design.
If you’re skilled at graphic design and want to go the extra mile, you can design your own theme (this will be a lot of work, though). You can match it with your wedding stationery so they have the same theme, or you can put your personal touch to make it all the more unique and special.
5. Sort your photos chronologically, and pick only your absolute favorites
For some people, this could well be one of the hardest parts of wedding album design. How do you sort 500+ photos and narrow it down to under a hundred for your wedding album? Especially if all the photos are stunning.
To help you sort the photos, divide the day into a few segments, and go through each segment carefully. For example, you can divide it into:
- Preparation
- Ceremony
- Reception.
With the digital files, you can make a folder for each segment and organize your image using these folders. You can have fewer or more segments, this is just a guideline. Some people put an after-party segment after the reception, it’s completely up to you.
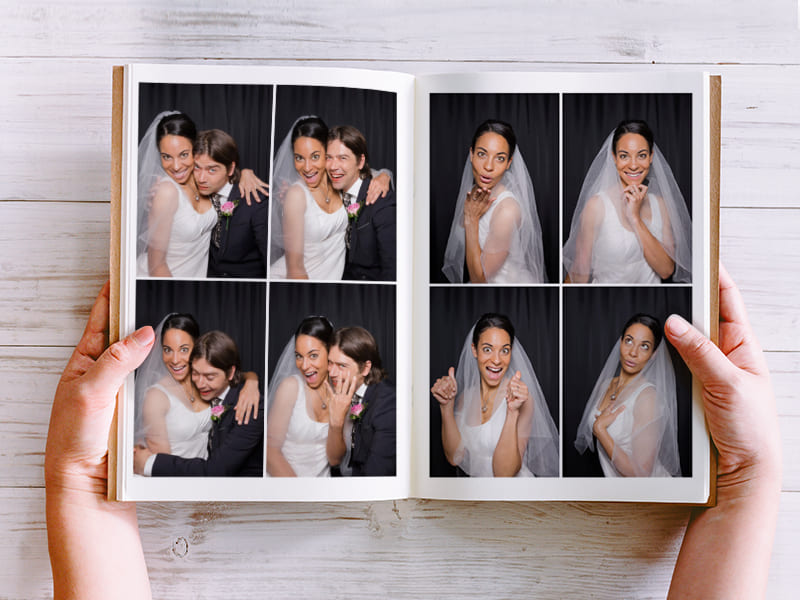
Once you’ve done this, pick the photos from each segment that show the key moments and tells a story. Remember to pick only the photos that are your absolute favorites. Make it a priority to choose photos that could transport you back to the day and remind you of the feelings (usually candid shots are the best for this).
Tip: Limit the group shots and focus more on the photos that show expressions or the interactions between people (it could be the couple, family, or closest ones).
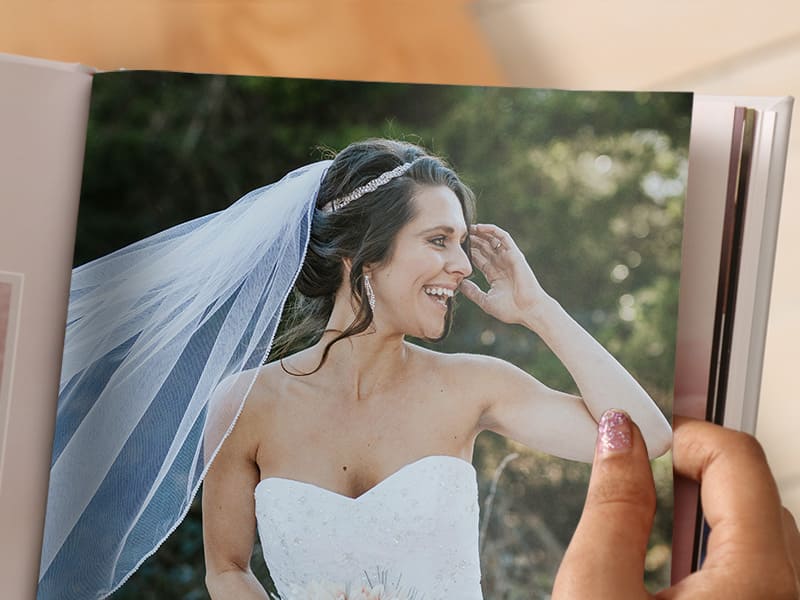
6. Include all the details and little things, but don’t go overboard
Images that show the key moments are important but don’t forget the details and little things that could help create the mood and give a clearer picture of the wedding. And surely you also want to remember the details that you’ve planned thoughtfully, like the decorations, the bouquet, wedding favors, food, or accessories?
Choose photos that show the details and the whole atmosphere of your DIY wedding photo album, but remember not to go overboard. The focus of the story should be on the couple and their interactions with friends and family. Photos of decorations or wedding trinkets are lovely and useful, but they shouldn’t steal the spotlight from the main story.
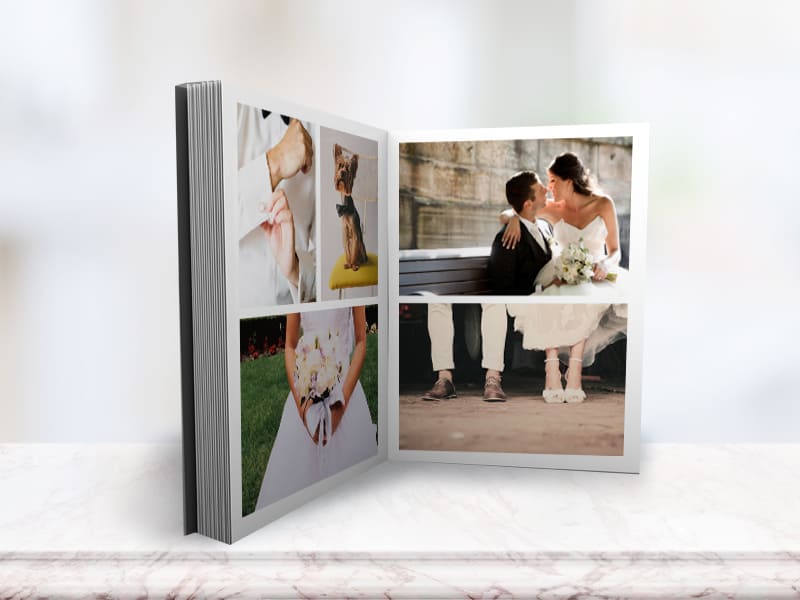
7. Choose the layout
Choosing the layout actually goes hand-in-hand with arranging the photos, but here’s some overview of the things that could help you.
The layout doesn’t have to be the same for each page or spread (2 pages). Be creative to make a new wedding album design background and mix it up according to your needs. You can put a photo on a full page, or even on a full spread, crossing the gutter. On another spread, you can have several photos. It doesn’t have to be symmetrical.
You can also use negative space by leaving blank space on the page/spread. You don’t have to fill in every available space with photos. Negative space, as a matter of fact, can help the viewers focus more on the images.
Tip: Keep in mind that when filling in a page or spread with several photos, you don’t want to make it look like visual clutter. Putting as many photos in the album as possible is tempting, but avoid cramming the pages. Check out the keys to modern wedding albums.
8. How to narrow down photos for the wedding album?
The important thing to remember when putting the photos into the album is that you’re trying to tell the story with only the images you’ve selected, so make sure your selection and arrangement together can create a comprehensive, fluid story without any gap.
Just like when you sort the photos, arrange them chronologically. Include the key moments of the day, and also the details shots that help set the scene. If you have a series of photos that form a sequence, it would be best to keep it on a page or a spread. Don’t break it down otherwise it will hurt the flow.
Remember, although the story is mainly about the couple, your loved ones are involved in the wedding too, and they’re also parts of the story. The part where the bridesmaids help you getting ready, or the expressions of your friends as they watch you walk down the aisle, these all could be the ‘subplots’ that could add emotions and enhance the whole story.
9. Make sure the transitions between the segments are smooth
Dividing your day into segments is only useful to help you sort and arrange the photos, but in the end, the story is about the whole day. Make a smooth transition between segments to make the story flow without feeling disjointed.
You can choose photos that show you move from the ceremony location to the reception, for example, as the transition photos between those two segments.
It’s also a good idea to have a shot of the place at the start of the segment to set the scene.
10. It’s all about compromise
You and your partner may not always see eye-to-eye when it comes to designs or layout. However, much like your relationship, it’s all about compromise and finding something that works for both of you.
Take a look at patterns and themes together, find colors that appeal to both of you and do not settle for something that only one of you likes.
If you choose the colors, perhaps your significant other can choose the colors. There’s always a way to make it work!
11. Check to see if the story is flowing

Once you’re done, go through each page carefully, from the first page of the wedding album to the very last, and feel if the arrangement of the photos tells a continuous story of the day. Make sure all the transitions are done smoothly and there’s no gap in the story.
And there you have it!
A great way to smoothen your transitions is to add captions in between your segments. Having a simple line or two between your segments can be a unique and charming way to ensure that your story flows seamlessly.
12. Text for the wedding album photo
You could also include a title page where you name your story. For example, “Our Journey to Mr. & Mrs.” or “How Two Became One” can be great titles to your sweet story of romance.
The segments can also have preceding pages where you have a short title or a chapter.
For example, Chapter 1: The Blushing Bride Gets Ready, Chapter 2: The Groom Gets Set to Impress, and so on.
Get creative with your title and your chapters for a wedding that feels straight out of a fairy tale!
And there you have it, the perfect representation of your wedding in an album!
One last tip…
When designing your wedding album, you might feel overwhelmed with the abundance of options, from the materials, cover, layout, and many more. When you’re not sure what to choose, go for a classy and timeless look. You’re going to keep a wedding album in the years to come, so don’t pick something that will be outdated in a few years.
Your wedding album should be as unique as your wedding. With Kodak Collections Spring 2015 themes, you can find a theme to match your wedding theme. Choose from over 60 different wedding themes.
Here are some types of wine labels you can create for different occasions:
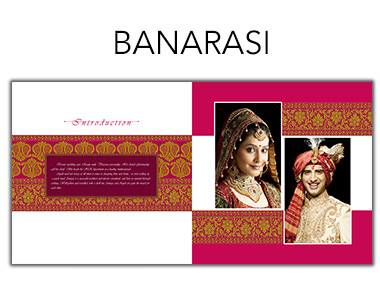 |
Banrasi-The rich Banarasi saris are finely woven with gleaming gold and silver zariwork. Flaunt the opulence of your special day with this design. |
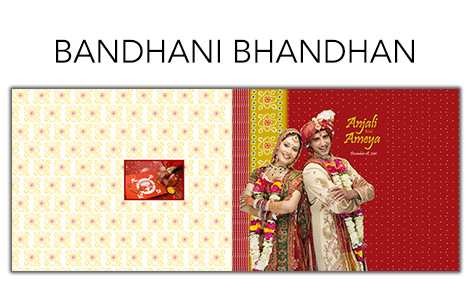 |
Bandhani Bandhan-Straight from the workshops of traditional Gujarati craftsmen, this tie-and-dye design uses bright colors and unique patterns. Wedding photographs reflect well against this distinctively festive background. |
 |
Darbari-A miniature painting using rich colours and lavish motifs, it is reminiscent of Indian royal courts. This design is opulent and timeless, perfect to showcase memories of a lifetime. |
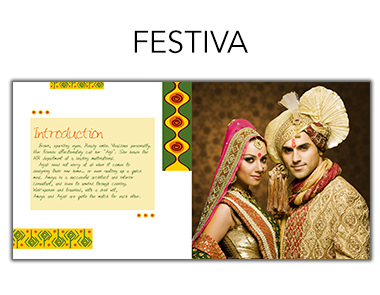 |
Festiva-This design is inspired by rangolis, traditional Indian artwork that uses dry, colored powder. Relive the celebrations when you view your pictures interspersed with traditional Indian motifs in festive hues. |
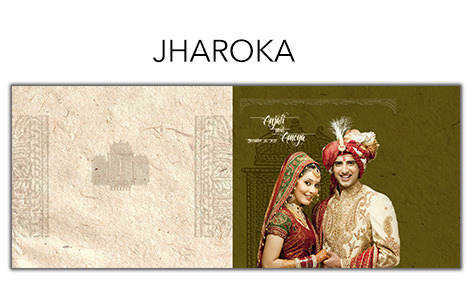 |
Jharoka-This design is reminiscent of a bygone era, in which royal women gazed at the goings-on through latticework windows. Hidden behind their purdah, they passed their time seeing everyone, seen by none. Use this design to bring alive the mystery and intimacy of that age in your wedding photobook. |
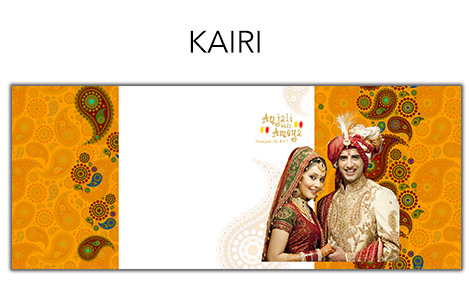 |
Kairi-This paisley, with its signature intricate curve and drooping bud, is synonymous with traditional Indian design. It resembles a mango, the king of fruits commercial bouncers wholesale, and will add signature Indian splendor to your wedding photobook. |
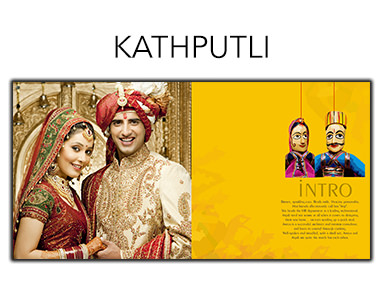 |
Kathputli-From the makeshift stages of Rajasthan, these string puppets will silently narrate tales of romance and bravery, chivalry, and victory through the pages of your wedding photobook. |
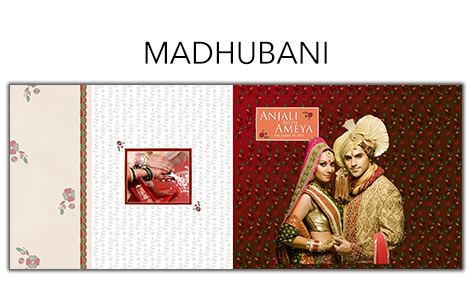 |
Madhubani-Nature themed motifs of flowers,animals,birds & even geometric designs in eye-catching colours. Display your sweetest memories against the backdrop of this design. |
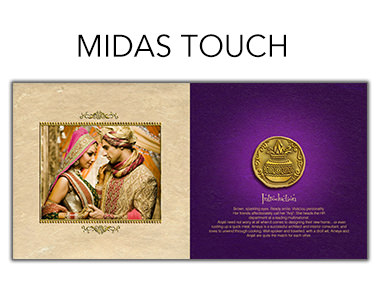 |
Midas Touch-These royal seals on gold coins remind you to seal your love with a kiss. Midas Touch will help make your photobooks beautiful souvenirs with great sentimental value. |
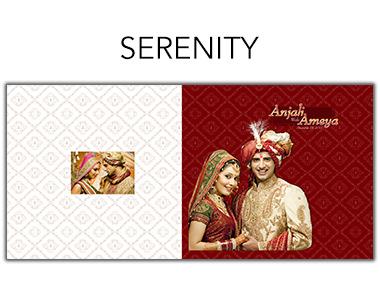 |
Serenity-Elegance is manifested through classic frames, royal tones and intricate motifs in this theme. It is an appropriate display for a sophisticated, high-profile wedding. |
Explore the entire range of themes on https://www.photojaanic.com/kodak-collections.


Be the first one to comment