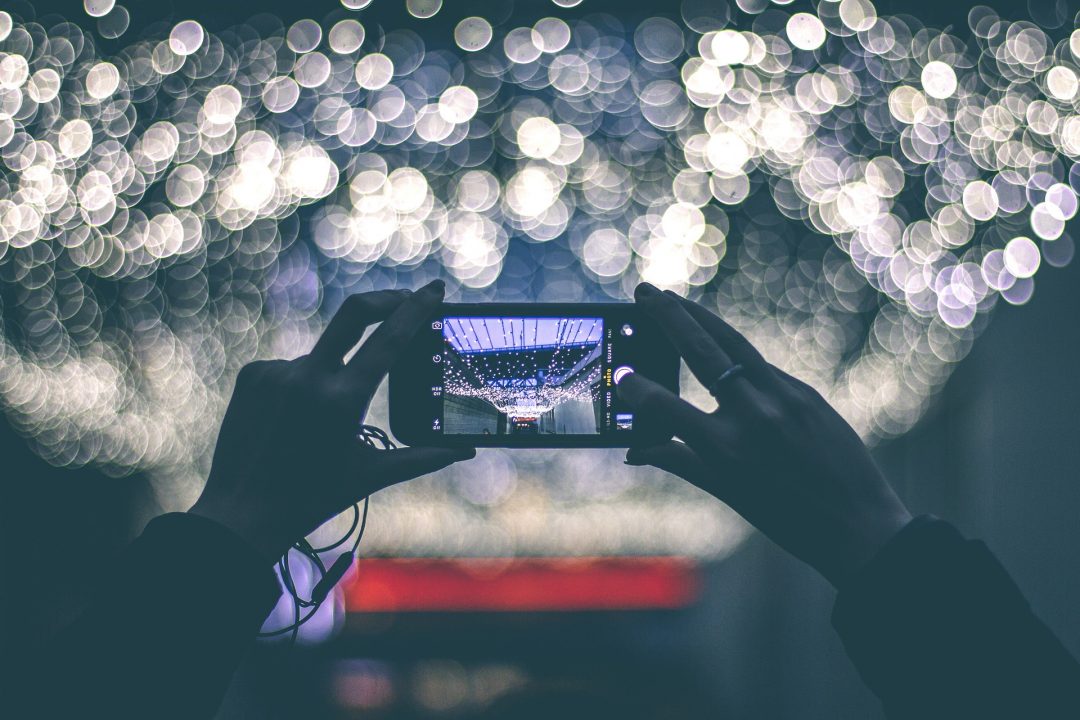
These days, taking pictures has never been easier. With smartphones camera getting more advanced, there’s no more reason to not take good photos. But how do you up your smartphone photography game to create not just good photos, but photos that are gorgeous, unique and remarkable?
Here are a few tips that can help you improve your smartphone photography, and also a few examples of photographers who create incredibly stunning images with their smartphones.
Table of Contents
- 1. Know your camera
- 2. Set the focus
- 3. Avoid using the zoom
- 4. Make the most of the natural light
- 5. Use composition guidelines to create eye-catching photos
- 6. Find unique angles and perspectives
- 7. Be creative with your surroundings
- 8. Use editing to put your signature style
- 9. Find something to rest your camera on for a steady shot
- 10. Clean the lens
- Print your pictures, learn from them and be creative with them
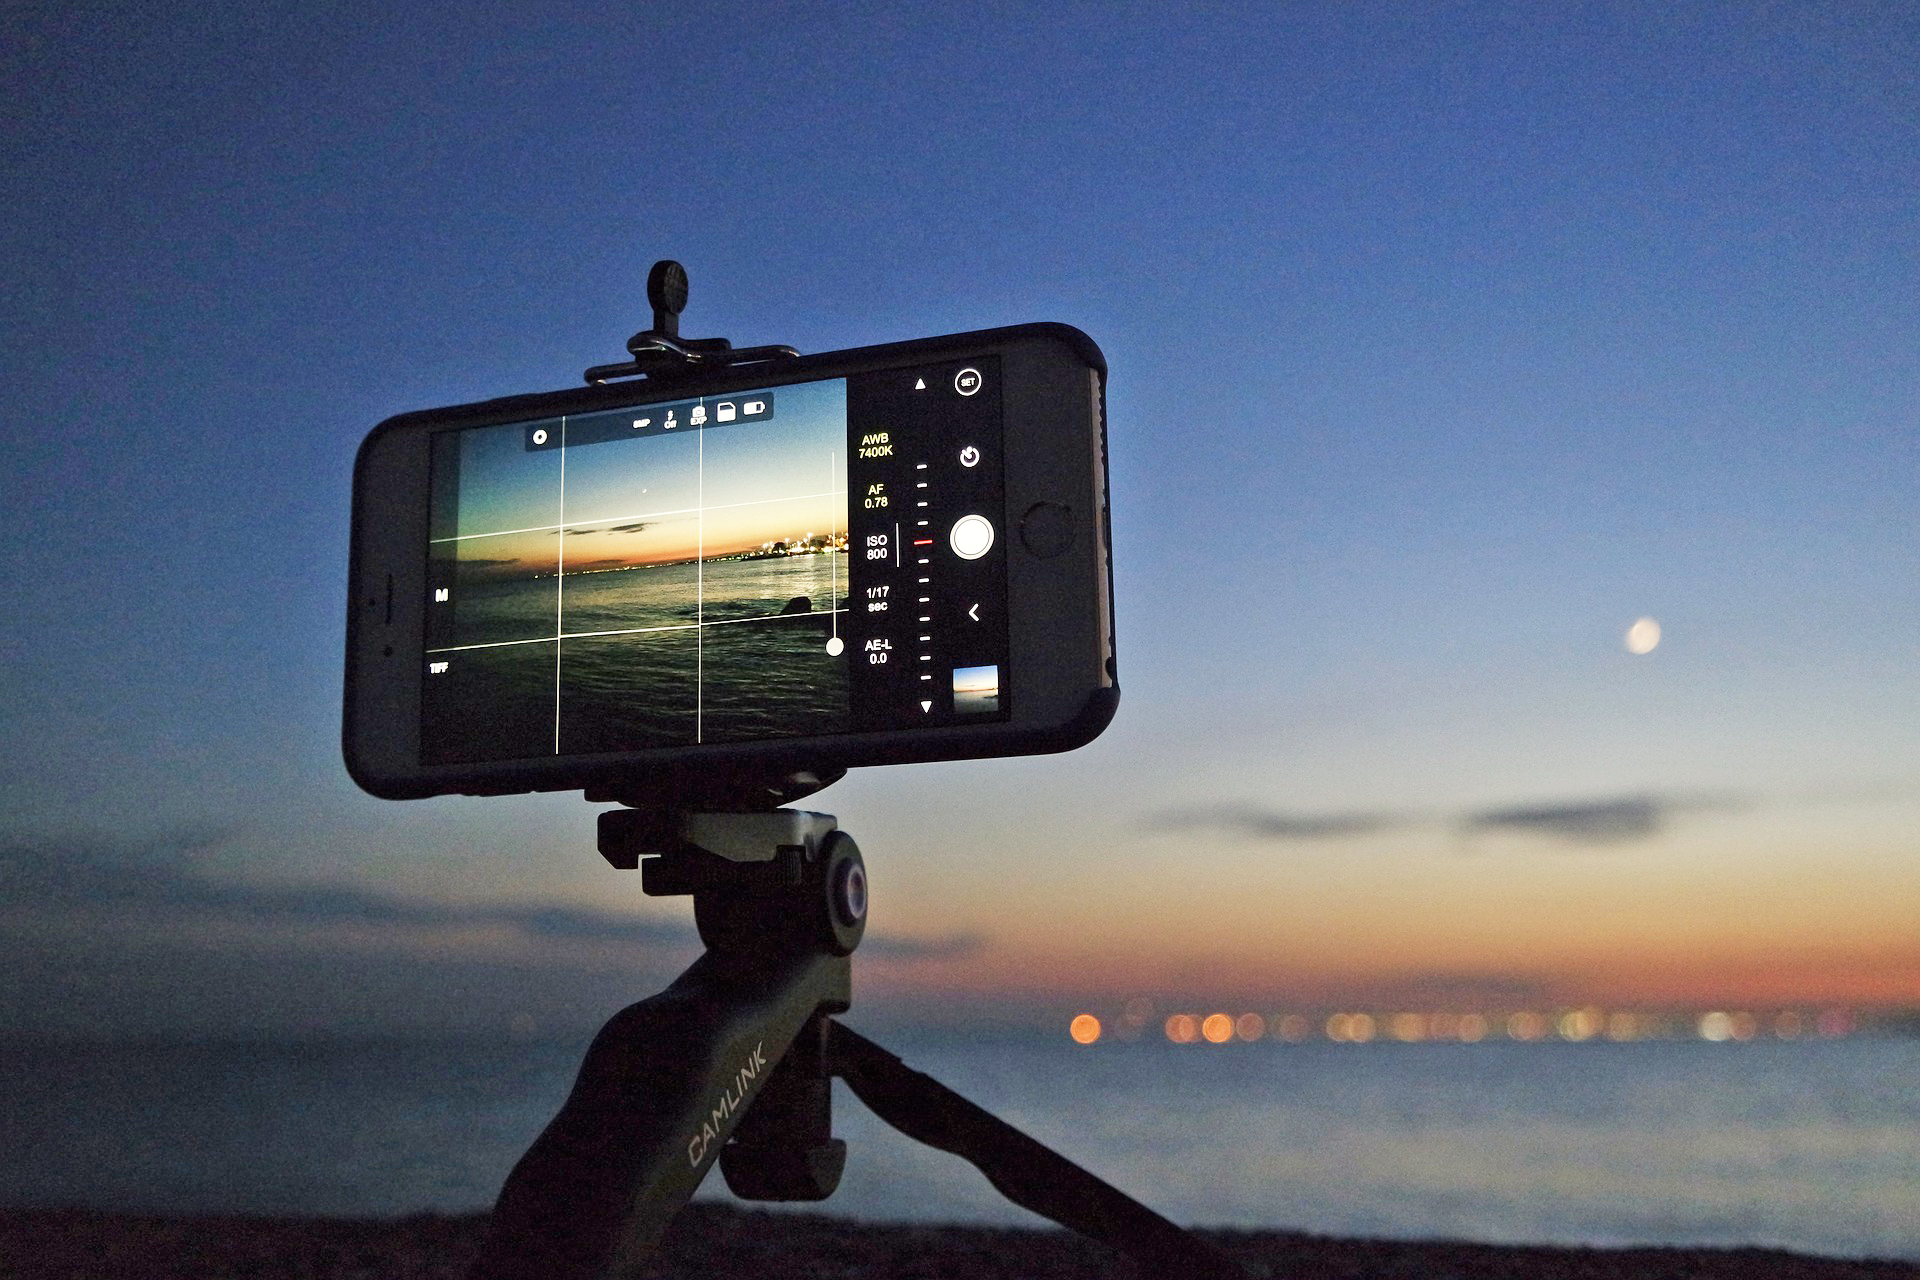
1. Know your camera
Your phone camera is equipped with features that you might not know about. Spend some time to explore these features and functions, try them out and see how they impact your photos. Play with the exposure control, try different modes, and see they can transform your photos. Of course, you can edit our photos later, but just a simple change when you take the photos can make a huge difference.
2. Set the focus
This step is often overlooked by people, either because they forget, or because they don’t know about this. Make sure you don’t skip this, as it’s important to get a sharp focus for your image. Although you can create good photos with autofocus, setting the focus manually can give you better results. To get your camera to focus, simply tap the object on the screen. Also note that camera focus changes as the object’s moving, so always tap the object right before you take the shot. Don’t forget to experiment, try to set the focus on different objects in the same scene to see the difference. You might be surprised by the results.
3. Avoid using the zoom
Among many great things about phone camera, the zoom is not one of them. With the limited quality, zooming with your phone camera will only give you photos with a below par quality, so avoid that at all cost. Instead, walk closer to your object. This will give you a much sharper and clearer photo. When walking closer to the object is not possible, you can keep shooting from the shortest possible distance you can manage, and crop the photo later.
We were going through the half of meter of snow for this view. Guys were pretty mad but they went for it with me – it was worth it. #wandrd #lifeisforsharing ? @jackob . . . . . #stayandwander #earthofficial #dnescestujem #igerscz #iglifecz #beautifuldestinations #awesome_earthpix #discoverglobe #adventureculture #queekygrams #lifeofadventure #insta_svk #folkgood #roamtheplanet #neverstopexploring #natgeo #mist_vision #exploretocreate #welivetoexplore
1,547 Likes, 52 Comments – Hynek Hampl Czech Republic (@hynecheck) on Instagram: “We were going through the half of meter of snow for this view. Guys were pretty mad but they went…”
4. Make the most of the natural light
Let’s face it, phone camera doesn’t do well in dark conditions. You can keep going and take pictures without enough light, but chances are, you’ll get grainy photos that are anything but sharp. Your best bet, of course, is to use natural light. Avoid using the flash in your camera phone, as it rarely gives you great photos. Do all you can to get as much natural light as possible. When shooting indoor, open the curtain and take photos in the brightest spot in the room. When shooting outdoor, chase the light! Take advantage of the golden hours, just before sunrise and sunset. Patrick Smit does a good job of using natural light to enhance his photos.
5. Use composition guidelines to create eye-catching photos
Composition plays an important role in making a good photo, and there are many composition guidelines that can help you create stunning photos. Rule of third, symmetry, leading lines, to name a few. Familiarise yourself with these guidelines and try them out. In fact, the phone camera is equipped with a grid to help you should you want to use the rule of third for your photo composition (if you don’t see this grid, you can enable it in your camera setting). Try different compositions for different photos, and with enough practice, you’ll be able to see the types of composition that work for different kinds of photos.
Once you get the hang of it, play around and break the rules. Sometimes, the most amazing photos are the ones which are unusual and striking, which come from not sticking to the rules.
6. Find unique angles and perspectives
You’ve got a good lighting and composition, but sometimes you need more to make your photos stand out. There’s so much you can do with your phone camera, so how do you make your photos stand out from the crowd? There’s one answer to that: unique angles and perspectives. Get down and shoot from ground level, get on a stool to get a bird-view perspective, place your camera through some grids or cracks, try anything unusual to get extraordinary results. One of the advantages of using a phone camera is, the small size allows you to put it in places that DSLR or mirrorless camera wouldn’t fit. This way, you get more possibilities for angles and perspectives.
Koshi Nishijima takes gorgeous photos with unique perspectives, and often uses a human object as a focal point, which makes his photos all the more interesting.
7. Be creative with your surroundings
You don’t have to go to a faraway land to create beautiful photos. Train your eyes to find the beauty in the things around you. With a little imagination and visualisation, you can transform ordinary stuff in your home into interesting objects for photos. Good examples for this are Sara Tasker and Matt Inwood, who brilliantly create stunning imageries from simple things around their houses.
8. Use editing to put your signature style
Post-processing is an important step. Not only you can correct and enhance your photos, but you can also put your mark as a photographer with your distinctive style through editing. Every photographer has their own style that characterises their photos, and you should have yours too.
When you’ve done the previous tips above, you’ll have a good photo for a starter, but you can take it up a notch with editing. You don’t need to edit much (in fact, don’t overdo it. Too much editing would only ruin the photo). There are many great photo-editing apps out there that can help you enhance your photos. VSCO Cam, Afterlight, Adobe Lightroom, A Color Story, and Snapseed are some of them. These apps have different functions and features, and you can choose which apps suit your editing style. Some apps like VSCO Cam provide a great range of presets that you can use, while Adobe Lightroom allows you to synchronize the mobile app with your desktop software, which means that you can use the presets and settings you use in your desktop Lightroom. You can also build your own presets in Lightroom, which can help distinguish your photos from everybody else’s (if you can, build your own presets instead of using the available ones. You’ll go a long way with being unique and authentic).
It’s always good to use presets with similar tones for your photos, so they all look cohesive. This is important when you want to establish your style as a photographer, and also to build your personal brand on social media.
Alternatively, you can use effects to give a unique edge to your photos. Cat Cliffe applies distinctive textures to her photos, making it easy for people to recognise with a glance that those are her photos.
9. Find something to rest your camera on for a steady shot
Great as it is, the smartphone camera is not equipped with a good stabiliser function, which is why you have to stay absolutely still to make sure you get a sharp and clear picture. It’s not always easy to do, especially in a low light where the slightest movement could ruin your photo (unless you intend to make an artsy blurry photo). So this is when tripods and monopods come in handy. Don’t be discouraged when you hear tripods & monopods, your camera is tiny so you don’t need big stuff. A small and light tripod and monopod will do the job nicely. They’re easy to carry, and won’t add much weight. However, if you’re too lazy to haul a tripod or monopod around, you can always find something to rest your camera on to get a steady shot. A stack of books, a glass, a window sill, you can be creative and use the things around you for support.
10. Clean the lens
While it may sound completely obvious, apparently many people don’t realize this crucial thing. A dirty camera lens can make your photos look foggy, blurry, and unfocused. Just like the lens of any camera, it needs to stay clean all the time. But don’t worry, the cleaning process is not as rigorous as cleaning a DSLR lens. This one is quite simple and straightforward. Wipe your phone camera screen with a lens cloth to get rid of the dirt, and to clean the grime, use a cotton swab that’s dampened with water. Easy, right?
So, what’s next once you’ve done all these tips?
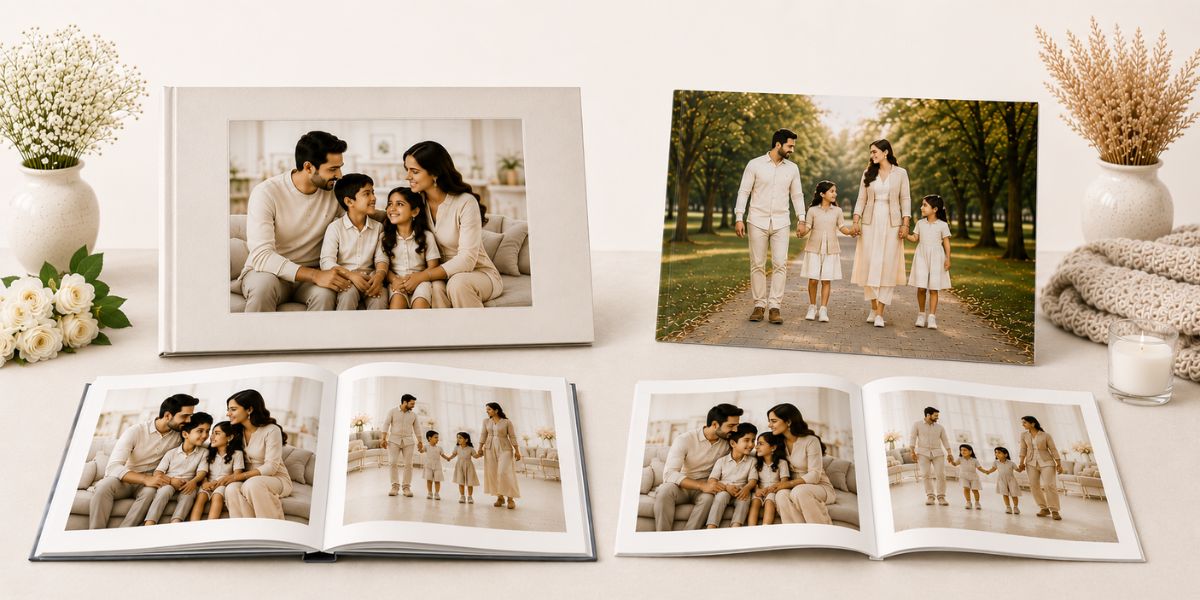
Print your pictures, learn from them and be creative with them
Now that you’ve got these tips under your belt and you have created stunning photos, don’t keep them hidden on your phone! Print them out, either for yourself or friends and family. Some might argue that printing photos is unnecessary, but it actually can be quite useful. Not only you get to be creative with your printed images, seeing the printed version can shed a light on what to improve. There are things that are not obvious when seen on screen, but become more apparent in a flesh. Print your photos and look closely on how they turn out, and whether there are technical aspects that you could improve.
Seeing and holding your own printed images in your hand is an amazing feeling. Be creative with them, and create things from your favourite photos. You can make a photobook, postcards, wall art, or any other thing you wish. The most important thing is to let them be seen. You’ve worked hard for it after all, you and your photos deserve attention and appreciation.
And of course, remember the golden rule of photography: practice, practice, practice. The phrase ‘practice makes perfect’ sounds utterly cliche and overused, but maybe it is so because it’s absolutely true. Most professional photographers say that the quality of their first 1000 photos are nowhere near to the quality of images they produce now, as they’ve improved a great deal along the way. It takes time and a lot of practice to improve, so keep shooting and creating!


Be the first one to comment