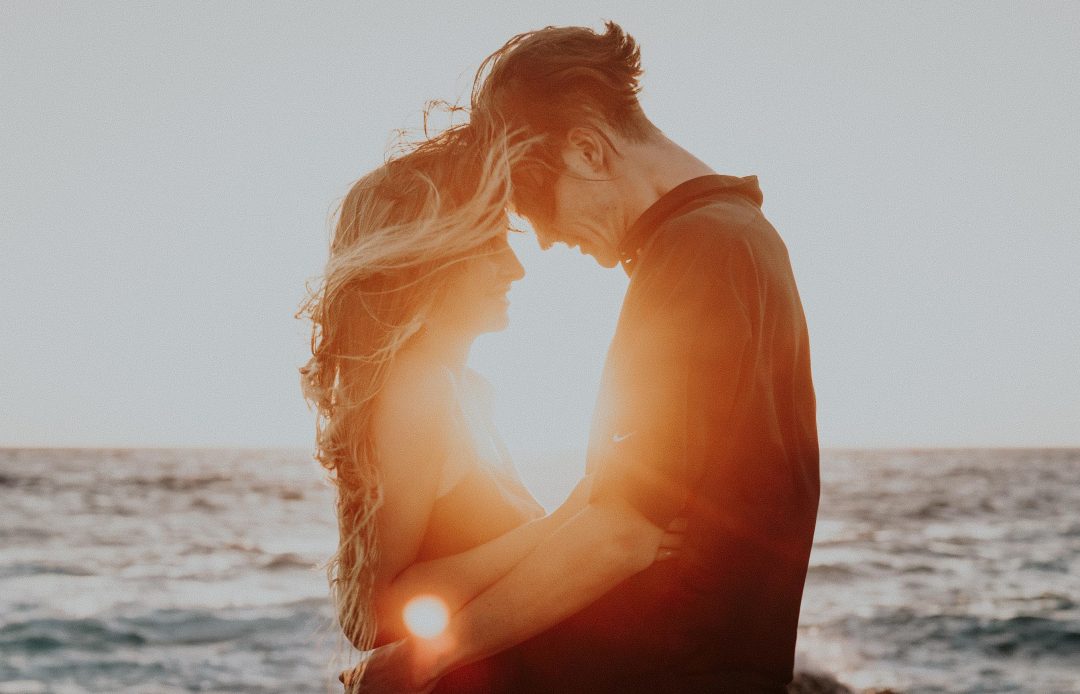
Portrait photography is a mix of fun and challenging assignment – you need to understand and master the techniques to be able to create stunning portraits.
A lot goes into making a beautiful portrait image. You have to pick the right camera and lens. You need to pick the right light and the right time of the day if shooting with natural light.
Regardless of whether you are a wedding photographer, a corporate headshot specialist, or even a newborn photographer, you can always use the core techniques of portrait photography.
This tutorial discusses each of these aspects in detail, from the recommended equipment and settings to the portrait photography tips and techniques to help you improve your imagery.
Table of Contents
- Equipment: Camera, Lenses, and Other Recommended Tools
- Recommended Camera Settings for Portrait Photography
- Lighting for Indoor and Outdoor Portrait Photography
- Using Natural Light Outdoors
- Portrait Photography Tips and Techniques: How to Create Stunning Imagery
- The Secrets to Put the Subject at Ease
- Insider Tips from the Expert
- The Final Touch: Printing the Photos
Equipment: Camera, Lenses, and Other Recommended Tools
Which Camera Should You Choose?
The one question that every aspiring portrait photographer looks to get answered is what camera and lens to use. Now, there is no hard and fast rule that says that you have to shoot with a full-frame camera, although full-frame cameras tend to have some undeniable advantages.
Any camera is suitable as long as you can shoot with different lenses.
About Crop Factor
With crop cameras, a full-frame lens will give you a slightly tighter composition. This has the advantage of bringing you closer to your subjects even with a medium tele lens, such as, the 24 – 70mm wide zoom becomes the 35mm equivalent of a 36 – 105mm (1.5x Nikon) on an APS-C camera.
Lens: Zoom or Prime?
The best lenses are those which allow you to change the perspective, and with it, the background compression at will. Therefore, zoom lenses are the best. Having said that, there is no reason to discount prime lenses either.
Start with a zoom lens if you are a beginner. Once you have things figured out and you know what to shoot, you can migrate to a prime. Pick something like the 70-200mm f/2.8 or 18-200mm (prefer the first one because of its superior optical quality), which would give you enough focal length coverage to zoom in and out depending on the composition and the effect that you need. Also, because it is a fast lens with a constant aperture, you can capture a lot of light in most situations.
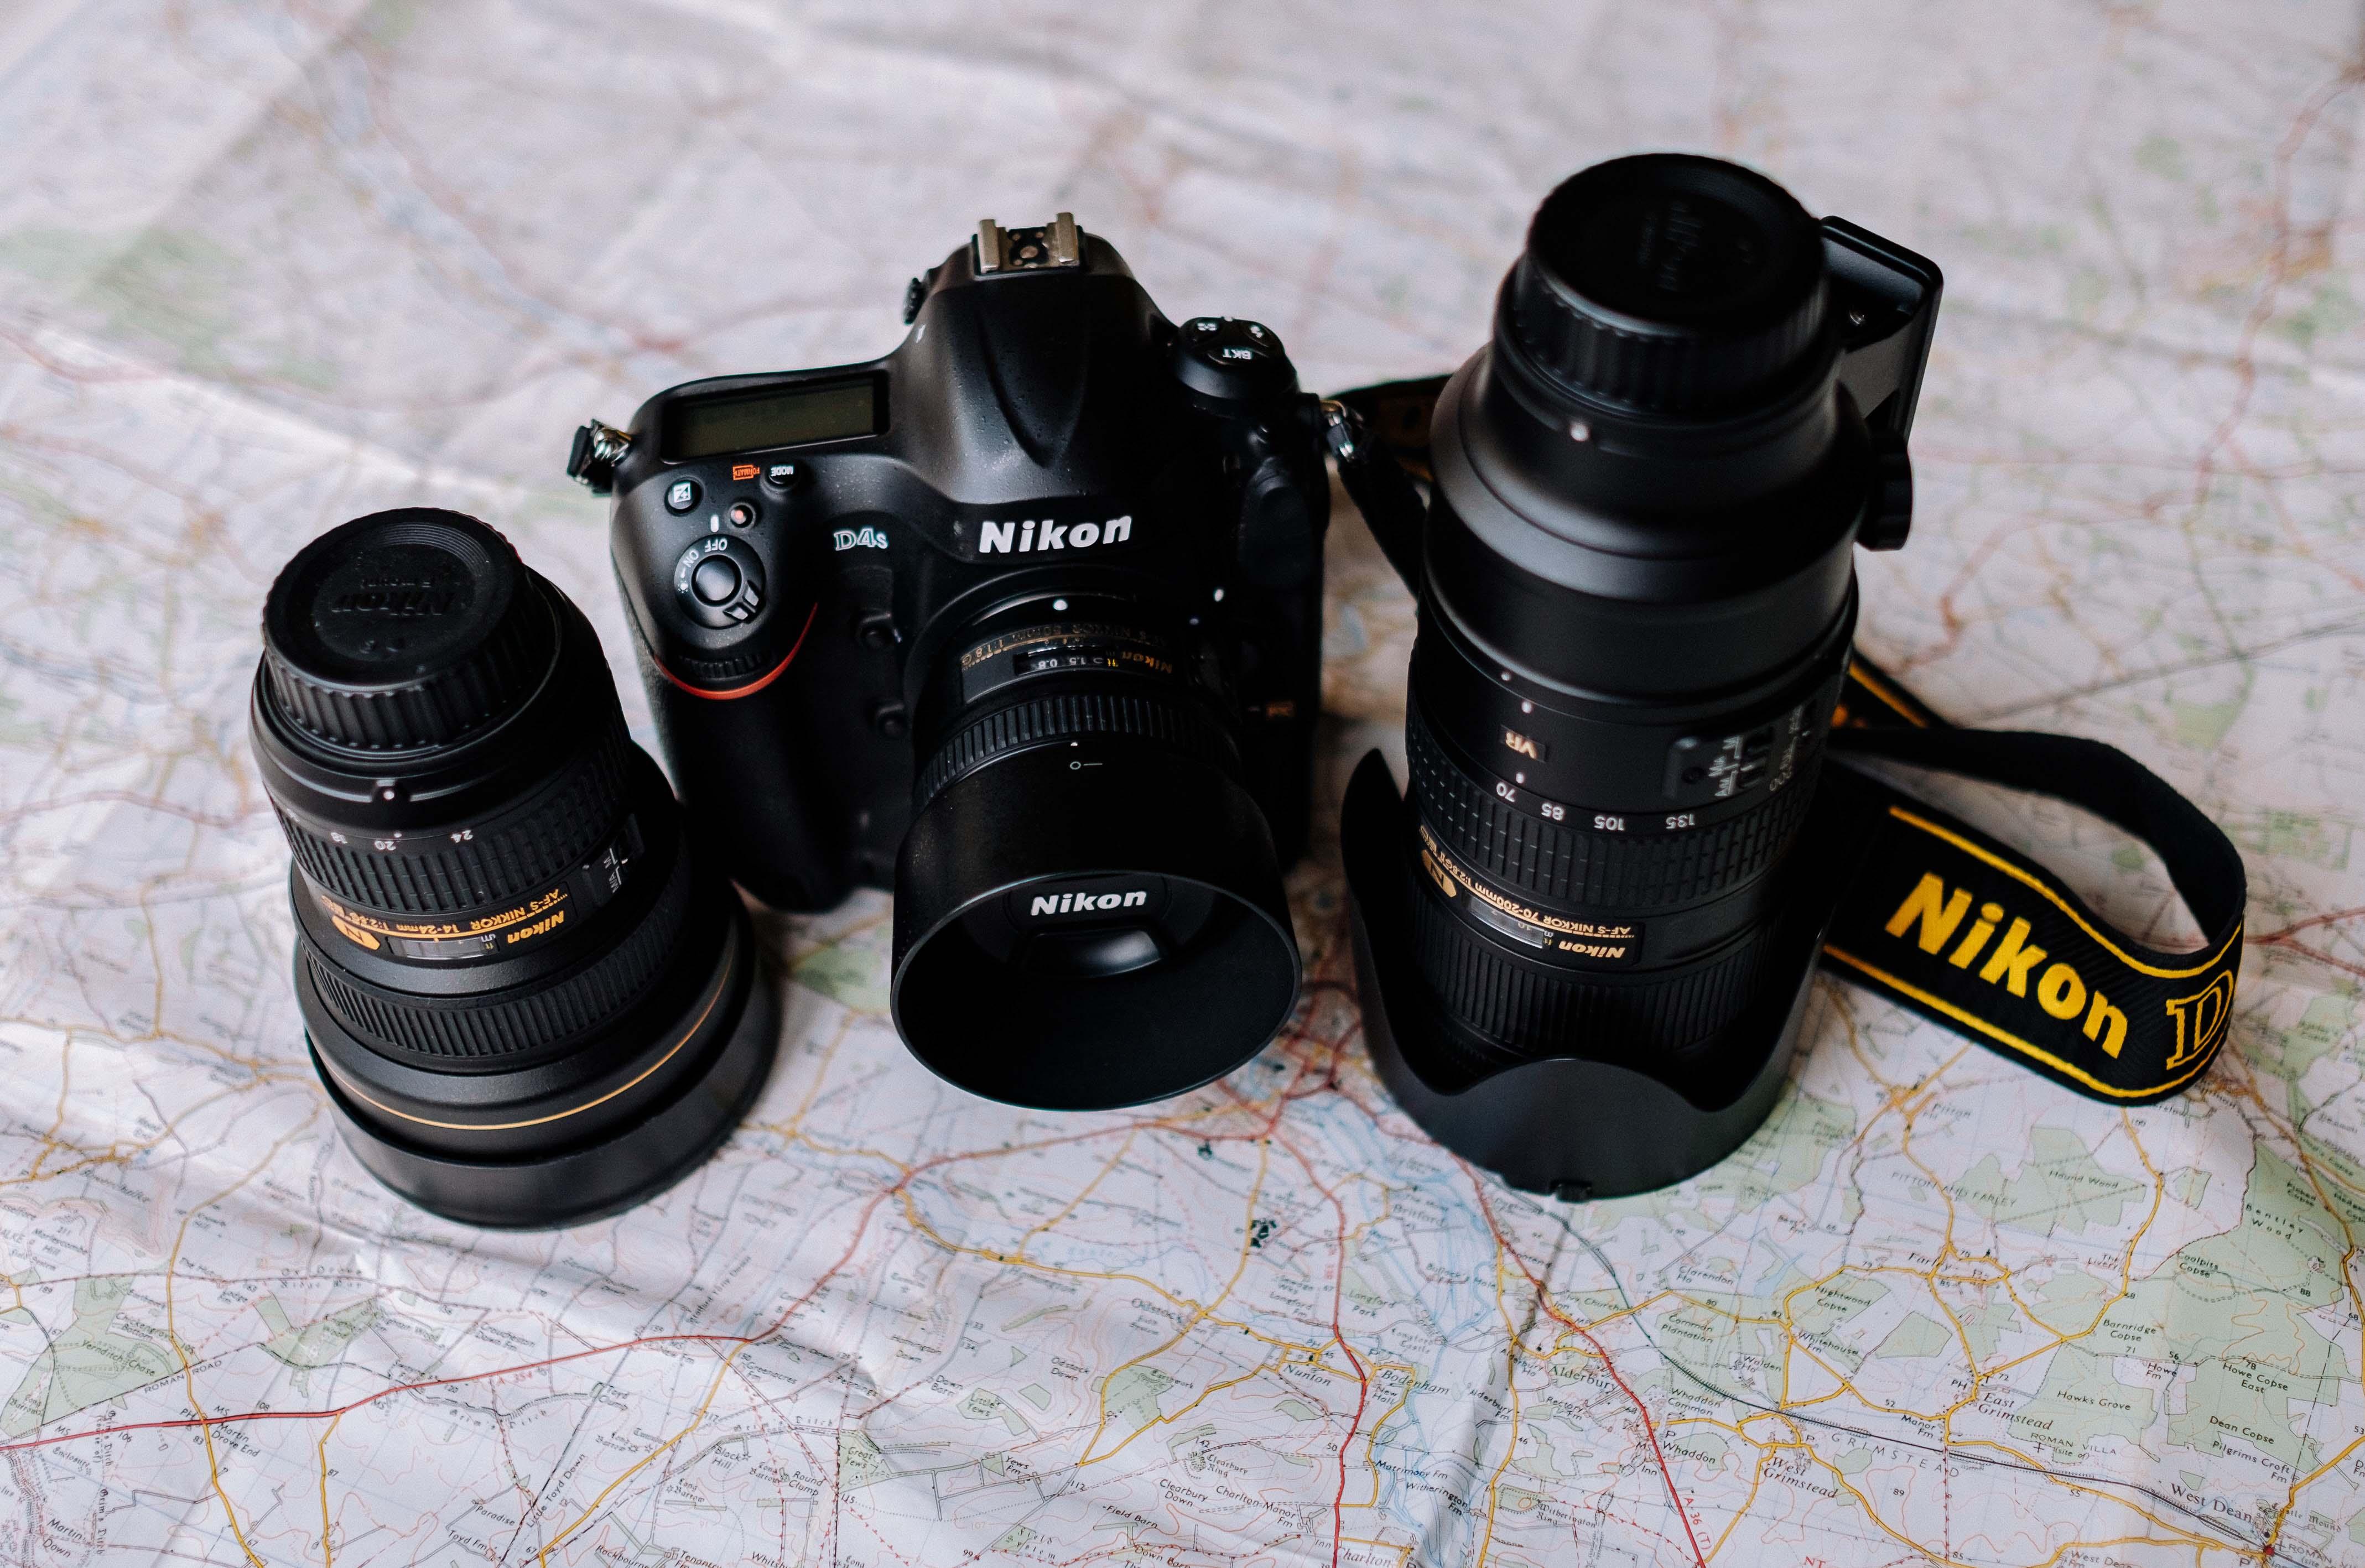
Keep a 24-70mm handy for the moments when you choose to shoot in a wide-angle perspective, such as when shooting against a beautiful sunset, a majestic hallway, a lighthouse, or those sort of things defining the background.
You would also need a lens that is sharp even when stopped down to f/11 and beyond. Most cheap lenses tend to suffer from lens diffraction after f/11, so avoid those.
The choice of lens will depend on the shot. If you are shooting a tight crop, it is imperative that you choose a lens that allows you to do so. A lens like the 70-200mm on a full-frame camera should be your choice. This is a great all-round lens. It is practical not only for shooting portrait photography but also a wide number of other genres. The only problem is its pricing.
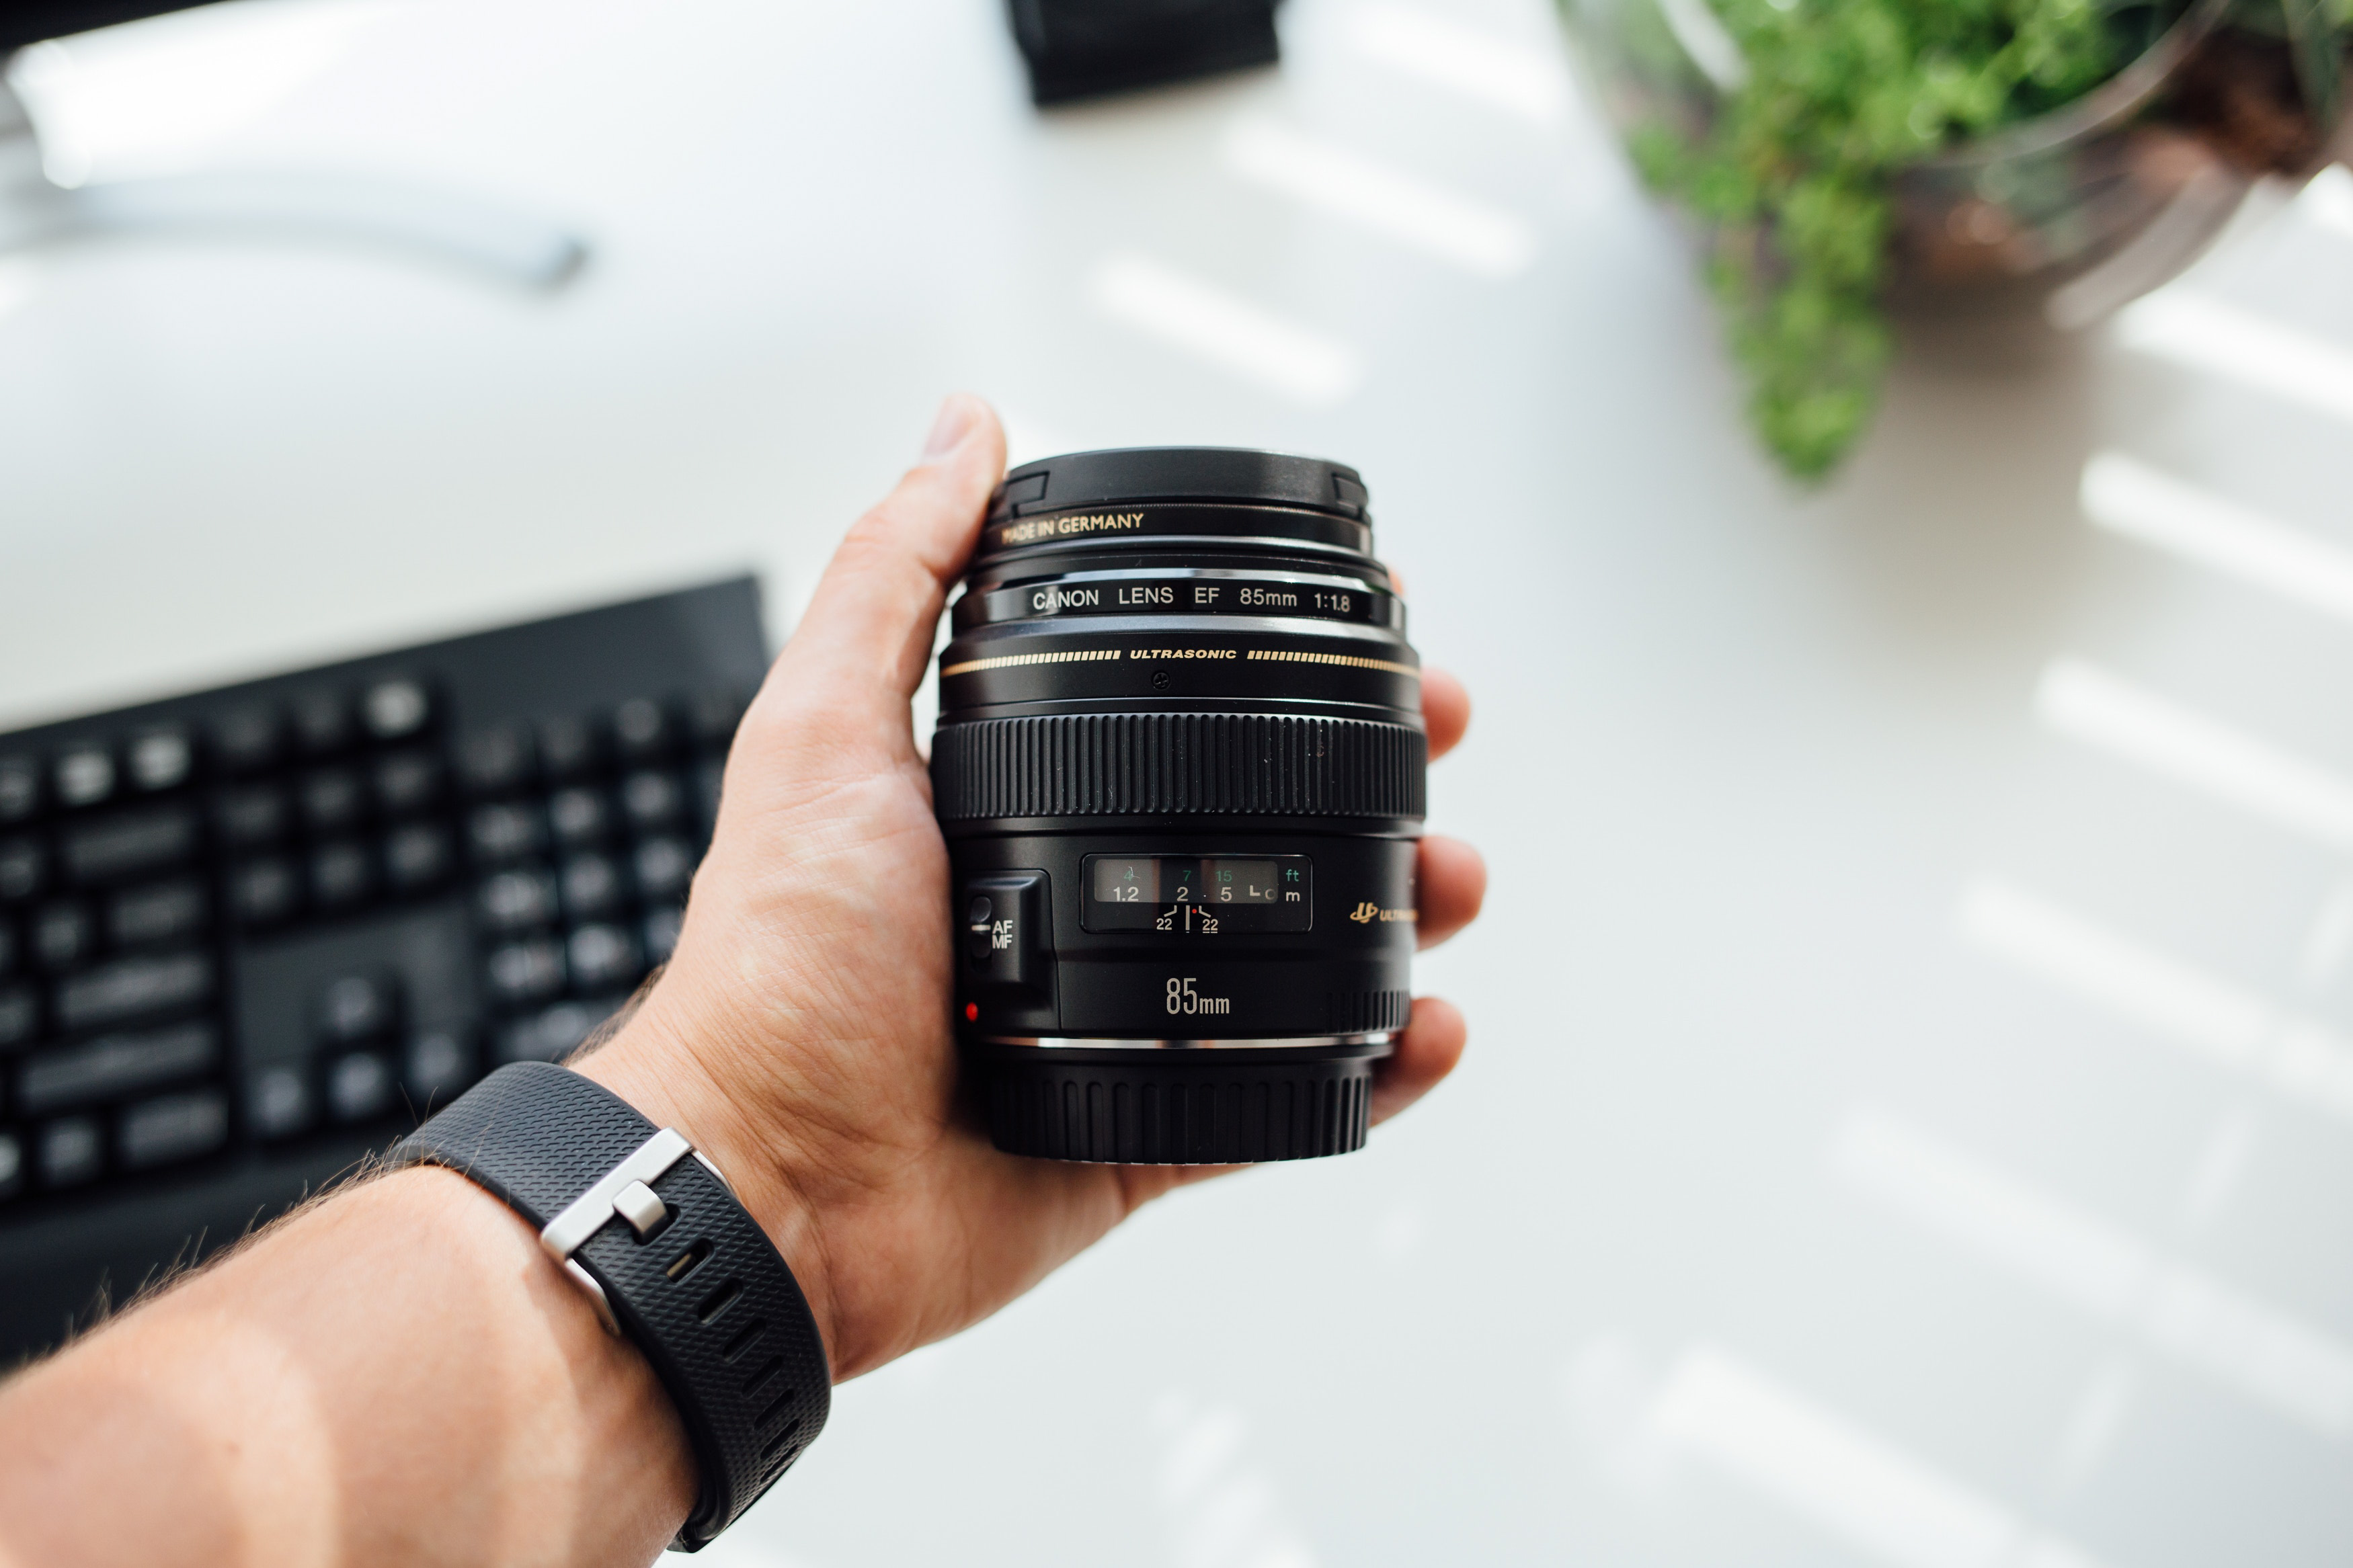
Prime lenses tend to be optically superior compared to zoom lenses. As a general rule, they are cheaper too, compared to their zoom brethren. So, something like the 85mm f/1.8 is a fantastic lens to work with if you are on a budget.
Other recommended tools
A few other tools that are recommended are – a CTO (Color Temperature Orange) gel, a hand-held light meter, and a color checker passport for white balance adjustment especially when shooting in changing light conditions.
Recommended Camera Settings for Portrait Photography
The camera settings will start with an estimate of the ambient exposure, that is when you are shooting outdoors. Check for the ambient exposure, adjust it down to about 1/3rd or 2/3rd stop down. It is pertinent to mention here that the aperture, and therefore the depth of field of your image, should be the setting to be sorted out first.
Keep your camera on aperture priority mode
Keep your camera on the aperture priority mode so that the shutter speed is automatically selected by the camera. Use exposure compensation to adjust the exposure (1/3rd or 2/3rd as explained). Fire the strobe which should be set to an output of higher than the ambient exposure by at least 1/3rd stop.
Tips: Create your moments on wall posters and your wall will glow with remembrances.
Use Auto ISO when needed
ISO is probably one aspect that not many people give too much attention to. They usually keep the ISO to the bare minimum. 80, 100, or 200 depending on what’s possible on your camera. There is a feature on some cameras known as Auto ISO.
This allows you to set your aperture and shutter speed manually and then auto-adjust the ISO number based on the available light. So if the light is too dark, the camera will automatically bump up the ISO to compensate.
Usually, when shooting outdoors in reasonable lighting conditions, you will never need to use Auto ISO. It only comes into the play when the light is very poor and you are shooting without external light.
Read 15 Things You Should Do to Ace Pre-Wedding Photography
Lighting for Indoor and Outdoor Portrait Photography
Using Natural Light Indoors
Natural light is a great way to shoot gorgeous photos. It works almost 75% of the time. But natural light can be a bit difficult to manage too, especially the direct sunlight. The preferred choice would be a large window that receives a lot of natural light, preferably in direct sunlight.

Use a diffuser when the light is too harsh
But what if the light through the window is harsher? The best way to handle this would be to use some fabric or diffusion material. The diffusion material softens the quality of the light and therefore you can produce more flattering portraits than you would normally be able to.
Using Natural Light Outdoors
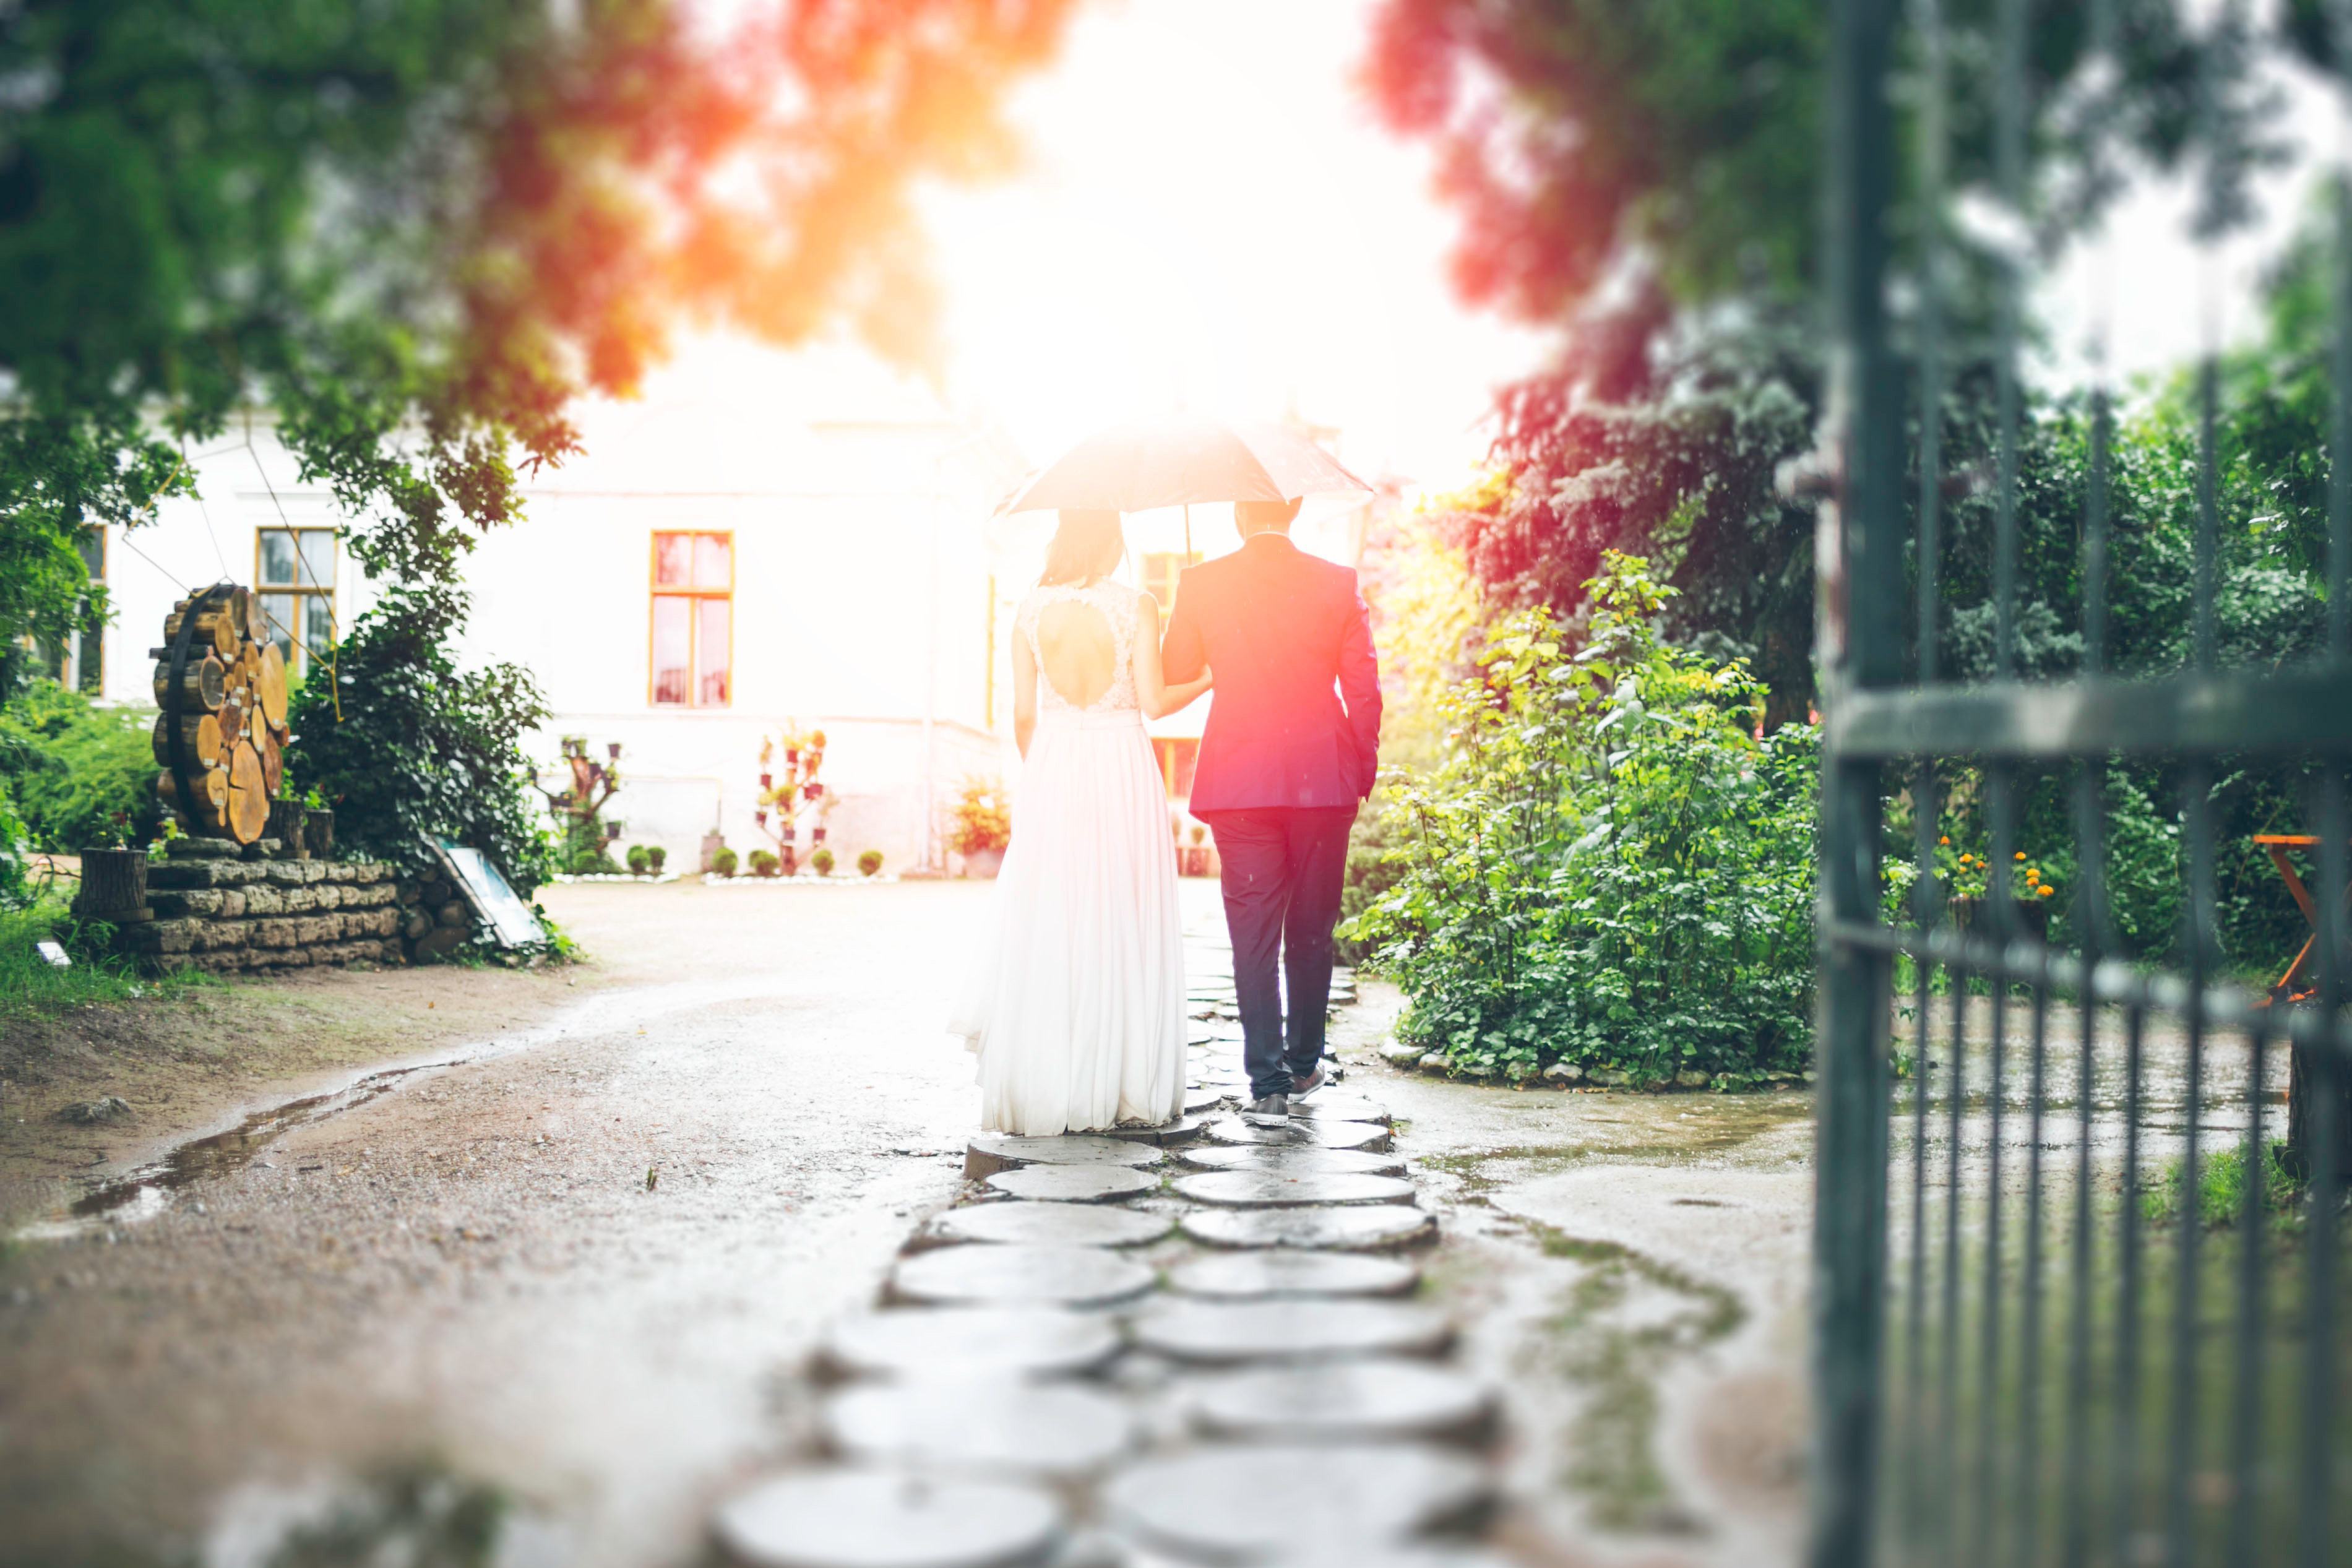
Shoot on an overcast day
The same way when shooting outdoors, opt to shoot on an overcast day. Not an f/2.4 doomsday sort of overcast, but more like an f/5.6-ish overcast day. But then it is impossible to predict what the day is going to be like 3 months down the line when you book a pre-wedding session.
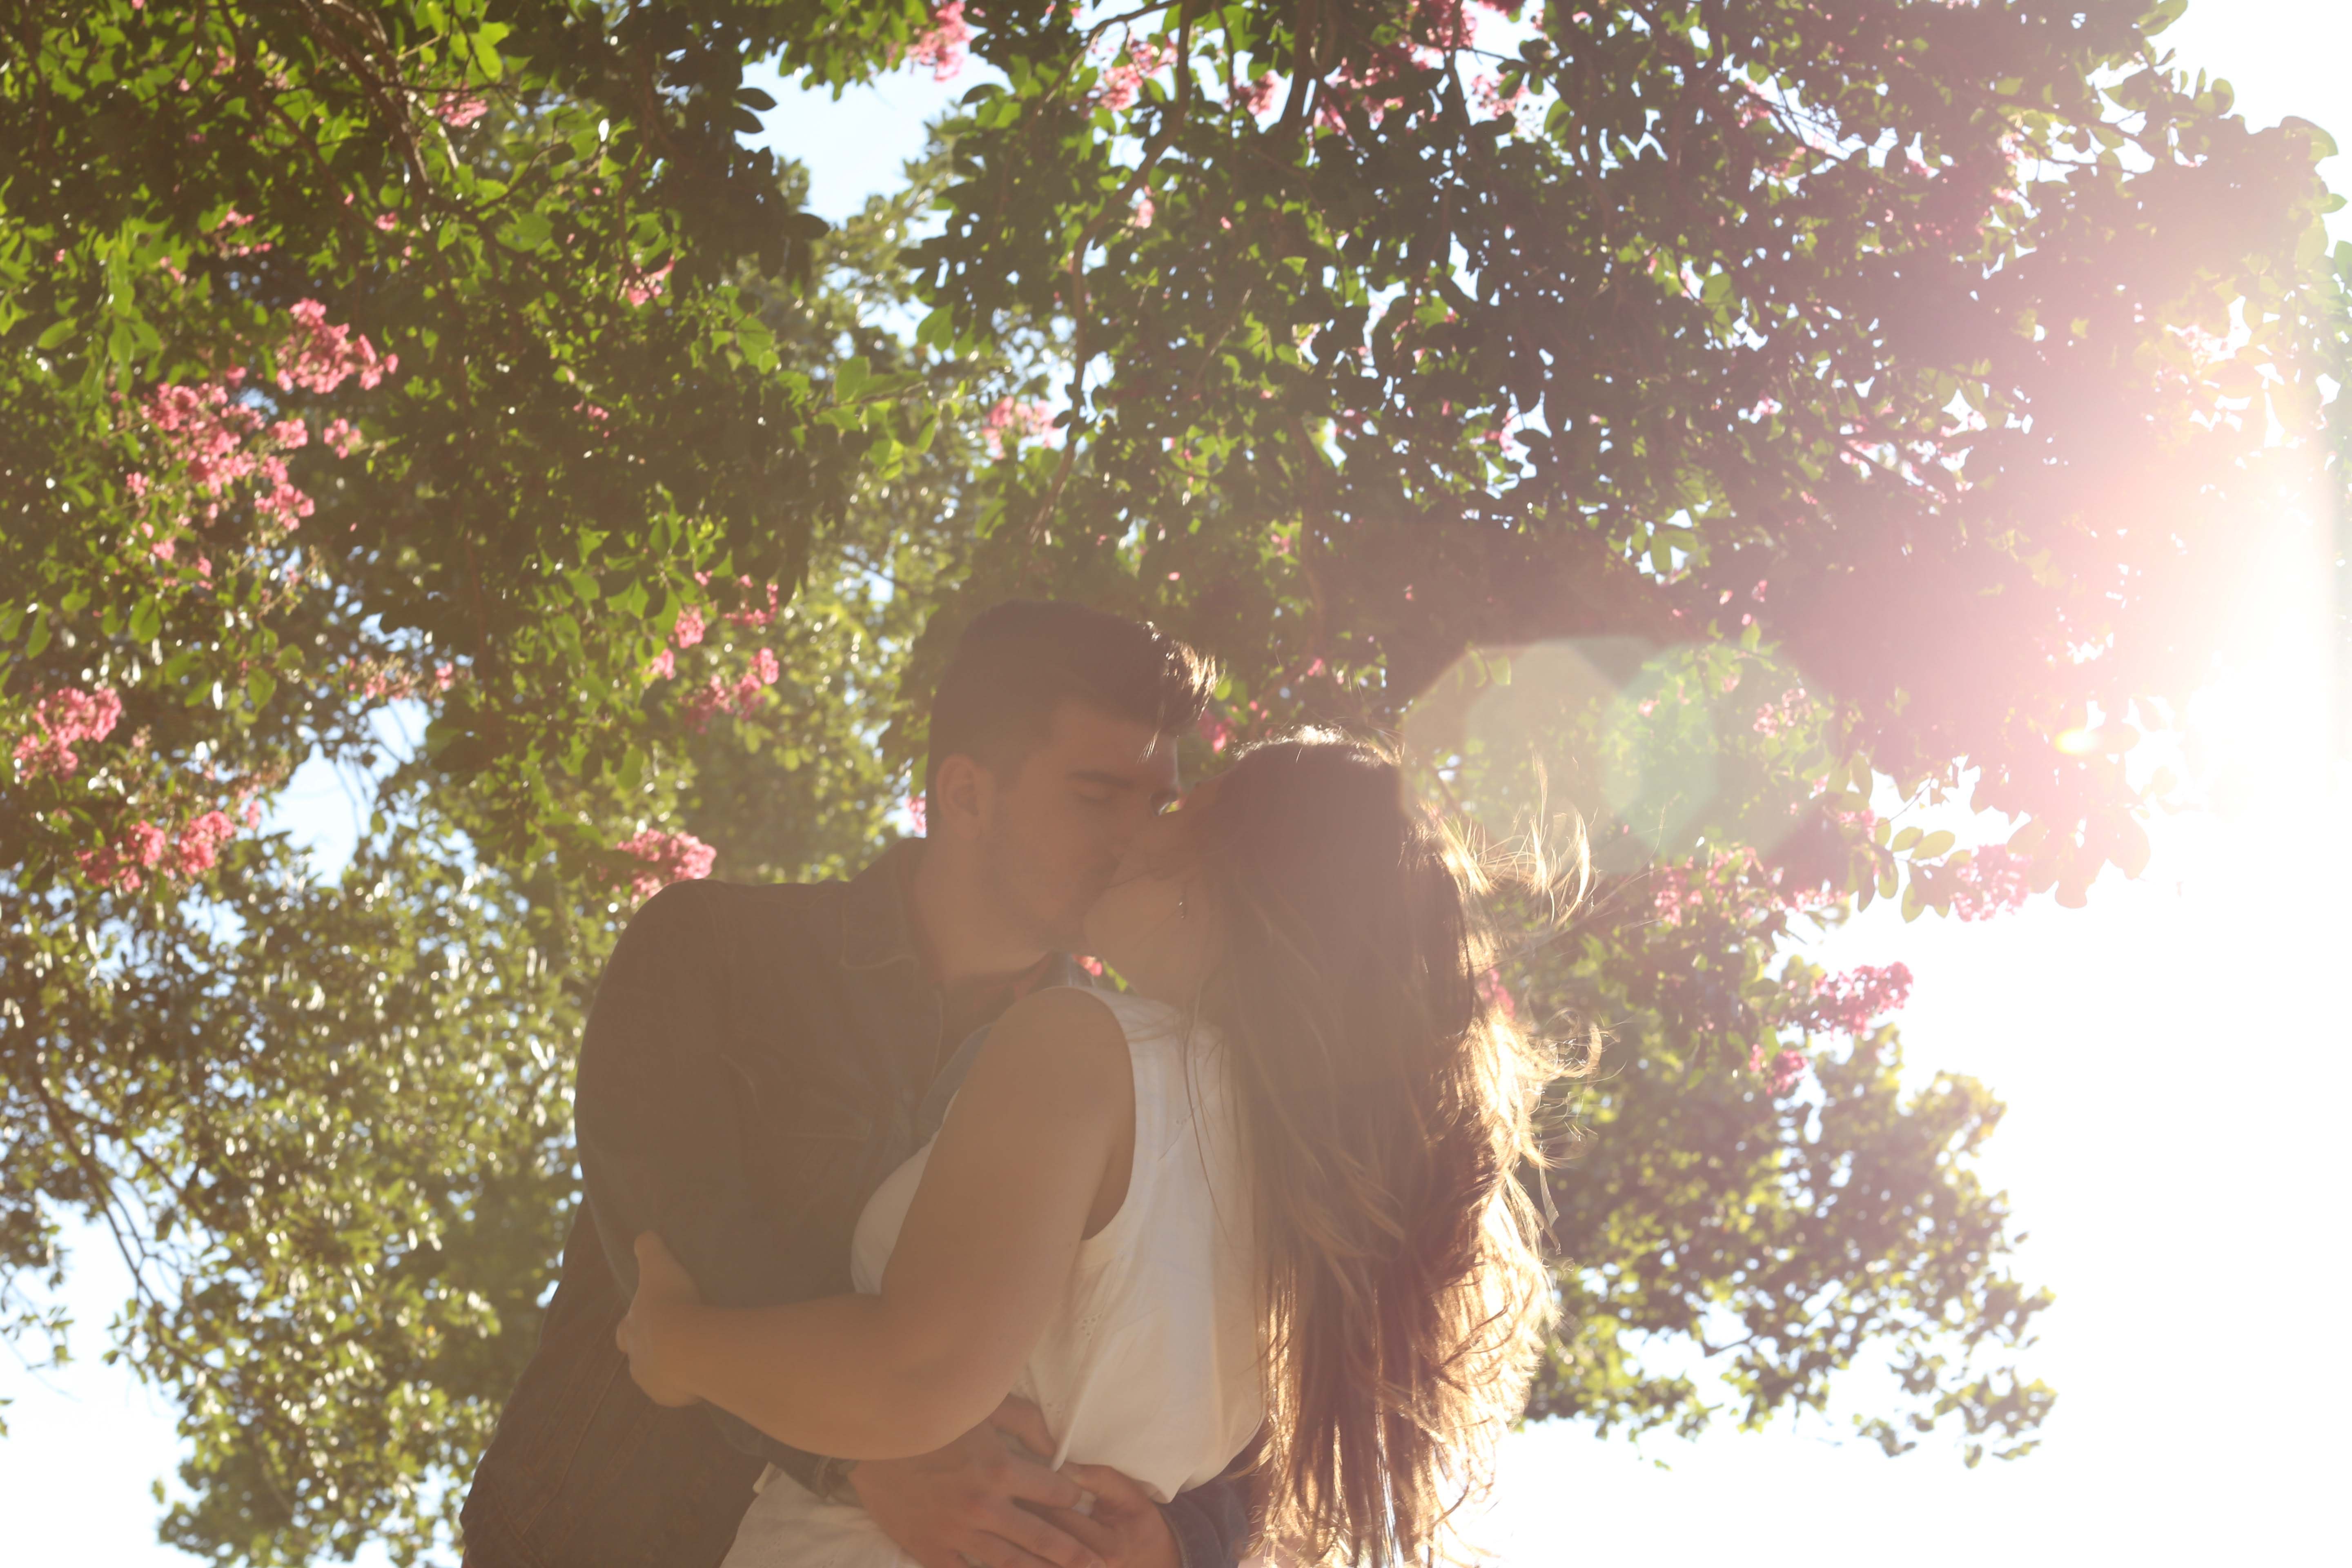
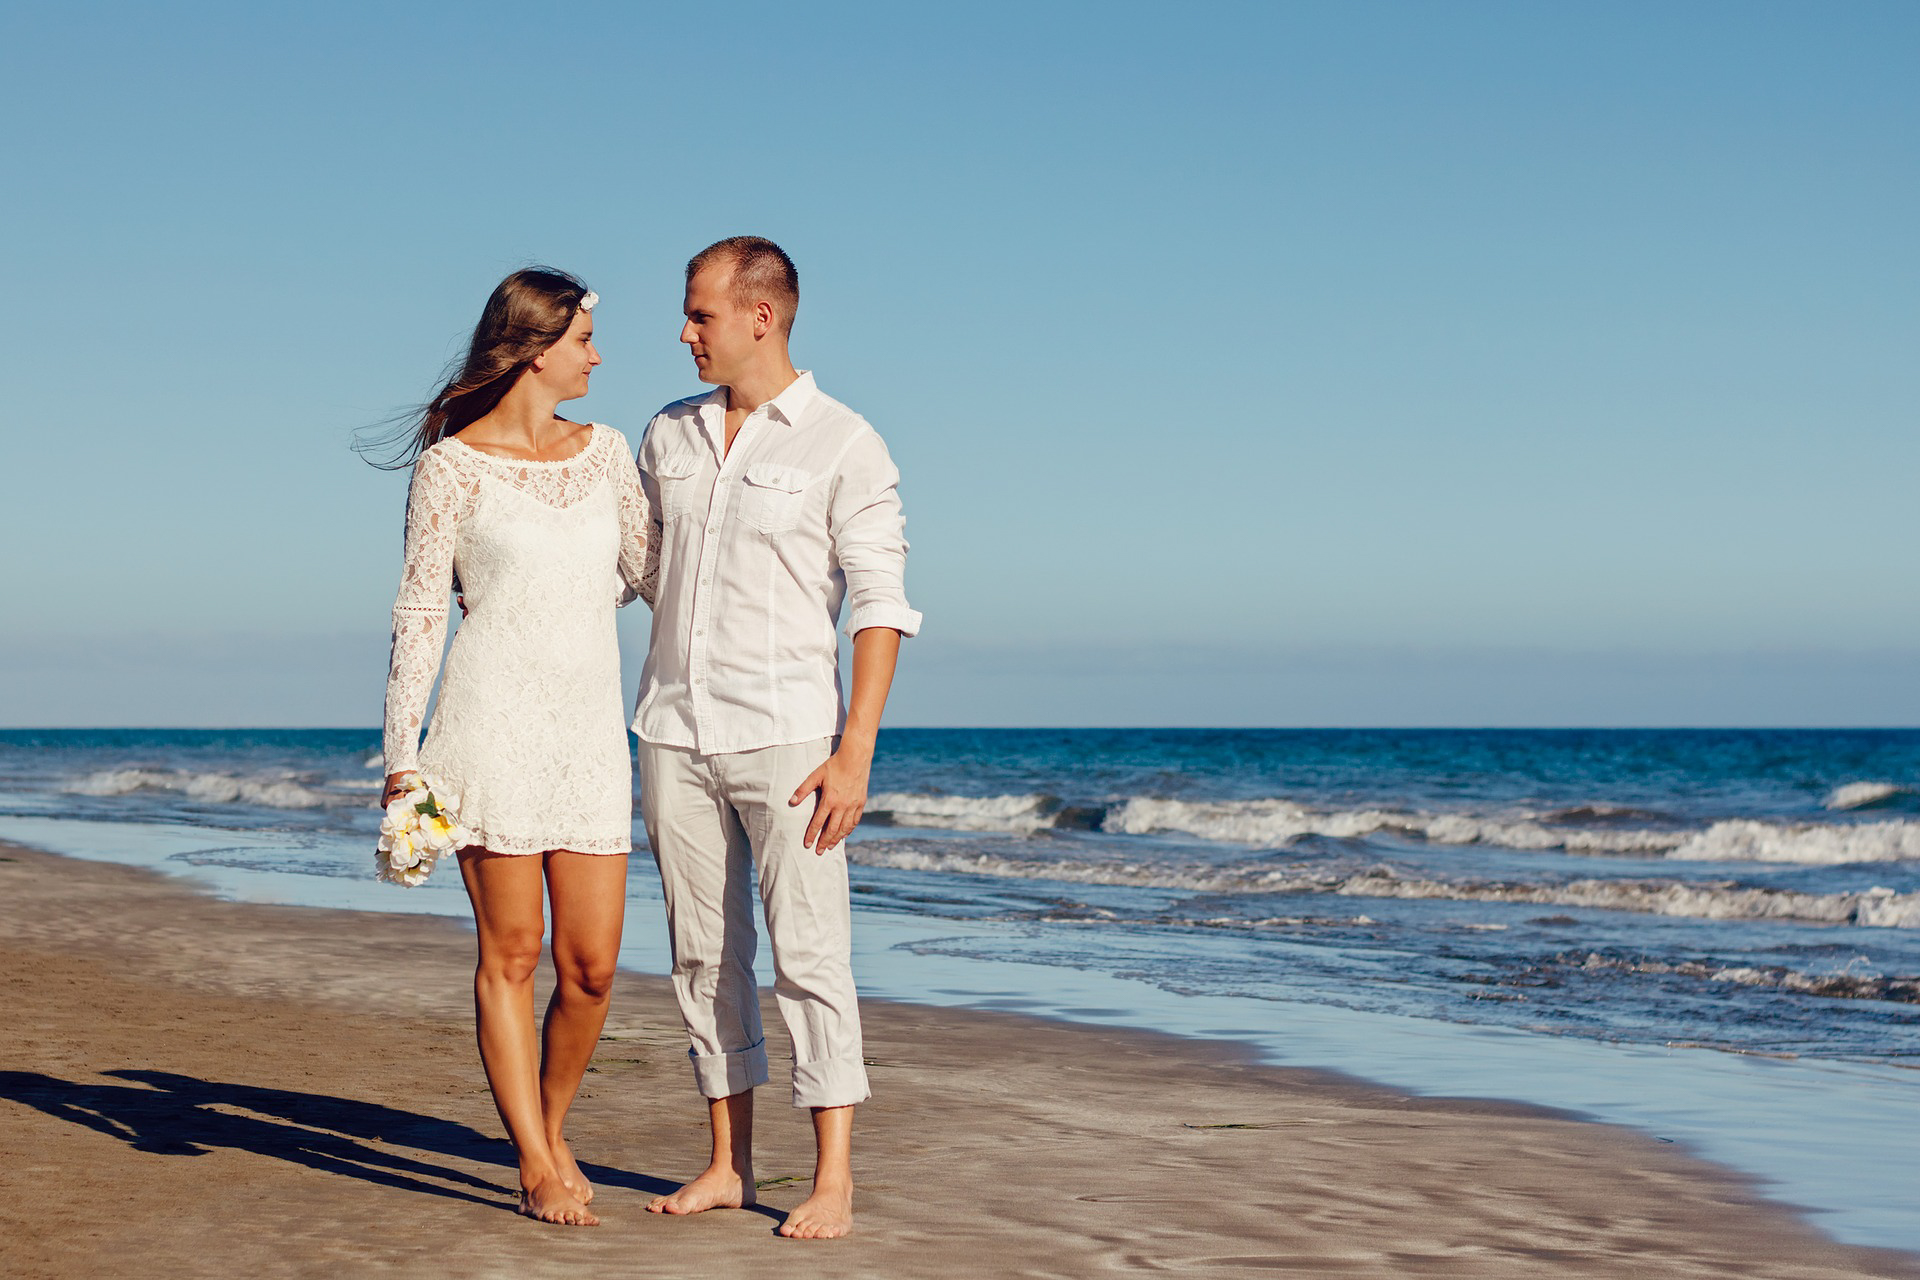
Choose the golden hour, about an hour before sunset
So, what to do when on the day of the shoot it is extremely bright? Ideally, choose the golden hour that is about an hour before sunset (depending on the latitude and the season). Golden hour light is softer and more flattering than the mid-day sunlight.
Create artificial shadows
But what if the only time you can shoot is at mid-day? How do you work with that? Creating artificial shadows is one solution. Trees, walls, porticos, and even tall buildings, anything and everything that gives a solid umbra is the solution. If you can’t find anything that gives you a solid shadow, use a diffusing material as described above. A piece of white cloth would be perfect.
Always balance the exposure for the face and the background
One thing about shooting outdoors like this is to ensure that you always balance the exposure for the face and the background. There would be two exposures, one ambient exposure for the background, and the second one is for the subject’s face, that is, if you are going to incorporate the background in your shot. If the background is not important, you should try to use a wide-open aperture to completely blur it out, with or without the help of an external light source.
How to do this? The first thing is to meter for the background. This way you can expose correctly for it. The next thing is to add the external light, just the right amount to ensure that the exposure for the face is going to be on par with the background. Ideally, the ambient exposure for the background should be about 1/3rd to 2/3rd stop darker than the exposure on the face.
Using Strobes
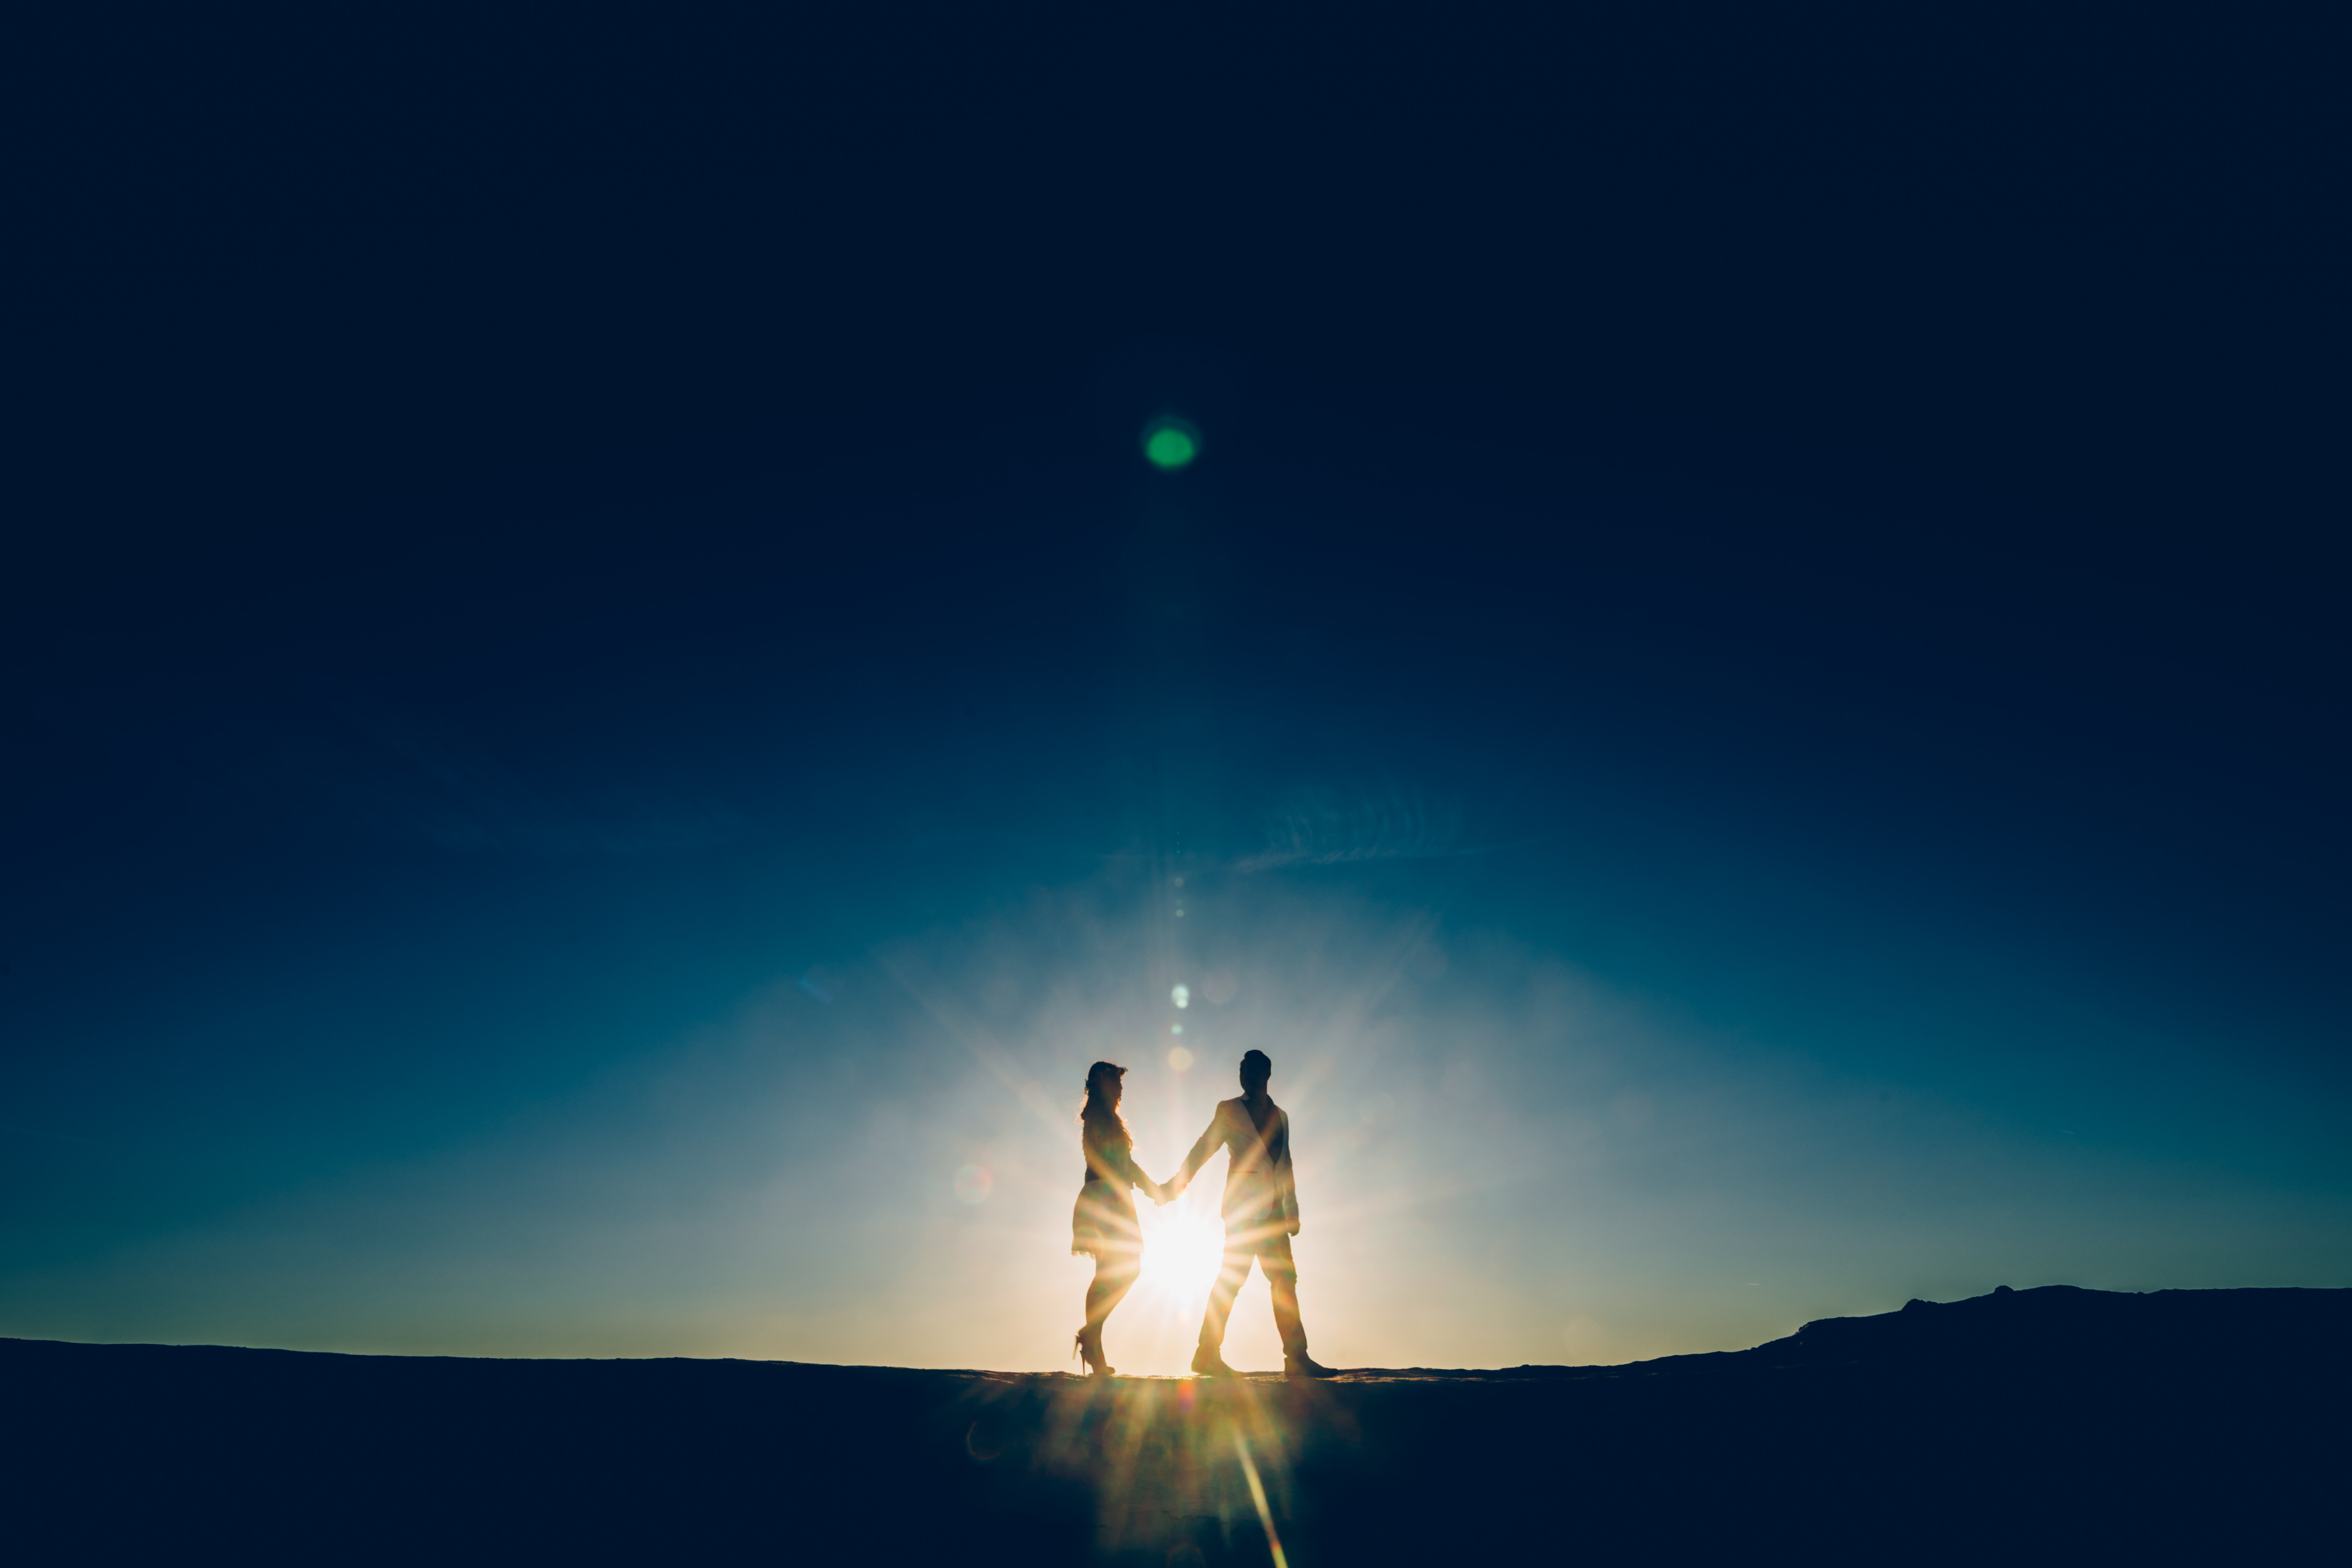
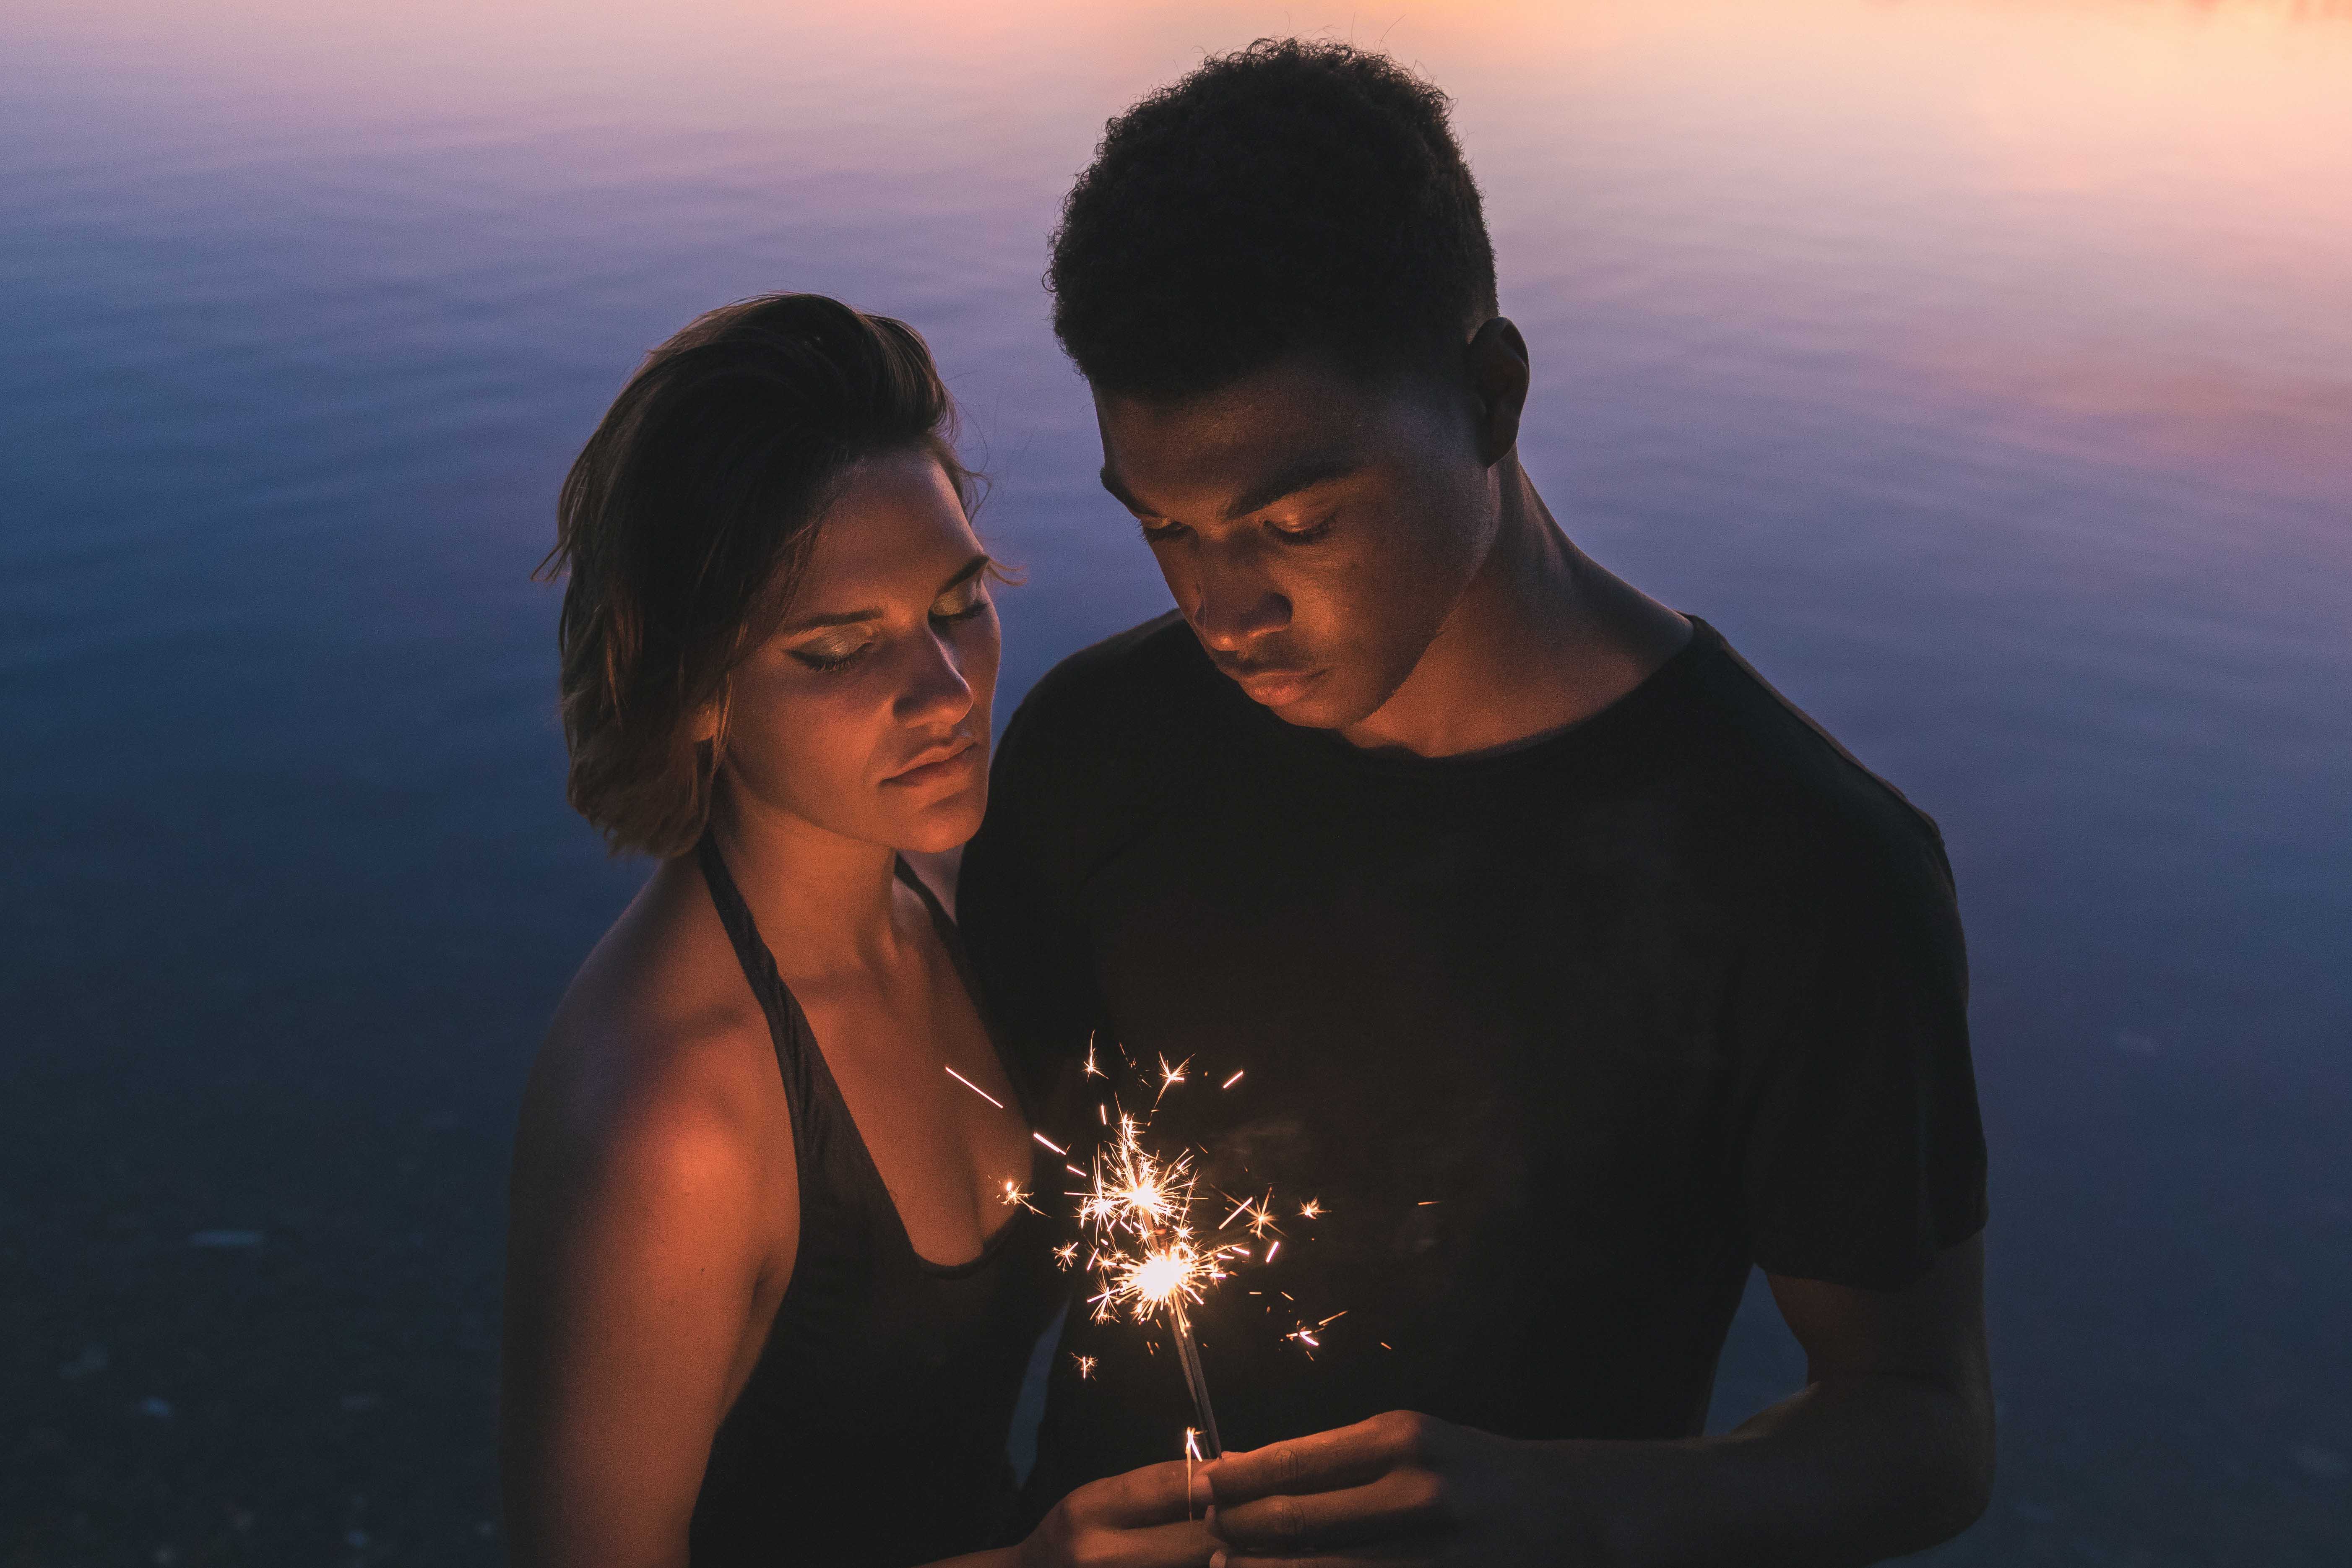
Another fantastic time to shoot is the blue hour. Blue hour is the narrow 30 mins to about 45 mins window that comes right after the golden hour and before the sky is completely dark. The reason it works is that this time of the day produces a stunning contrast between a well-lit couple and the dark blue to the black sky. Strobes help you get great exposure for a subject/couple with a stunningly contrasty blue background.
Using Light Modifiers, And Using Small Flash Units
Light modifiers include things like reflectors and softboxes. They are imperative when working with external lights. The favorite softbox for portrait shooters is the octabox, a large 8-sided softbox that accommodates a strobe. It has silver reflector inside and is able to bounce the light around before pushing it out through the soft diffuser panel at the front. The perfect light for shooting both indoors and outdoors.
Balancing exposure with Softboxes
The technique to shoot with softboxes involves pretty much the same techniques that have already been explained above. You have to make sure that the exposure is about 1/3rd to 2/3rd stops higher than that of the background. There are millions of different lighting scenarios that can be used here. These include broad lighting, butterfly lighting, Rembrandt lighting as well as clamshell lighting.
Read: Photography Trends to Watch in 2018
Portrait Photography Tips and Techniques: How to Create Stunning Imagery
Composition – A Word On Leading Lines
Compositional tips in bits and pieces have been shared in the previous paragraphs, but here are some more specific suggestions. Who doesn’t love leading lines? Great photographers look for them whenever they can. So, why should someone forego them when photographing a couple?
If you are photographing at a wedding venue find a wall, preferably a white wall or fence which can work as your leading line. You can also use a path, a graveled or paved pathway leading the viewer into the shot and the couple.
Background
Whether you end up utilizing the background in the composition will depend on whether it is adding anything to the photograph or not. If you own a wide open prime lens, like the 85mm f/1.8, you would be tempted to shoot at f/1.8 and therefore obliterate everything in front and back of the focusing point.
That said, you can also use a 24-70mm lens at something like 40-ish mm while stopping down the aperture to get a larger depth of field. It all depends on how interesting the rest of the scene is.
If it is the crux of the golden hour, about the time when the blue hour starts to make its presence felt, you could prefer a wide-angle lens and set it to a large depth of field (use a small aperture). The sky is blue with the setting sun still holding up one corner with bright hues of yellow, red and orange. You can play around with these colors, exposing for the background and use a strobe to light the subjects. A large depth of field incorporating the background becomes imperative.
Shooting Angles
When photographing a woman, try to place your camera slightly higher so that she is looking up rather than down. This has several advantages. First, her jawline is tighter and firmer and there is very little possibility of a double chin. Second, her body appears thinner and in proportion, which is always a good thing as well.
The problem is when you are shooting a couple of shot, you have to photograph both the man and the woman together. That means two postures that should complement each other perfectly. Plus, one camera angle that would complement both the man and the woman. There are several parameters that tend to go into deciding what camera angle to shoot from when you are photographing a couple.
If the woman is much shorter than the man, then shoot from an angle that is slightly looking down on her. That said, you can experiment with the angle, shooting from a lower angle or higher angle with different backgrounds and focal lengths to see what works. One of the tricks is to use a wide-zoom lens and zoom in from a distance.
Read: A Beginner’s Guide to Candid Wedding Photography
Portrait Photography Poses
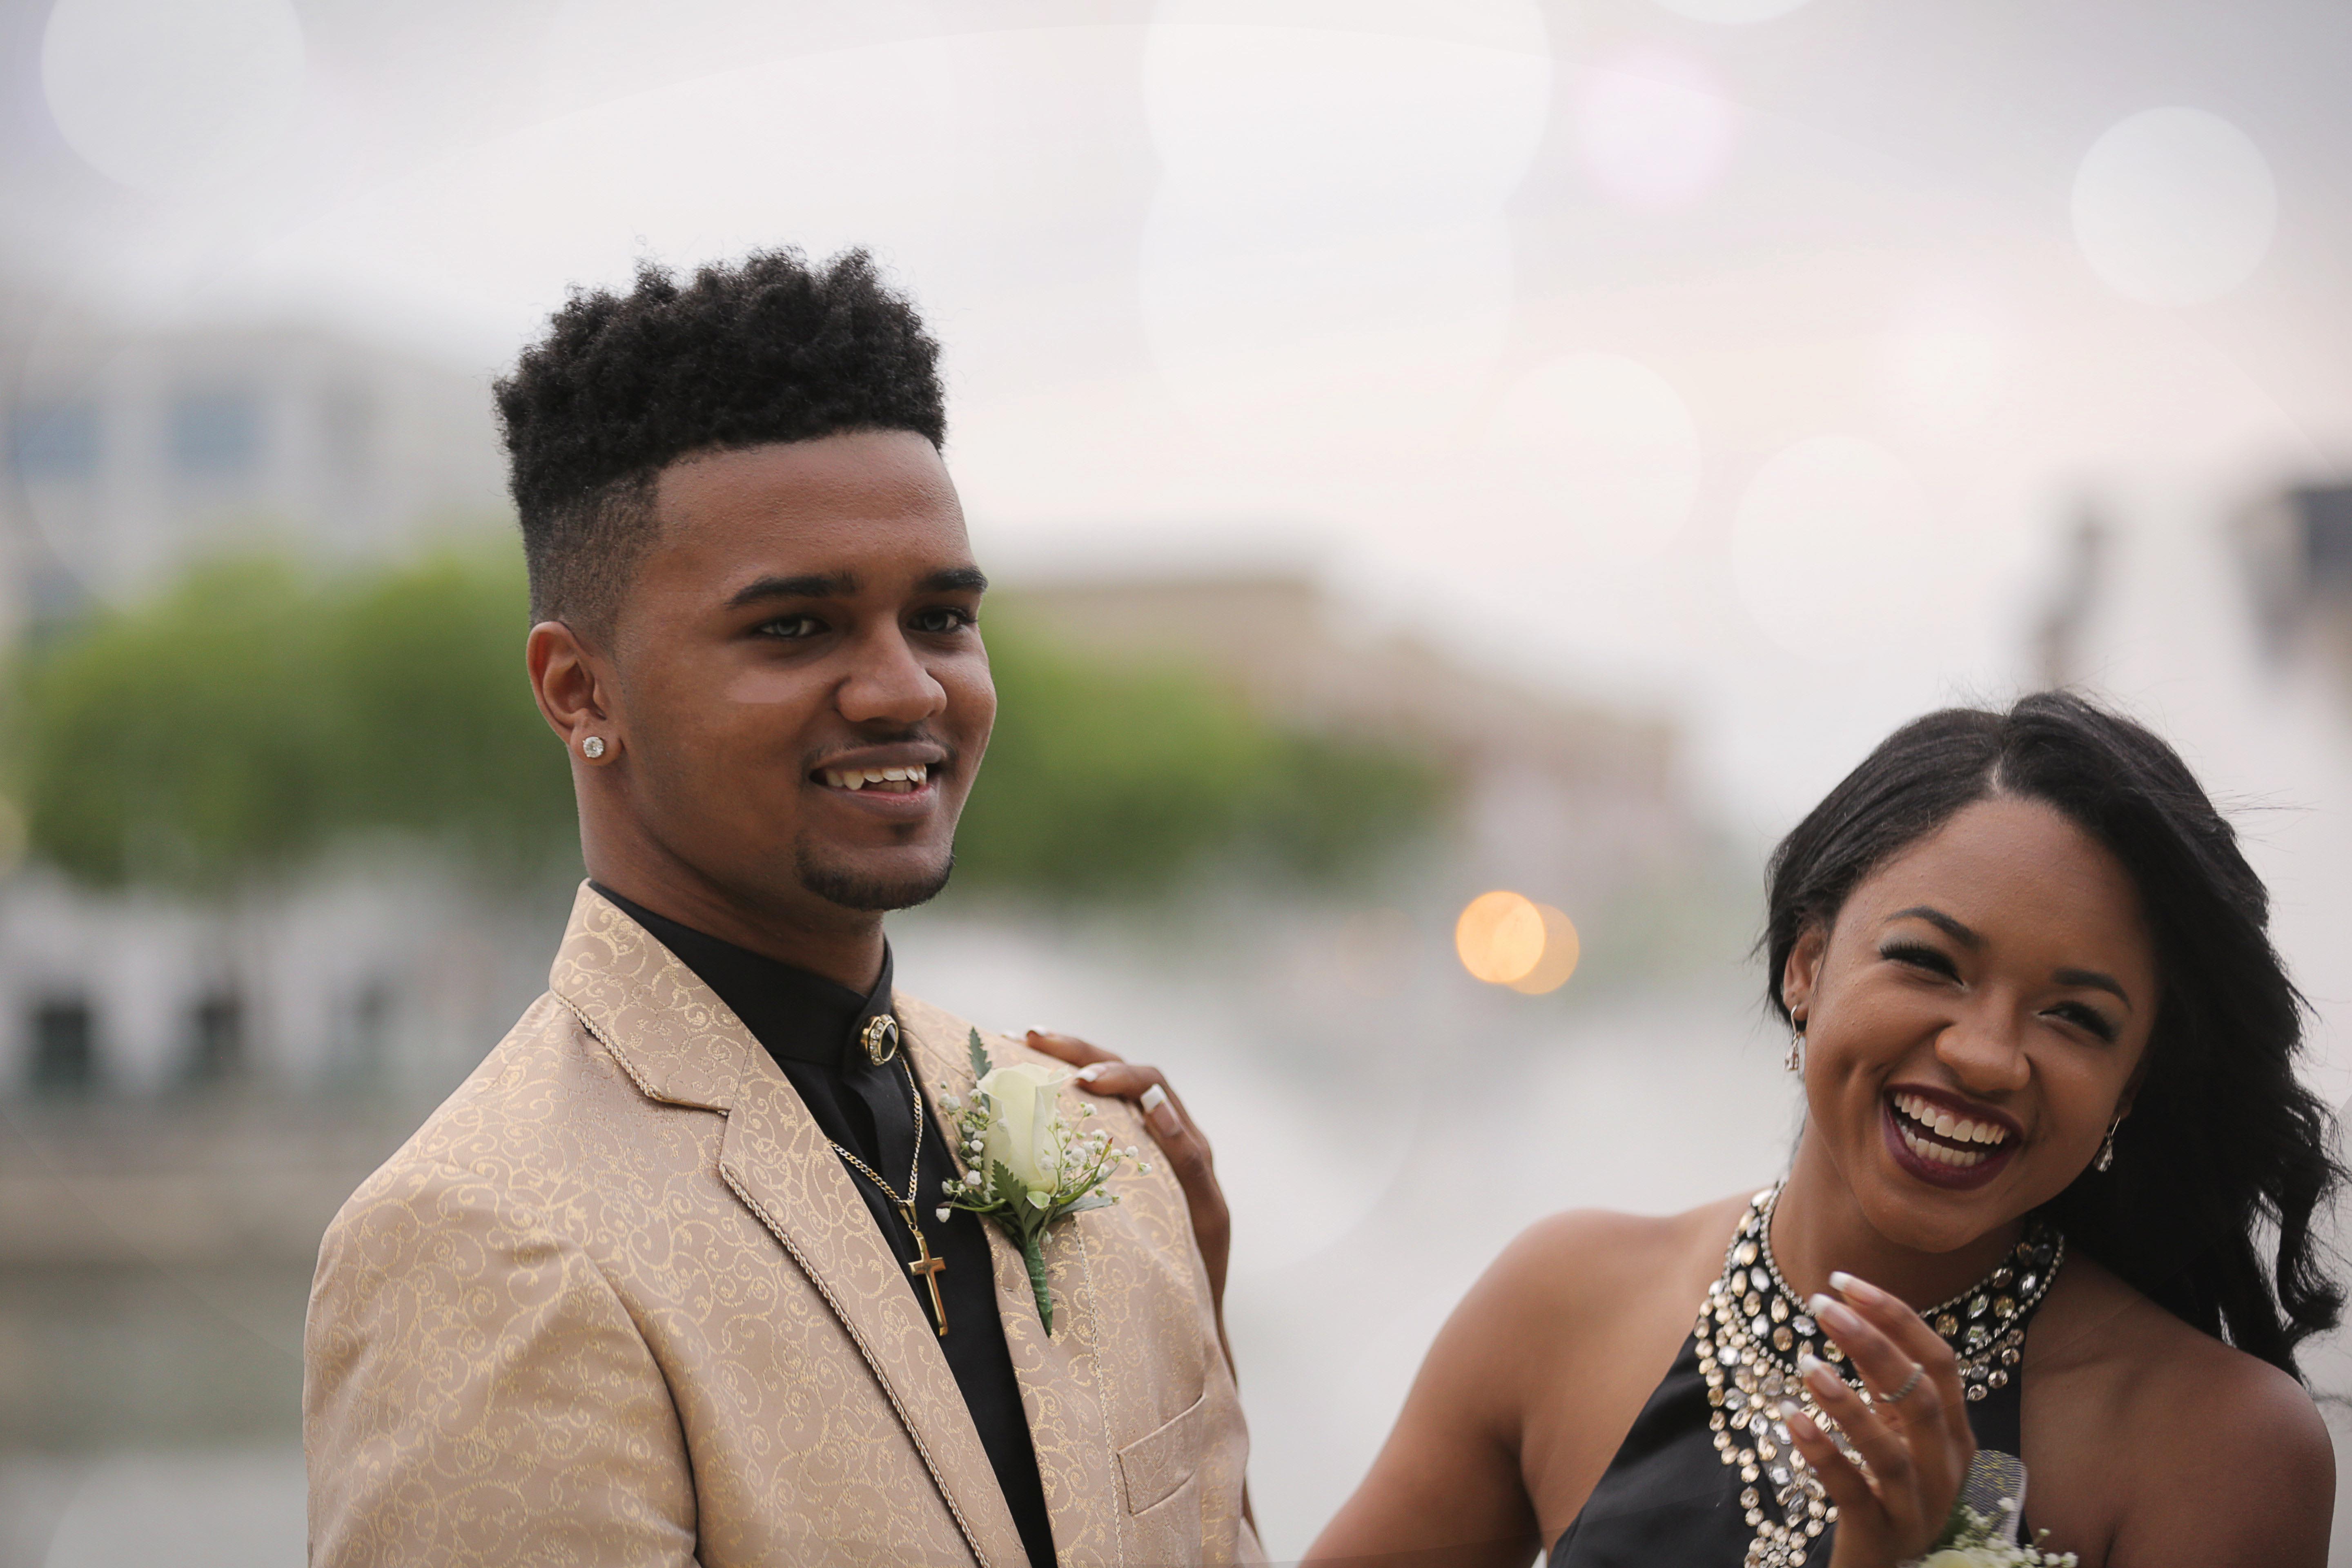
Did you know the posture of your couple can make or break an image? E.g., most people don’t quite know what to do with their hands. Things tend to go south if the couple is shy or uncomfortable to start with. So the first thing to do is to ease them out and give them confidence.
Use the man as your pole position
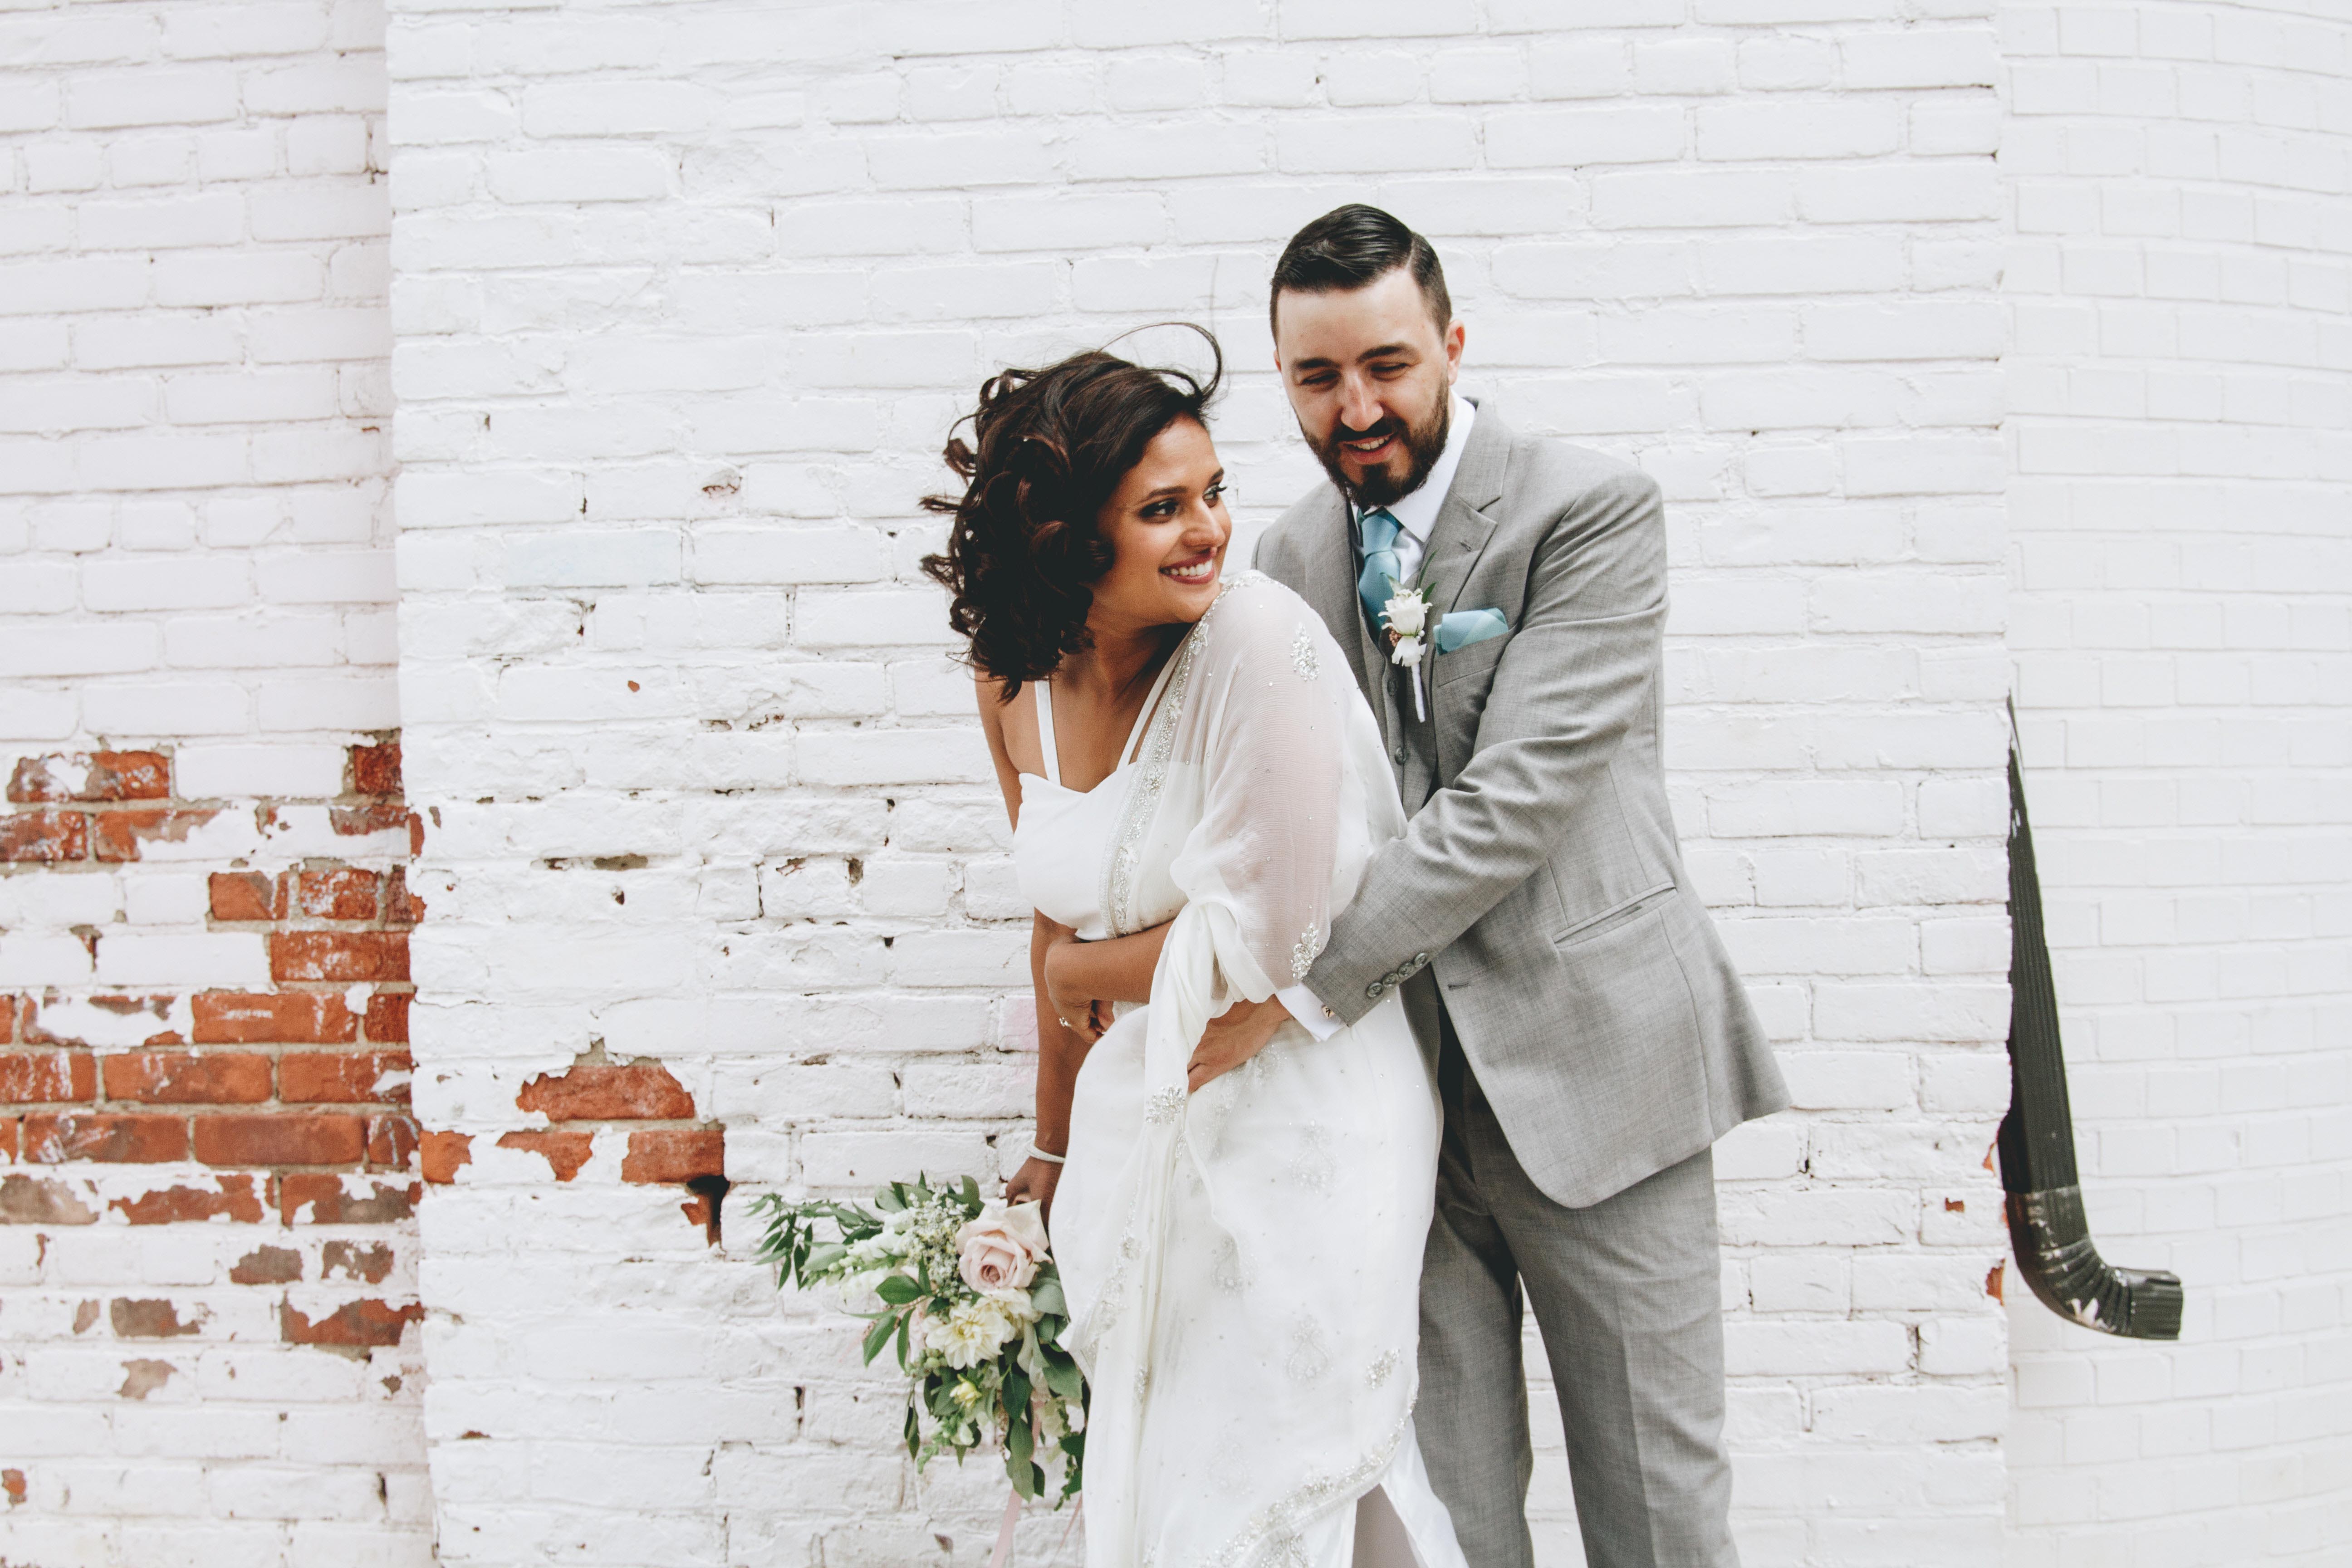
Once you see that they have the confidence to face the camera, make sure you have their postures right. Men are often surprisingly cooler and more confident than their female counterparts. You can use the guy as your pole position. Ask him to stand firm, hands in the pocket with only the thumbs sticking out. The classic macho posture. If there is a railing at the back or a wall, ask him to raise one foot and support it on the wall/railing behind.
The woman can hold her man’s hand. A favorite with a lot of photographers is the woman on the left of the picture and the man on the right. You may feel this is the opposite of the Yin and Yang concept. You are free to change the pose around and see what works for you. Whatever you do, don’t be shy to experiment.
Try using the off-camera look
You could also try using the off-camera look. Start with the classic look that is a natural outcome of the tip that was shared in the first paragraph. Ask the couple, “How was it like when you first saw each other?” While they are looking at each other and smiling, reminiscing that moment, that’s your cue to make the shot.
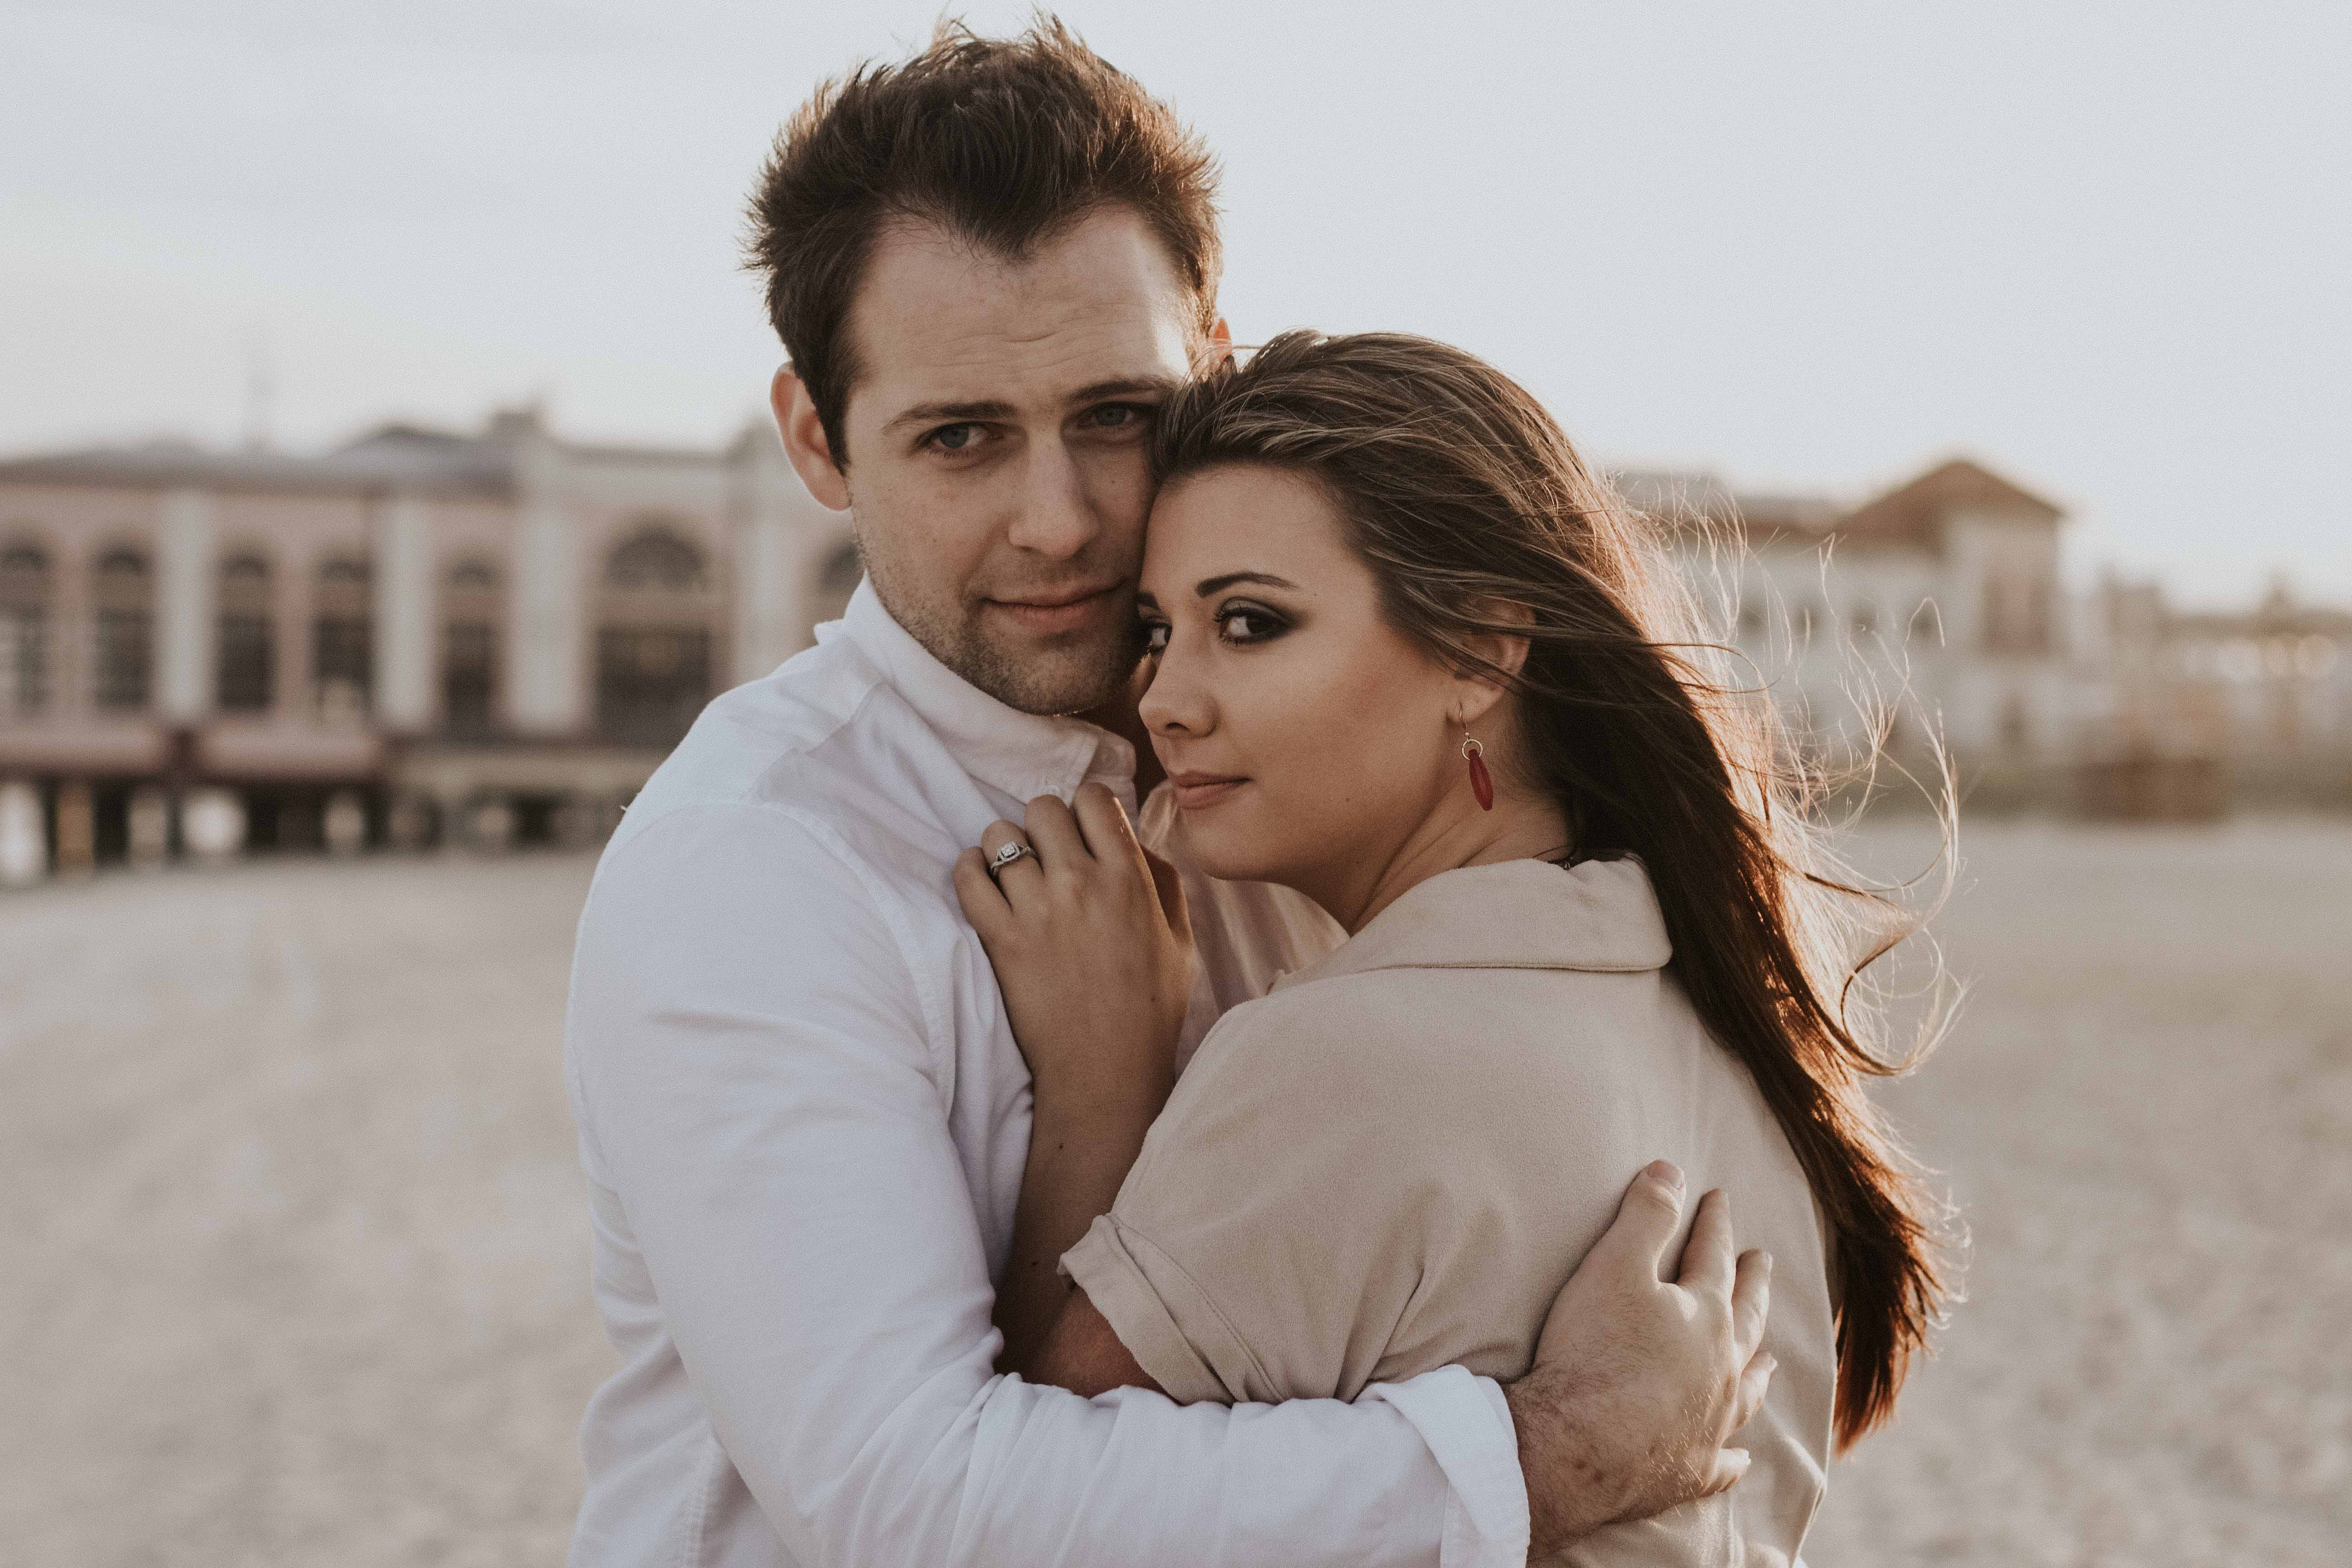
Speaking of postures, you could also try the posture where the woman is leaning on the man with her right hand over his chest, her head leaning into his. This is usually a good way to start.
If you need more ideas, you can use these classic couple sample poses.
The Secrets to Put the Subject at Ease
Physician Heal Thyself
You are not merely someone with a camera taking pictures of a couple. You are the source of confidence for them.
Most of the time, a couple has mixed emotions about getting their picture taken. The woman is almost always too conscious of herself and is worried about the final results. So, even if you are a bundle of nerves, even if it might be your first couple session, don’t show it. The last thing anyone needs at a couple of photoshoot is a nervous photographer.

Compliment the Couple
If you see that your couple is a bit nervous, put the camera away and tell them that they are looking great together. Even if you know exactly how long they have been married (or know each other if it is a pre-wedding shoot), make it a point to still ask them. Always follow up on their answer with another compliment. It usually takes the focus off the shoot and brings in a moment of reflectance. For a moment their mind is off the photoshoot and concentrating on their relationship.
Find The Right Balance
It is always a fine balance between becoming a micro-manager and letting the couple take your cues and then do something on their own. Based on experience, the initial few minutes are the most difficult. It takes some extra effort to ‘break the ice’.
Once those first few minutes are behind you, things become much easier.
Smile
Believe it or not, it is you who set the tone for a portrait shoot (or a couple of shoot for that matter).
So, if you are smiling, cheerful, and joyful, things are way easier to take care of. A smiling face and a jovial way of doing work become contagious. Your couple is more likely to get a lot more comfortable when they see a very friendly face in front of them.
Crack A Joke
Keep some jokes handy, and crack them at the right time. It keeps things lighter. Any photographer who shoots portraits for a living has to have extremely good interpersonal skills.
Insider Tips from the Expert
The most difficult situation that we have handled is mixed lighting at Indian weddings. If you have attended an Indian wedding, you would know that it is always a big elaborate affair with friends and family gathering, and often staying together for a couple of days at a resort until the formalities are complete. Receptions are always done in the evening at a venue and therefore is always bedecked with artificial lights.
The problem with these artificial lights is that they are never consistent; meaning, they are of different types and styles. Plus, they are never daylight-balanced. The challenge is to overpower these artificial lights so that you can create a decent one color cast that you can adjust in post-processing later on. The solution is to use a strong external light source.
Another problem that we have faced is giving a specific effect to a shot, such as when we shoot a pre-wedding or engagement shoot and we need to get the golden hour effect. The usual approach is to shoot at the golden hour, but what if we are shooting early in the afternoon?
What we tend to do is we use a CTO gel over a powerful strobe. The CTO gel renders a strong orange color cast to the light fired by the strobe. This mimics the light of the sun at the golden hour.
Read: What Wedding Photography Experts Wish They’d Known When Starting Out
The Final Touch: Printing the Photos
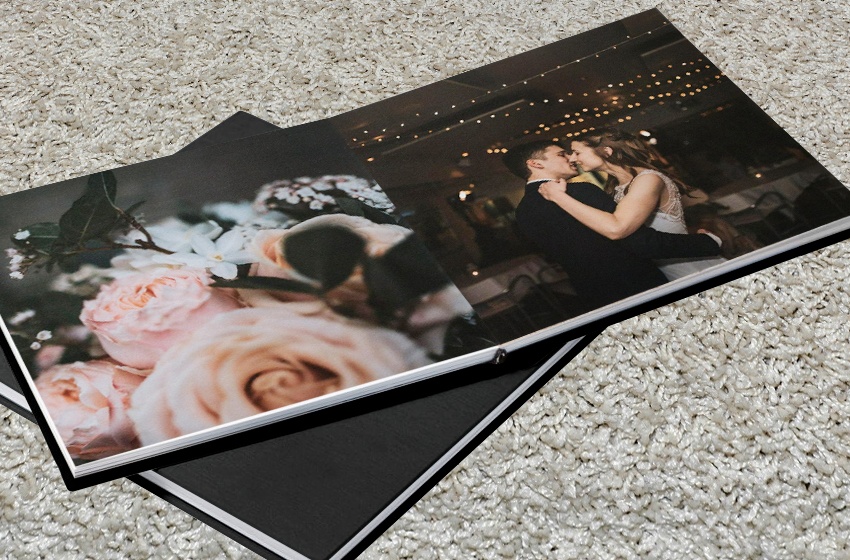
Once you’ve got the images beautifully shot and edited, present them to your client in a beautiful photo album. There’s a huge difference in seeing photos on the screen and in the flesh, and having the images neatly arranged and printed on high-quality materials will definitely add a nice touch to the overall experience.
Our Pro Plan service is designed to help photographers provide the best experience for their clients. With a premium range of handcrafted photo albums, you can create bespoke albums with your own branding and design, resulting in personalized albums with a high-end look.
Don’t hesitate to contact us if you have any questions about this service!
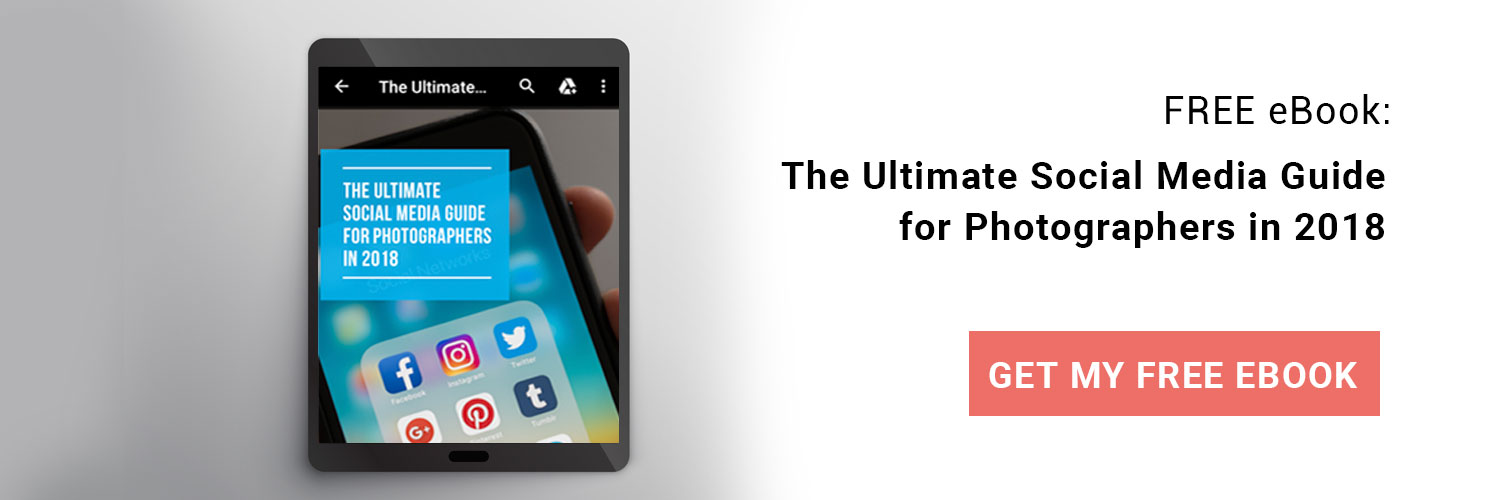
Do you want to learn more about using social media to improve your online marketing and grow your photography business? Download our FREE eBook: ‘The Ultimate Social Media Guide for Photographers in 2018’, and learn social media best practices and how you can use these to create effective strategies!


Be the first one to comment