
Why is it essential to understand natural light?
Table of Contents
- Natural Photography Tips for Beginners
- Time of Day for Natural Light Photography
- Dusk, dawn, and twilight
- Golden hour, sunrise, and sunset
- Natural light photography techniques for golden hour
- White balance settings for golden hour, sunrise, and sunset
- Morning and evening
- Midday and afternoon
- Natural light photography tips for shooting in the afternoon
- Hard light vs Soft Light
- Hard natural light photography
- How to use hard light
- Soft natural light photography
- Using natural light indoors
- Natural light and shadow photography
Natural Photography Tips for Beginners
Lighting is an important, if not crucial element of photography, and understanding natural light is the foundation of mastering light. By learning about natural light, you’ll be able to understand the characteristics of lights, which will be incredibly helpful when learning about the techniques later on.
In this article, we’ll talk about everything you need to know about natural light photography; from the light characteristics to the tips for natural light photography and techniques for tackling difficult lighting conditions.
Time of Day for Natural Light Photography
The time plays an important role in natural light photography, and the best time of day for natural light photography depends on the images you want to create.
Each time of day has different characteristics of the light; the white balance, the colours, and the direction of the sun. While people might ask what’s the best time of day for natural light photography, the answer will depend on the kind of shots and mood you want to create.
Understanding these characteristics will help you learn how to tackle the challenges in each case, and the best way to work around the different challenges with your camera.
Dusk, dawn, and twilight
Colours: Blue
The direction of the sun: Below the horizon
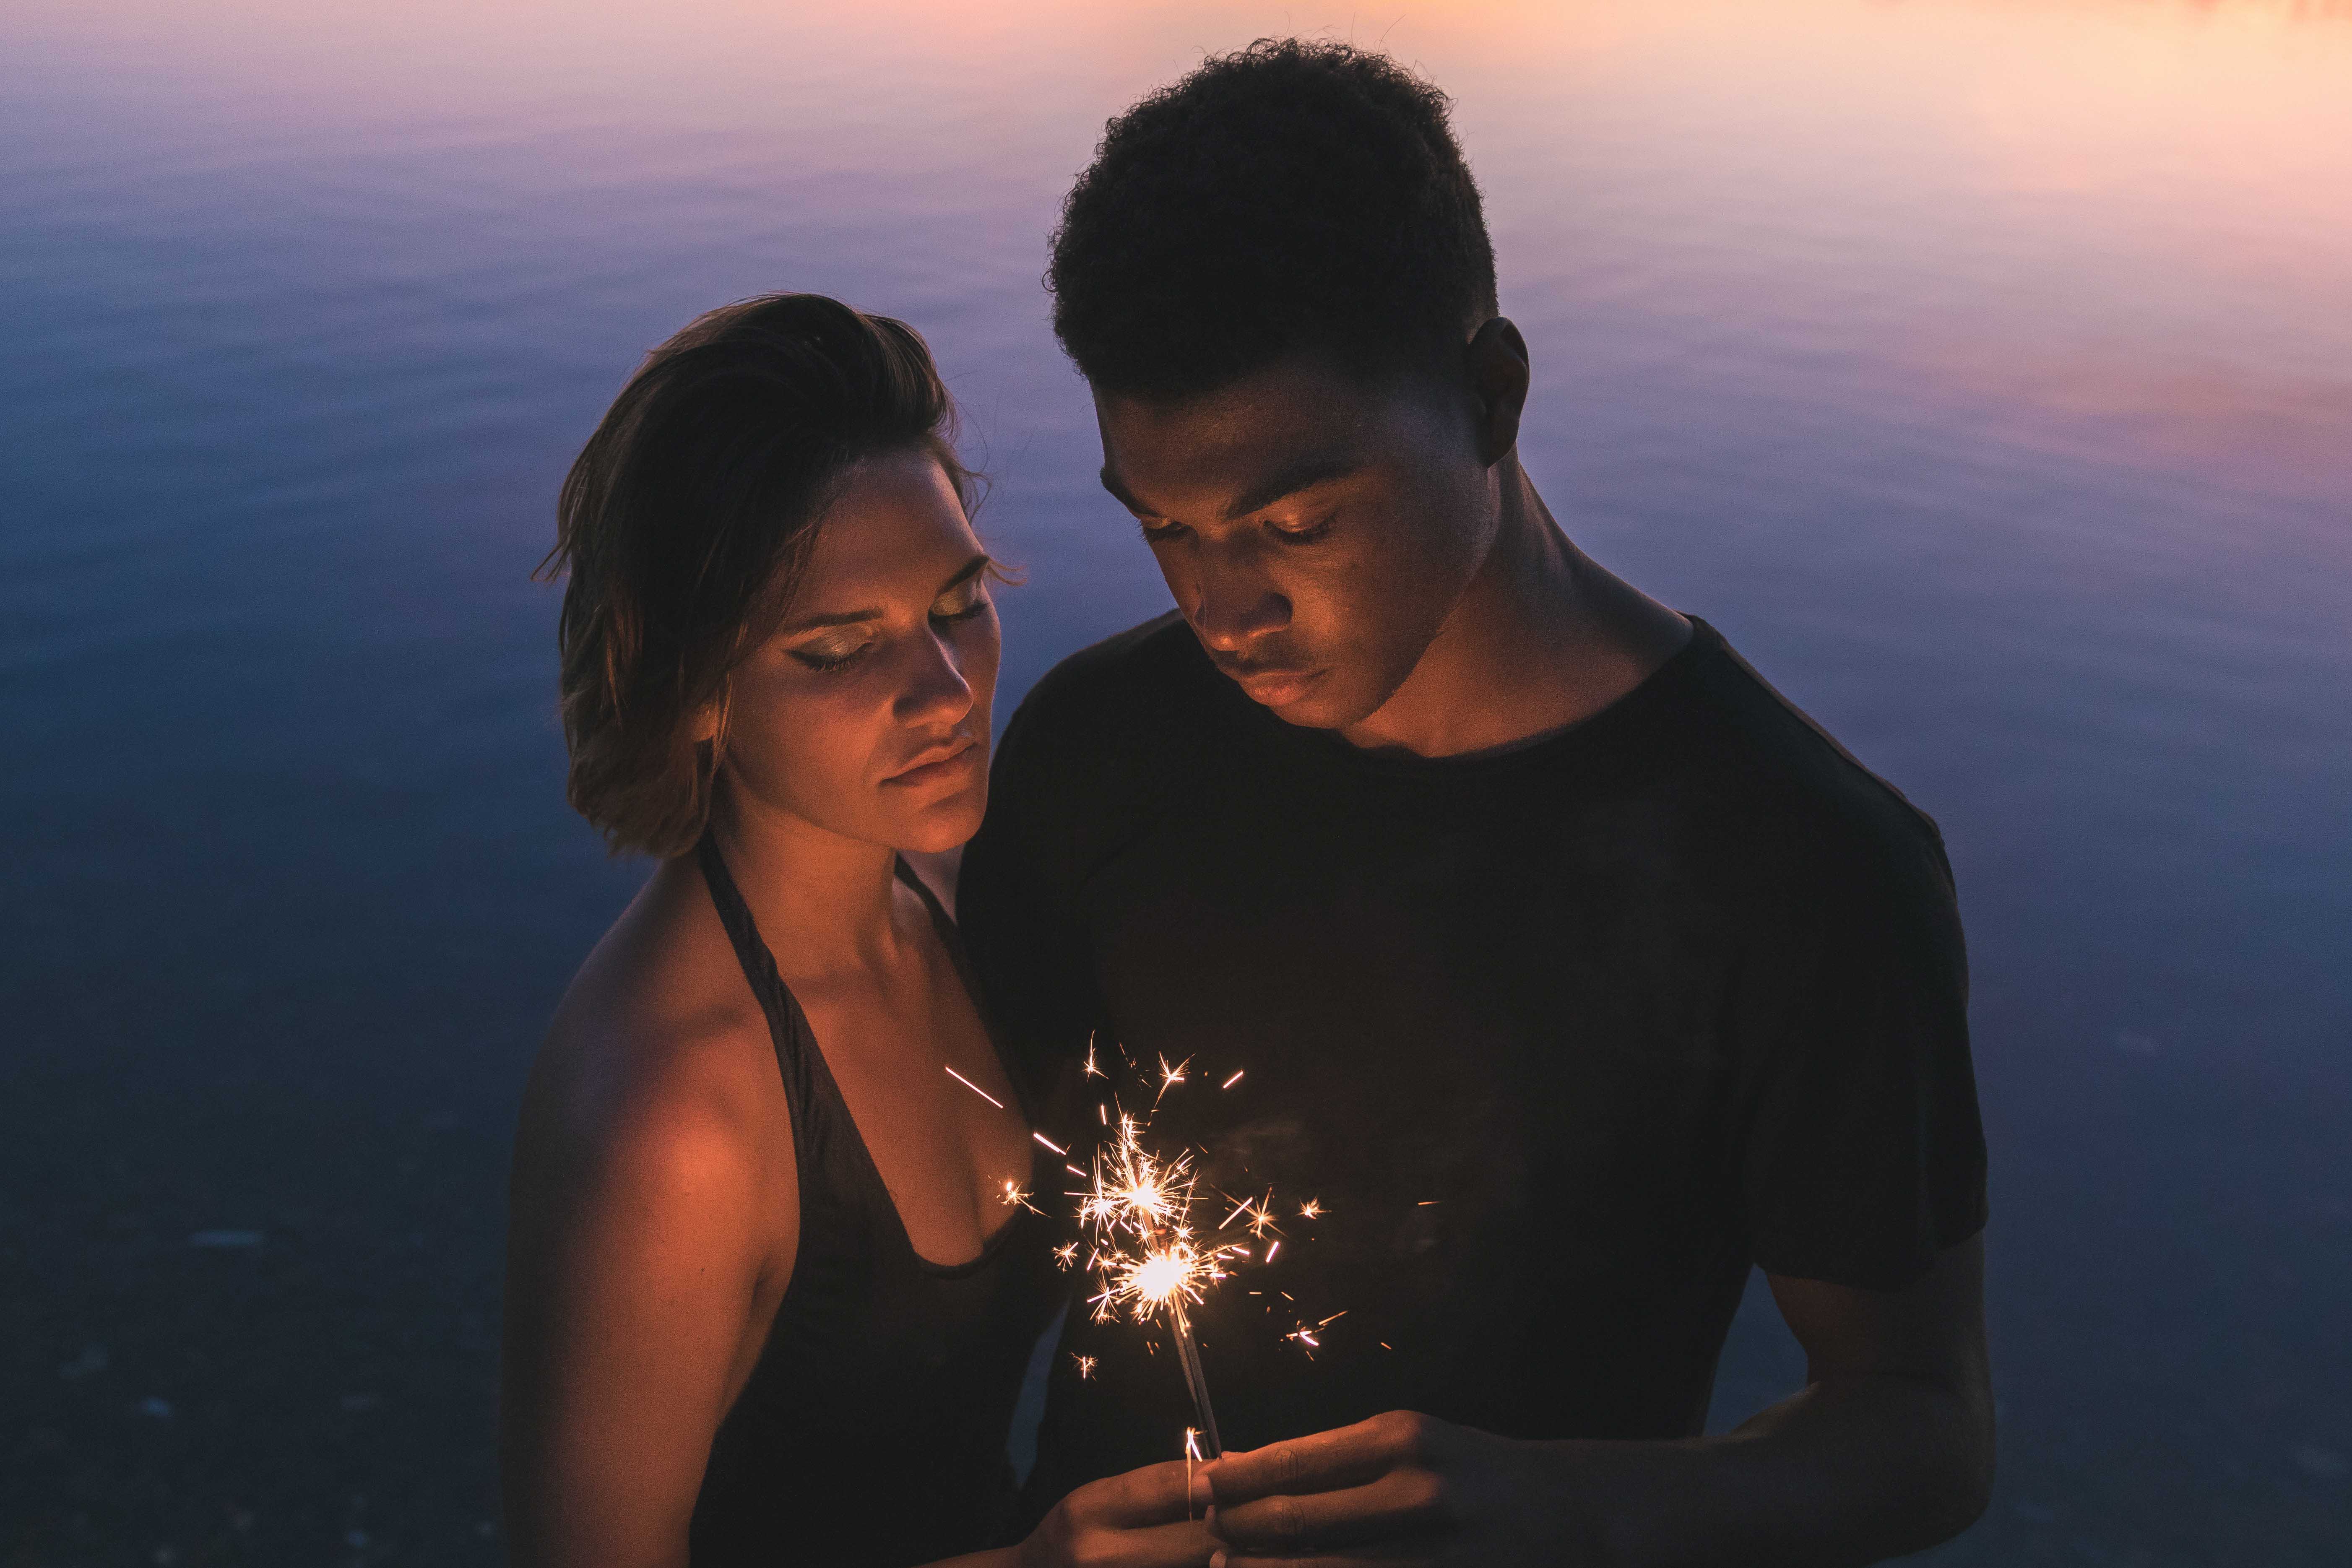
This is the time before sunrise or after sunset when the sun is below the horizon, and there’s only ambience light. This light is usually low and diffused with a blue tinge, creating a calm tone for images.
The colours during these times are delicate with low contrast. Be careful when using automatic settings, as it often counteracts the dark ambient light by overexposing the shots, therefore washing out the colours. Use manual settings if possible, and use composition to add depth to the images.
Another big challenge of shooting during this is dealing with low light conditions. You will need to use a slow shutter speed (at least 1/60 s), so make sure you always use a tripod. Check out our tips and tricks to deal with shooting in low light conditions for more details.
Golden hour, sunrise, and sunset
Colours: Yellow, Orange and Red
The direction of the sun: Near horizontal
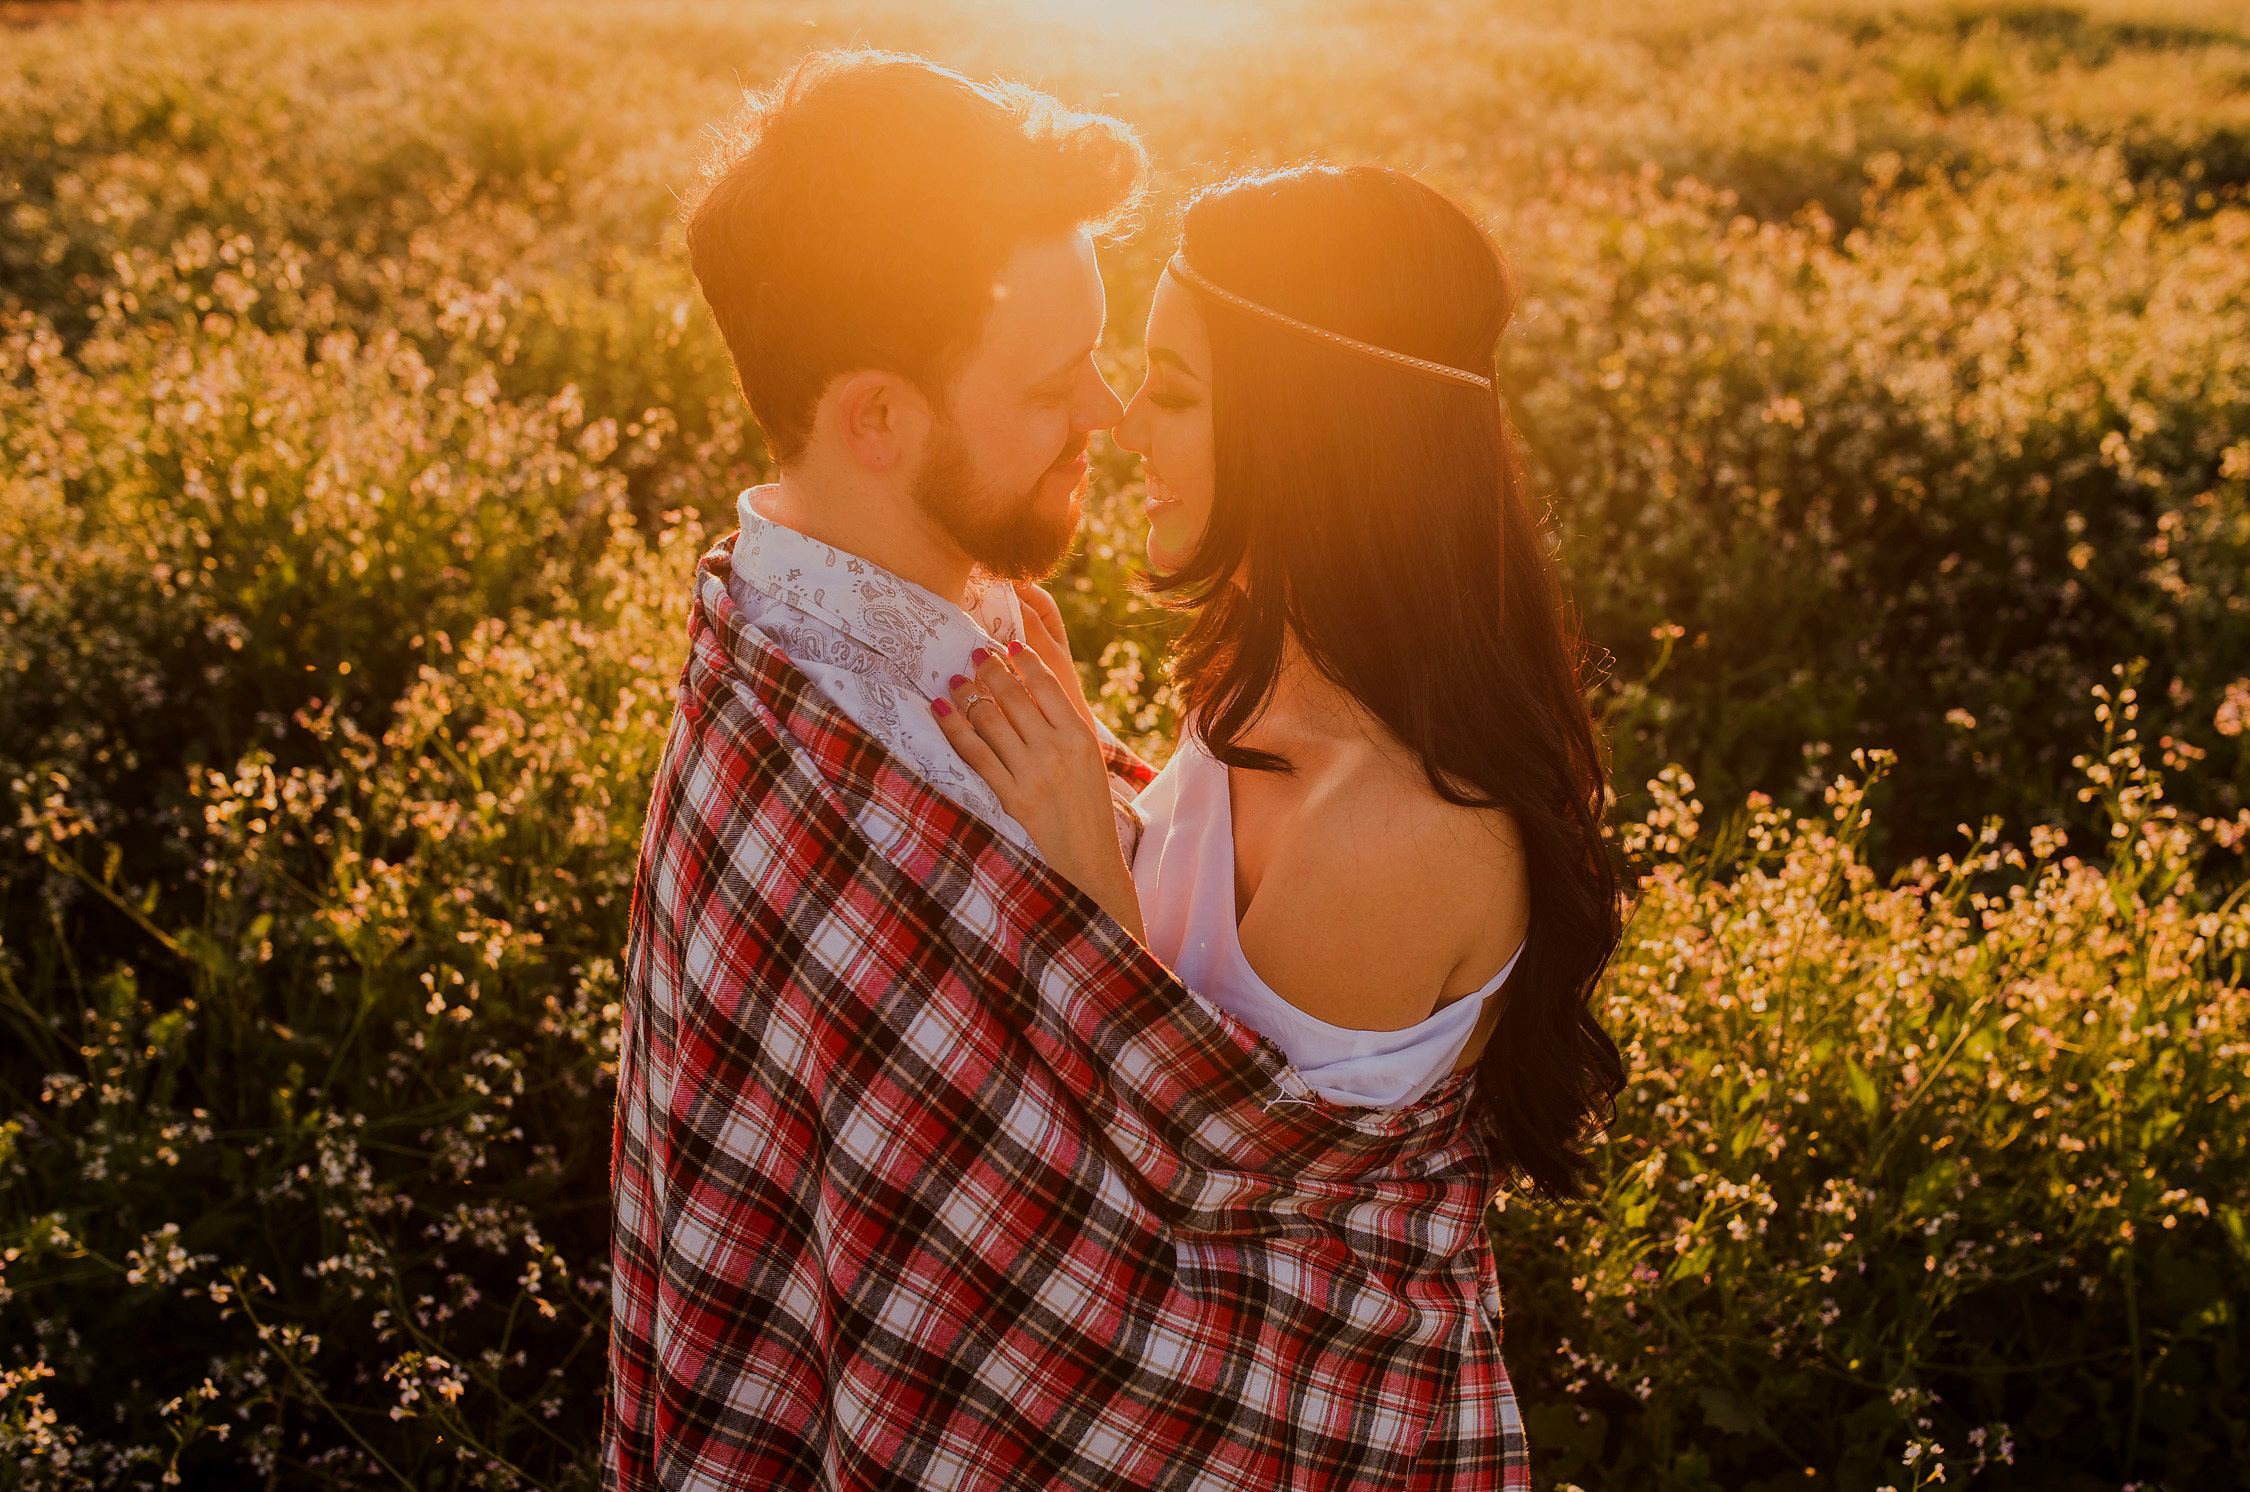
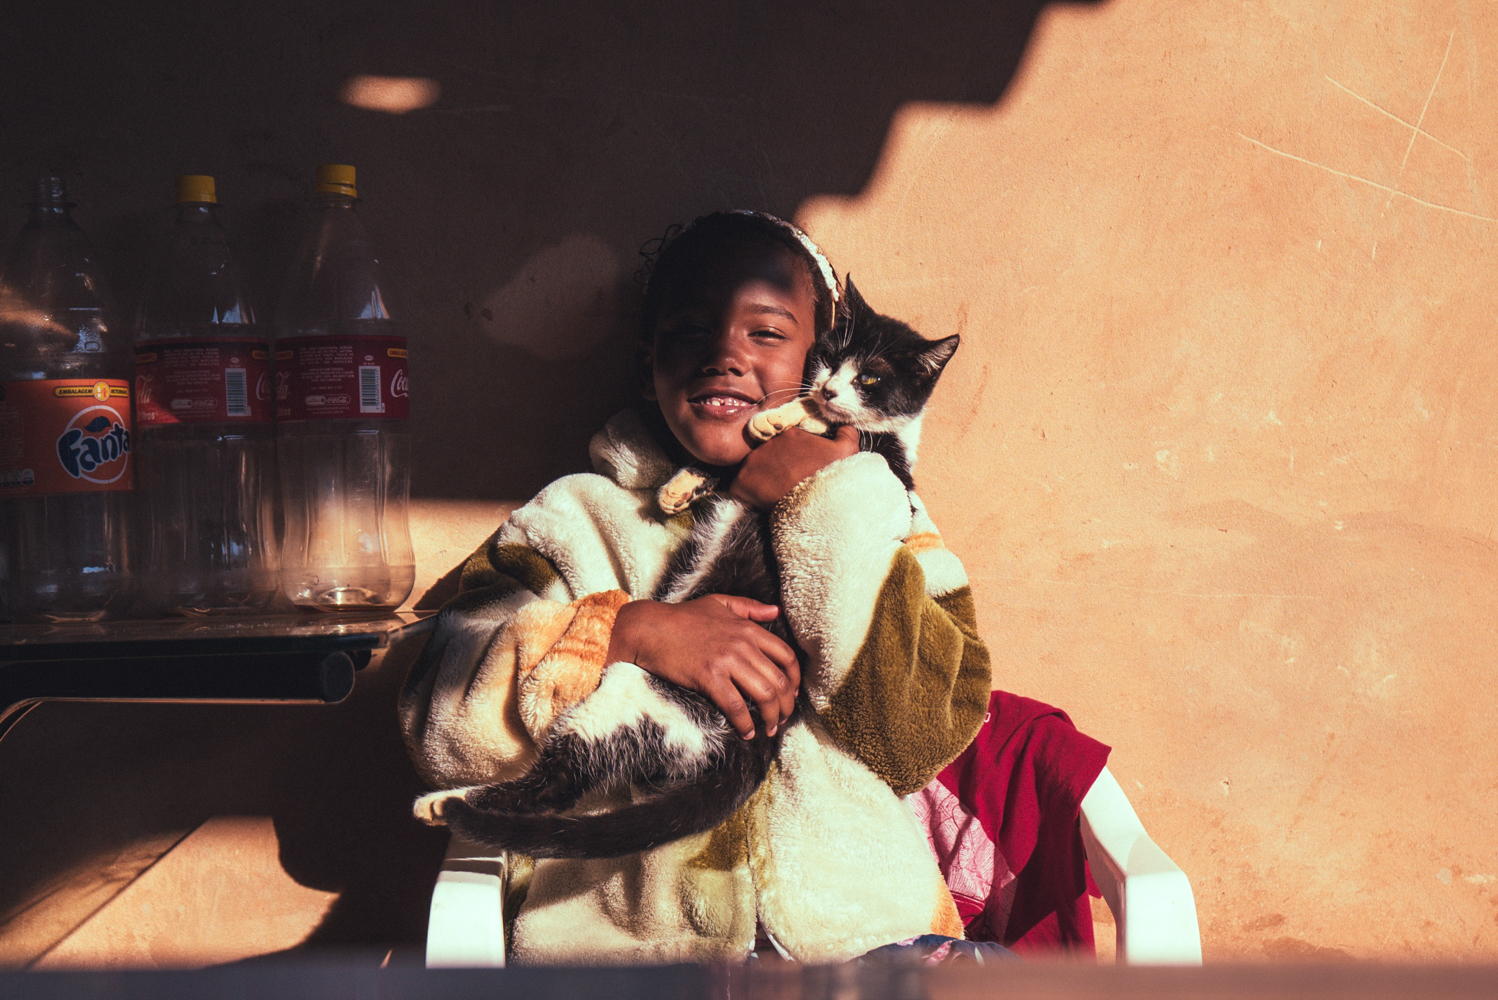
The prime time in photography, the golden hours (the hours before sunset and after sunrise) are photographers’ favourites. As the sun direction is near horizontal, the light during this gives a warm glow and low contrast, which make for flattering and evocative portraits.
Natural light photography techniques for golden hour
There are a few ways to make the most of this gorgeous light:
- Front lighting – position your subject to face the sun, and the sun will light them perfectly. So effortless, with a beautiful result
- Backlighting – put the sun behind your subject to get the soft, glowy look. This looks incredibly stunning and flattering for portraits
- Rim lighting – when the subject is placed in a backlit condition, the soft outline glow is what’s called the rim. It is often used to bring the focus on to your subject
 Rim lighting when the subject is backlit
For landscape photographers, the light during these times gives a whimsical atmosphere and mood to the images, creating a more interesting story in the pictures.
White balance settings for golden hour, sunrise, and sunset
When shooting during this time, using auto white balance setting is not recommended, as it often tries to counteract yellow, causing the photos to lose the warm tone and fall flat.
If you want to heighten the warm tone, you can use ‘cloudy’ or ‘shade’ white balance settings, which will take the warm colour up a notch.
On the other hand, some photographers like to experiment with the sunset/sunrise and focus on other colours such as pink, magenta, or purple. For this, try out different white balance settings to get the tone that you want to achieve, like ‘fluorescent’, ‘tungsten’, etc.
Morning and evening
Colours: Warm yellow
The direction of the sun: Mid to low

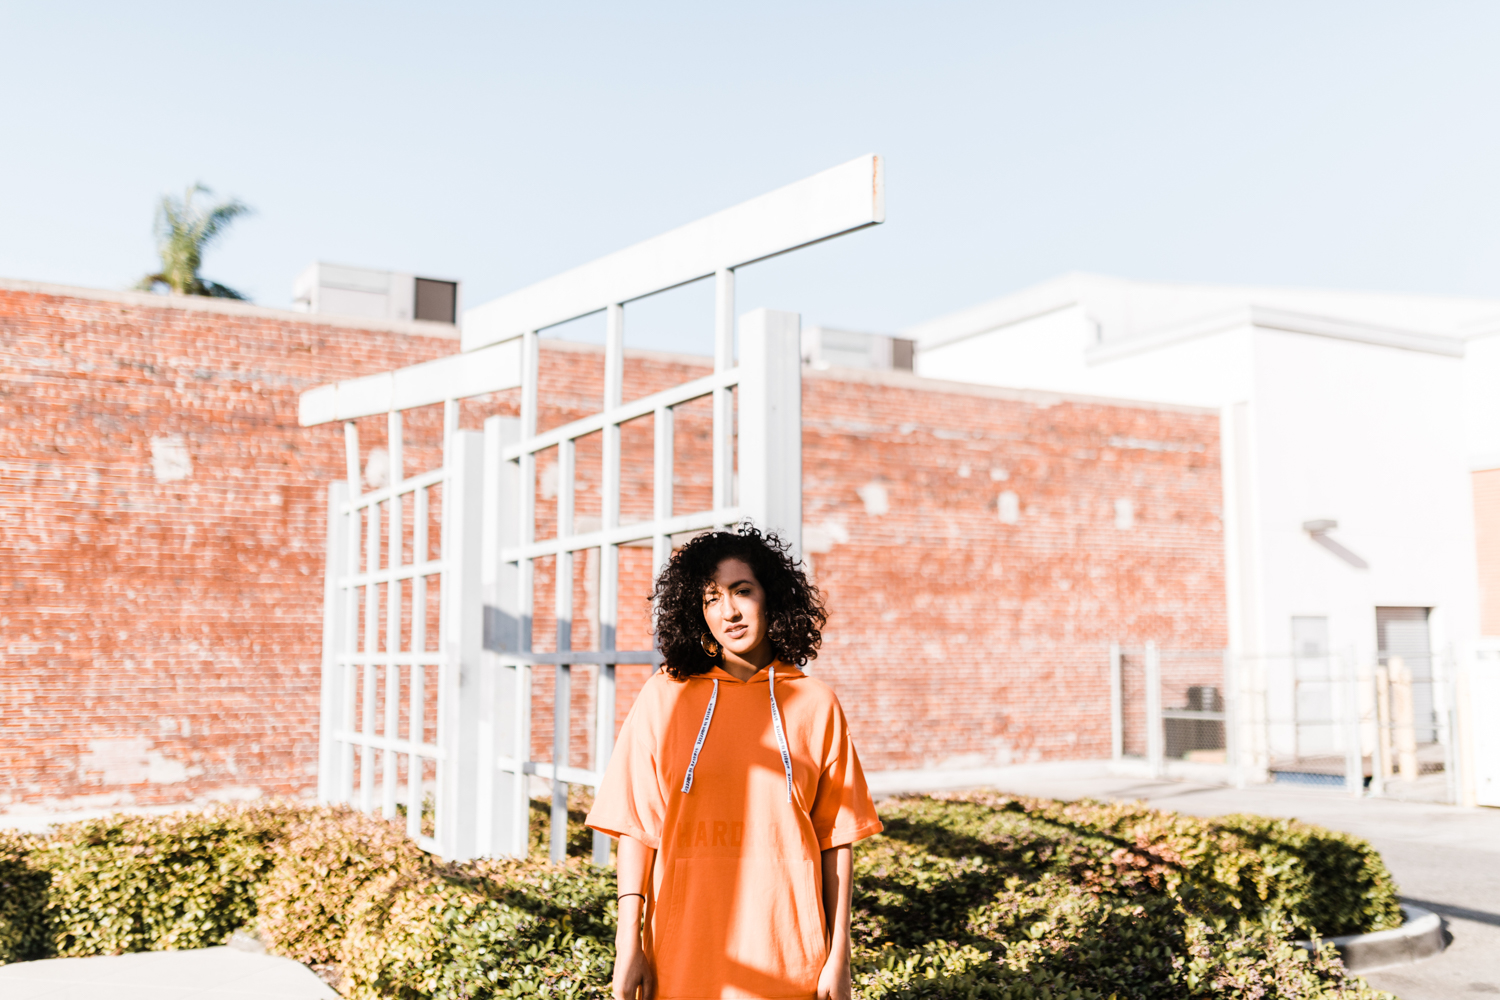
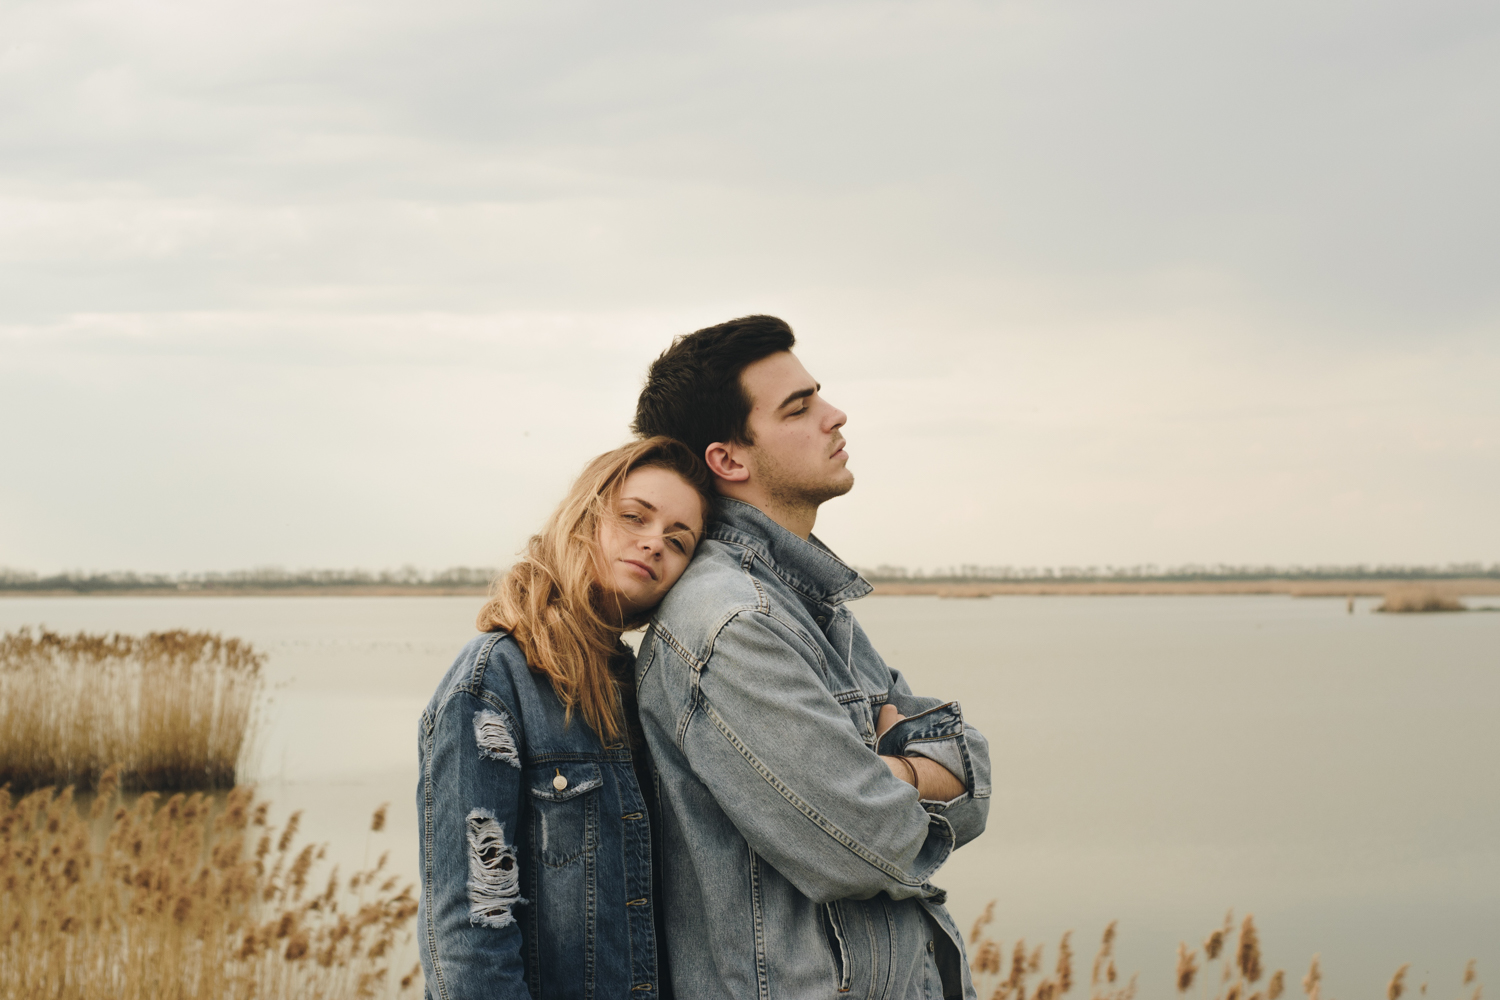
This time of the day is usually quite ‘safe’ for photography. The lighting is not tricky, but there’s also nothing special about it. As a result, images can often look flat and ordinary, as there are no characteristics to the lighting. Unless there’s a specific weather condition that can help enhance your photos, it’s hard to create a remarkable picture.
To compensate for this, play with the composition and perspective to create a unique image. Lighting is not the only way to draw attention to your photos. When it’s not possible, find other ways to make your shot special.
Midday and afternoon
Colours: White
The direction of the sun: Near vertical
The afternoon, especially midday gives the hard light that can often be difficult to manage. Due to the vertical direction of the sun and the strong light, harsh shadows and high contrast are unavoidable. This direct and strong light, often known as hard light, is unflattering for portraits, so avoid doing a session during this time.
Natural light photography tips for shooting in the afternoon
Having said that, if you must shoot at this hour, you can manage the lighting with a polarizing filter, a reflector, or even a flash to soften the contrast. In addition, strong midday sun can also be used to incorporate shadows in your photographs.
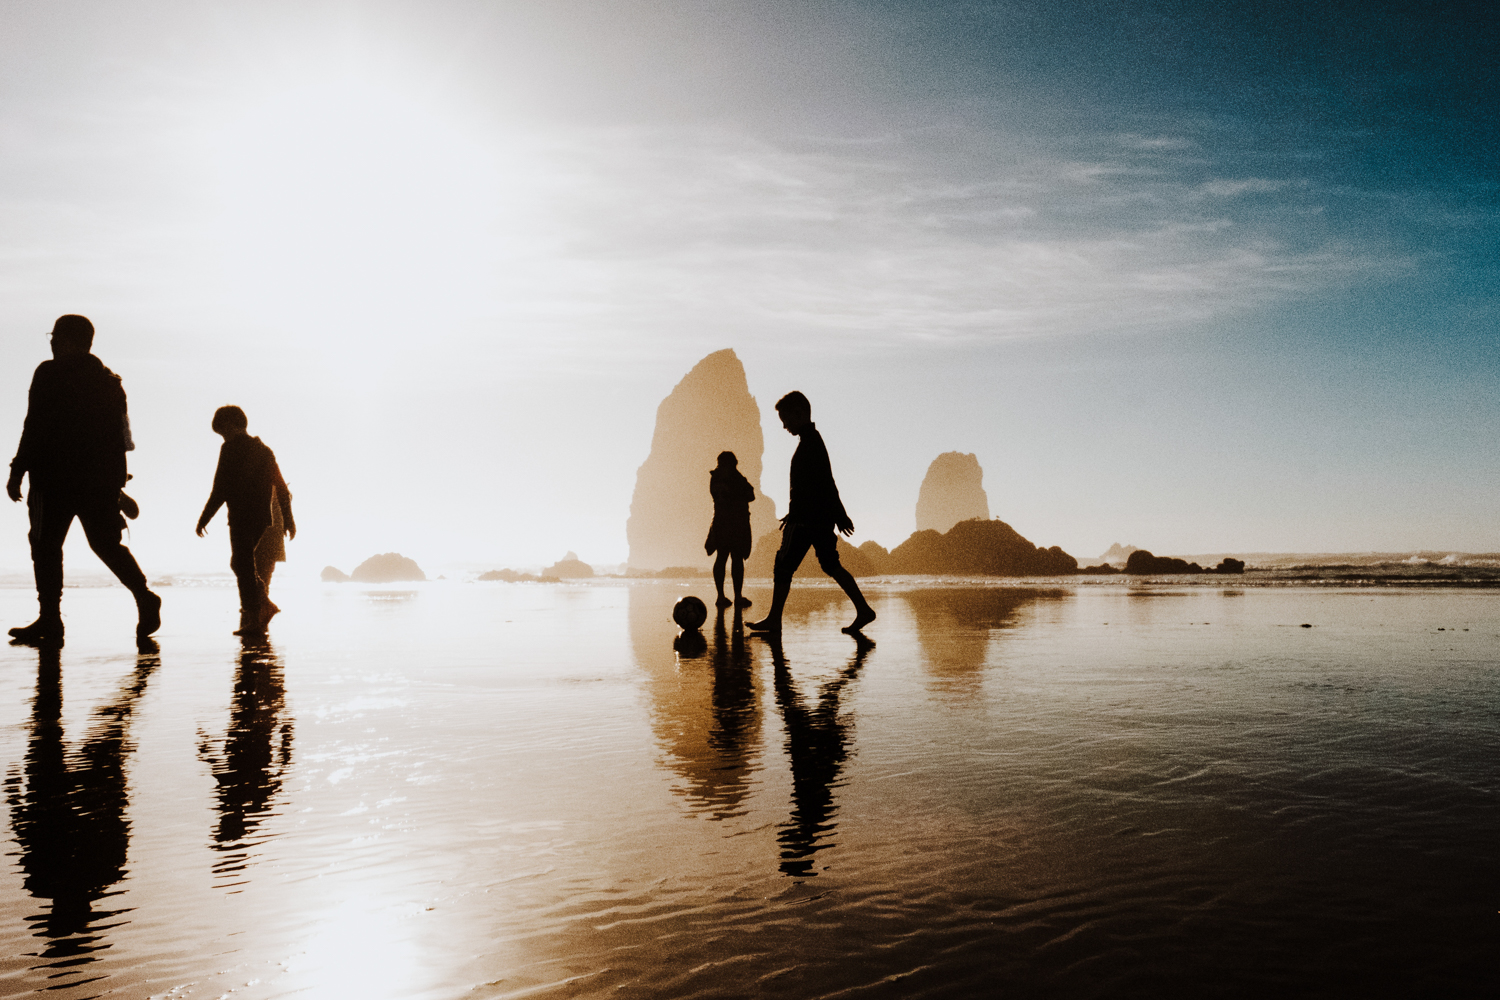
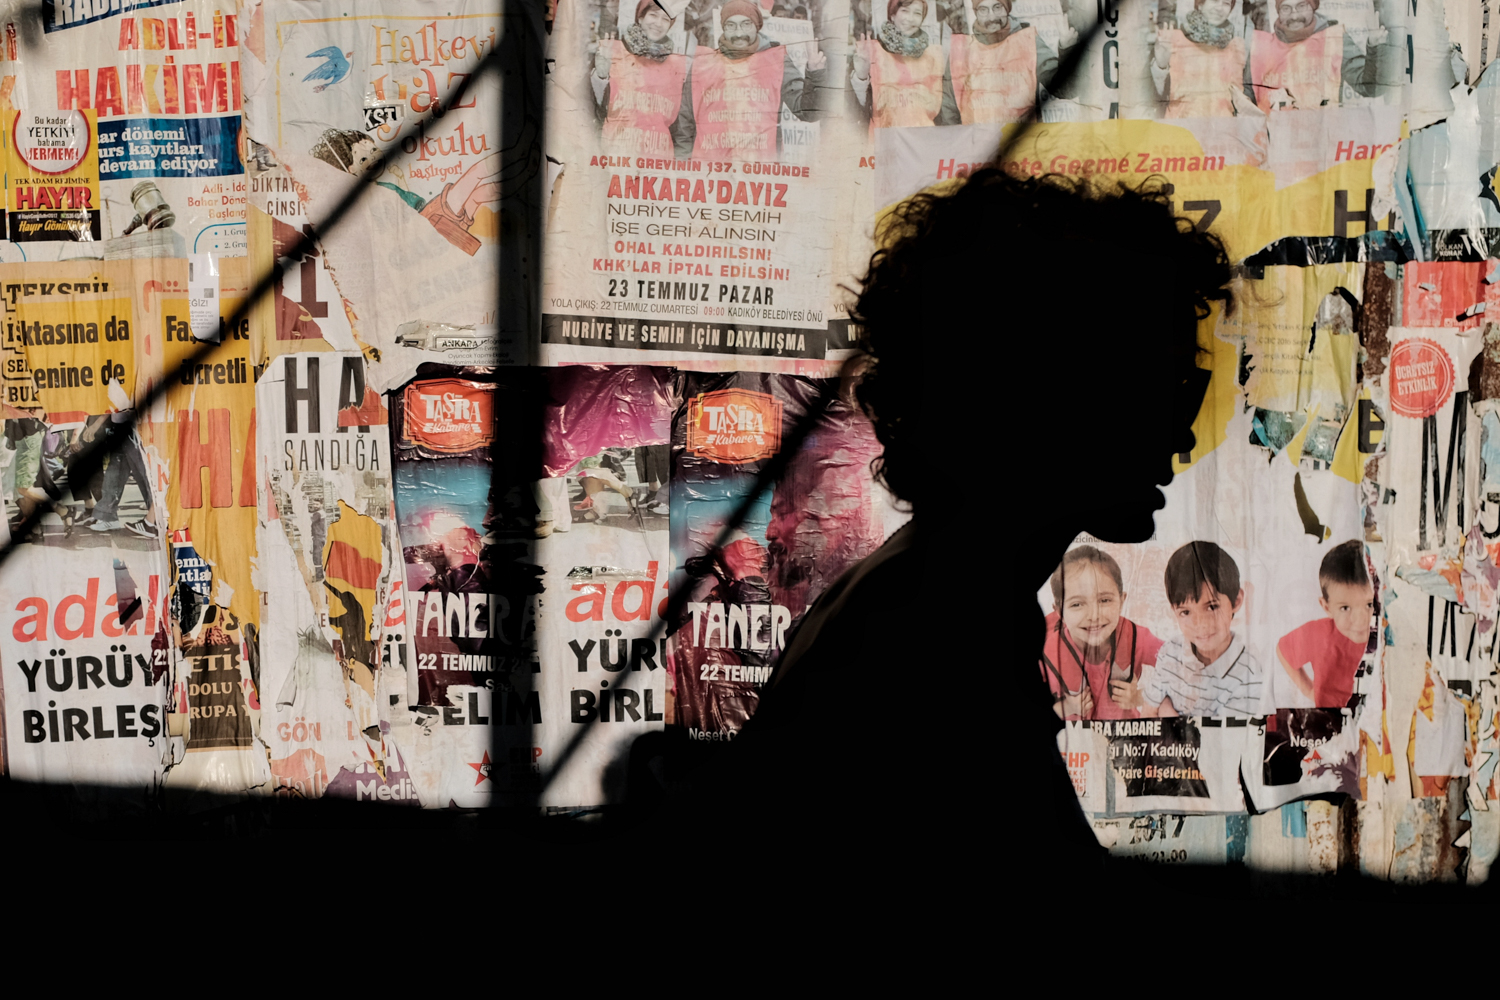
Good composition and some creativity can turn shadows from foe to friend. You can play with the shadow patterns for architecture photography, or use the high contrast to create striking silhouettes in your portrait or landscape photos. As explained by Format Magazine, you can use hard light as a challenge to get creative with your photography.
Hard light vs Soft Light
Hard natural light photography
Hard light occurs when the light source is small and the light is direct. This condition creates a significant contrast between the brightest and darkest parts of an image, with the shadows having hard edges around them, like the afternoon sun during a clear day.
How to use hard light
While hard light can often be undesirable for photographers, there are ways to work with it:
- Create black and white images – Hard light is characterised by high contrast, which doesn’t work very well in colour photographs. However, it’s very effective in black and white pictures, since high contrast is important to make sure that all the details can be picked out in the image.
- Use a reflector – When you need to use artificial light, it will often be too hard when shone directly onto the subject. Instead, beam the light onto a reflector, so that when it shines on the subject it is far softer.
- Use a flash – When the subject is in front of a light source, this leads to a silhouette effect. To counter this, place a flash in front of the subject in order to reduce the contrast.
Soft natural light photography
Soft light is characterized by soft-edged shadows and low contrast. The source is usually big or indirect, and the light is diffused. The light that you get on a cloudy day, or when you’re in shade, is considered soft light. When shooting indoors, the light that comes through a curtain can also be considered as soft light.
Compared to hard light, soft light creates a more subdued tone, which is good for portraits as it creates smoother images with less or no shadows.
Read: Portrait Photography: Tips, Guide, and Insights from the Experts
Using natural light indoors
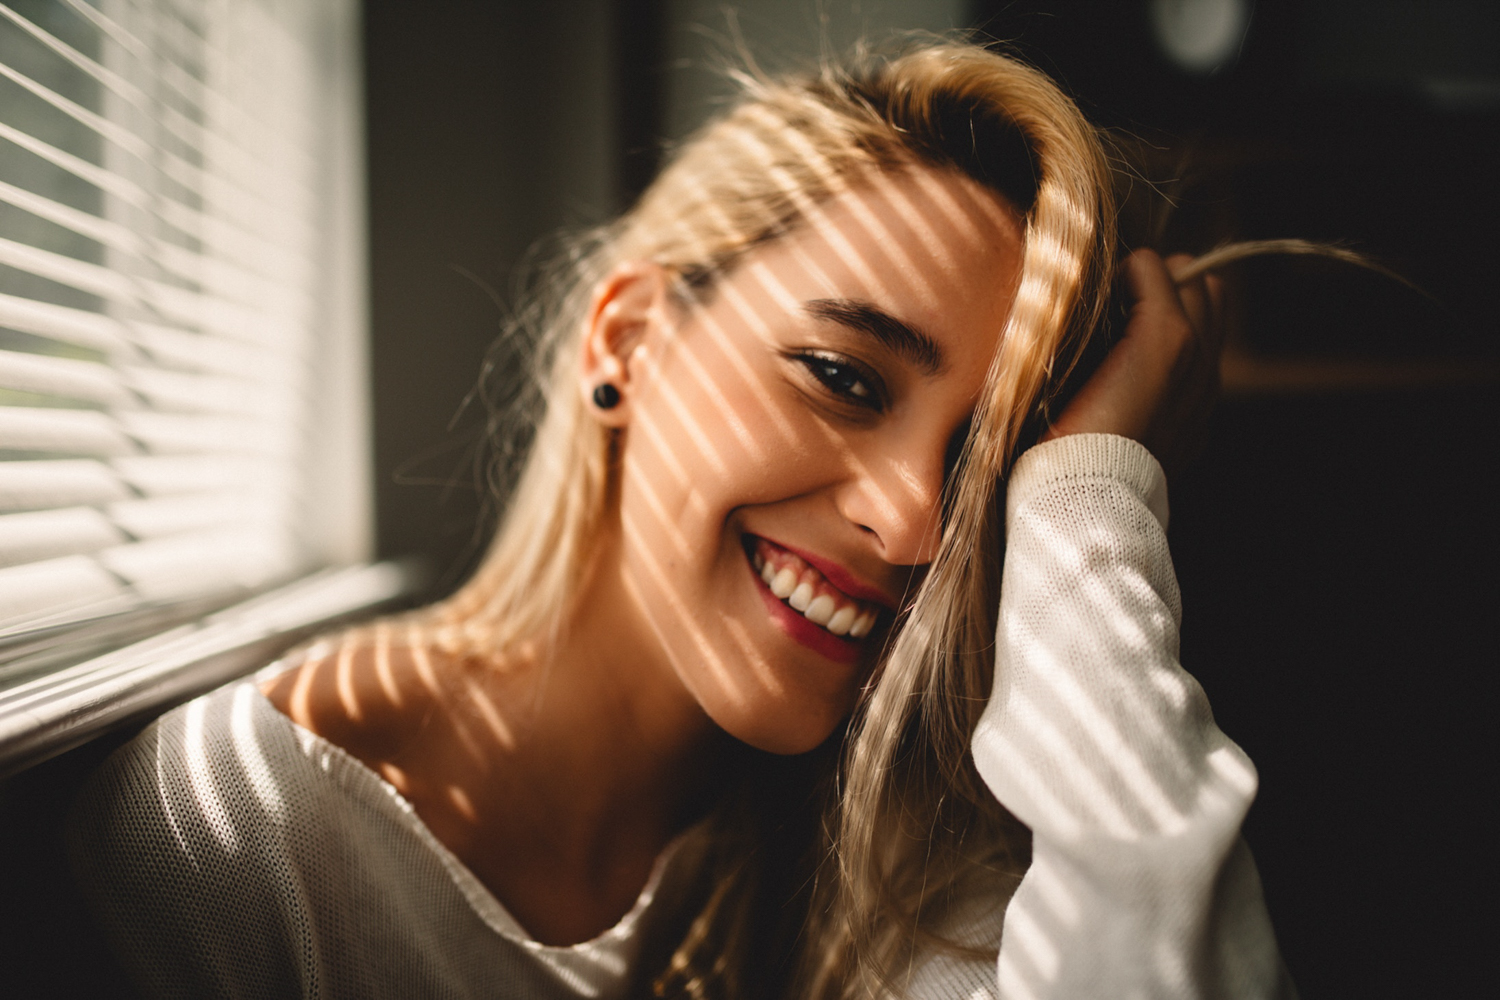
When you want to shoot indoors with natural light, place your subject next to a window. The direction of the sun and the characteristics of each light still play an important role, so time your session accordingly.
Shooting indoors with natural light can create a high contrast, where the lit part is usually a lot brighter than the other parts of the room. As with other hard light shots, to tackle this problem, you can place a reflector to bounce off the light from the window to the other parts that you desire.
Natural light and shadow photography
Shadows are not always bad. There are many ways how you can incorporate shadows to create unique images. A few examples:
- Use shadows to create a dark mood – the presence of shadows often set a dark mood, so why not do it deliberately? In portraits, it can be used to highlight the ‘hardness’ of a character or add a mystery, while in architecture or landscape photography, you can use it to add a story to the place you’re photographing
- Use it to add a sense of realism – shadows and lights add more 3D effects to a picture, so play with it to add depth and dimension to your images
- Use shadows to capture unique patterns and highlight textures – whether it’s the dappled light through the leaves on a model or unusual geometric patterns cast by the shadows of a building, you can be creative and use it to create extraordinary images
This article will give you more ideas for using shadows in your photography.
We have given an overview of using different types of lighting in your photography, and some tricks and effects you can use to work around some of the problems inherent with different times of the day.
We hope this article can help you understanding and mastering natural light photography, whether you’re doing phone photography or using your DSLR!
Love what you read? Be the first to receive a selection of our best photography resources. Sign up below to subscribe to our newsletter!


Be the first one to comment