


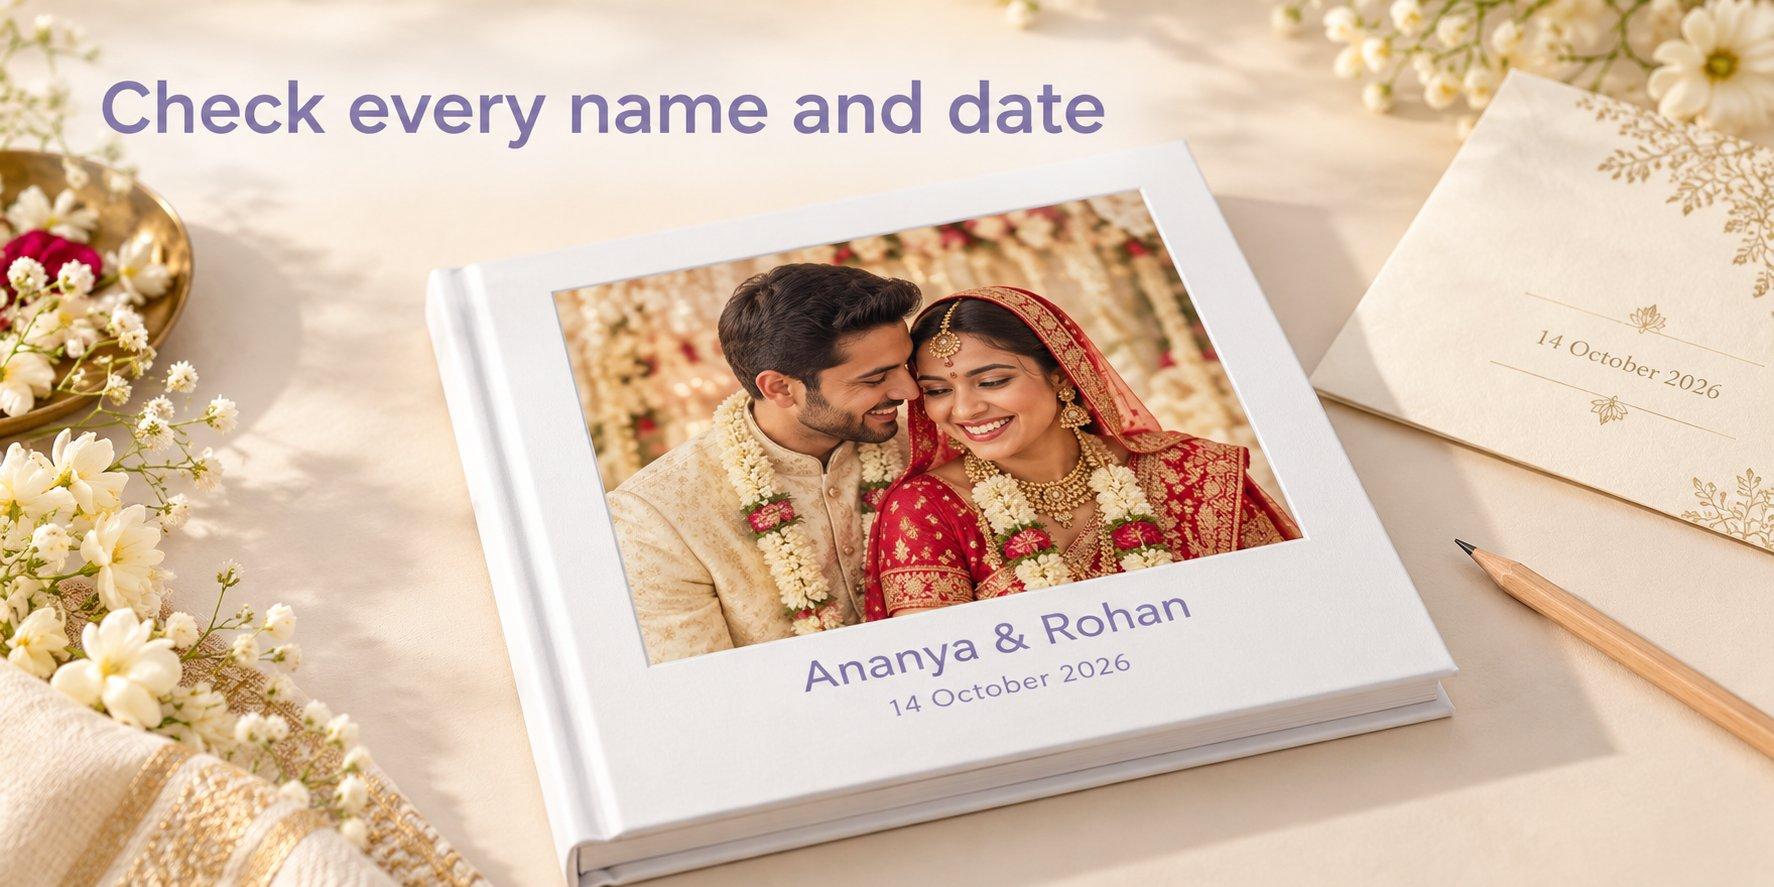


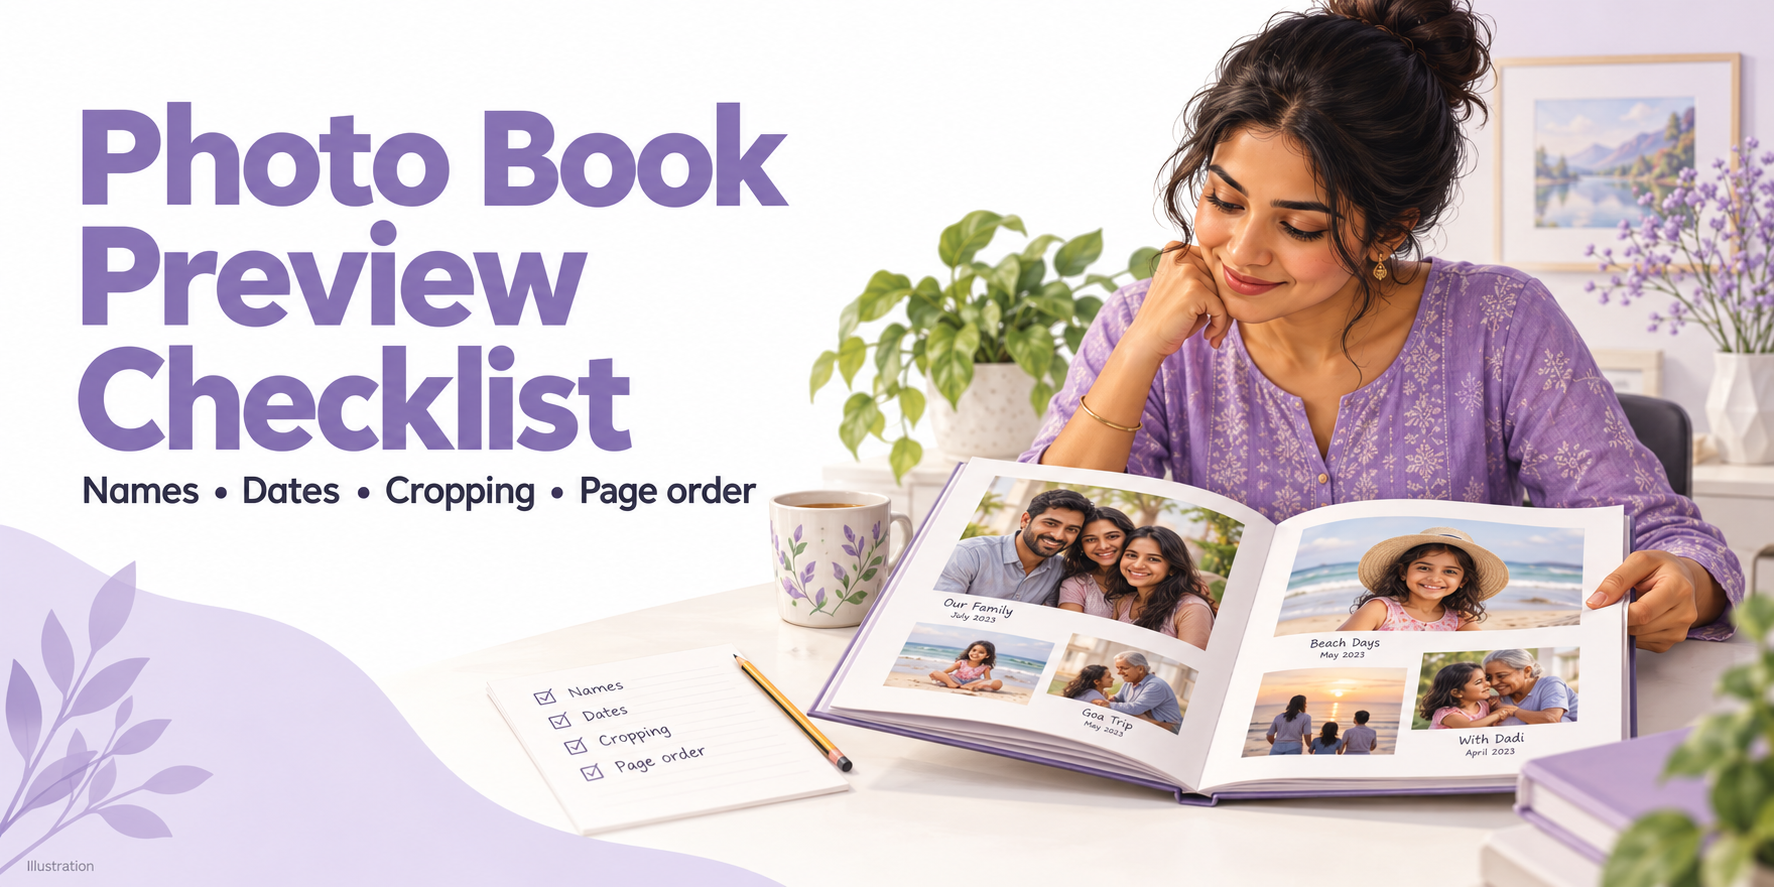
Before ordering a photo book, check every name and date, inspect the crop of each picture, and read the pages in their final sequence. Then check the cover, any empty spaces and the product details in your order. Repeat the preview after your last edit.
It is easy to spend ages choosing a cover photograph and still miss a wrong year beneath it. Or to notice, just before paying, that a group photo has lost the person standing at the edge.
Your photo book checklist before checkout
| Check | What to look for | What to fix before ordering |
|---|---|---|
| Names | Cover title, captions and dedications | Misspellings, missing names and inconsistent spellings |
| Dates | Event dates, years and milestone captions | Wrong years, swapped dates and unclear number formats |
| Photo crops | Faces, hands and details near frame edges | Cut-off subjects and pictures enlarged too far |
| Page order | Opening page, each spread and the ending | Missing moments, accidental repeats and misplaced pages |
| Text and spaces | Captions, backgrounds and photo frames | Unreadable text, sample wording and empty placeholders |
| Order details | Book format, size, quantity and delivery address | A different product or specification from the one you intended |
If you have not chosen a format yet, browse Photojaanic’s photo album book collection. Once you have a design underway, come back to this checklist before payment.
1 Check names as carefully as the cover photo
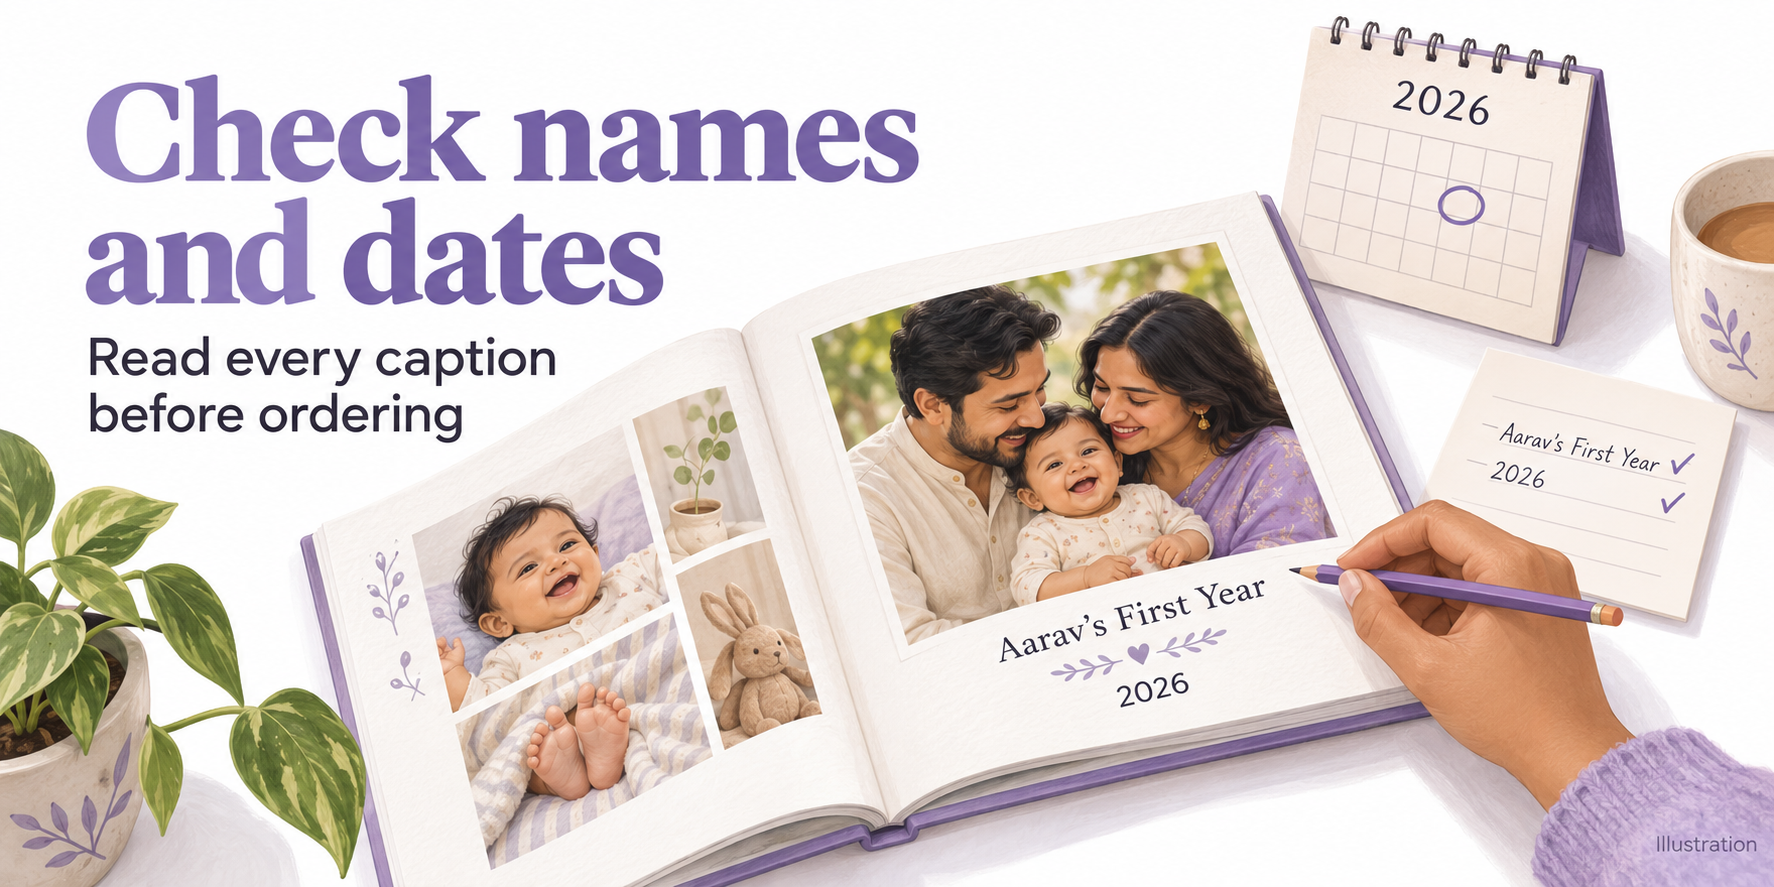
Start with the front cover. Read the title aloud, including any subtitle, name or year. Then check the back cover and every caption inside.
For names, use the spelling the person actually uses. A family nickname may be right for a birthday book; a wedding dedication may need a full name. If two relatives have similar names, check which person appears in each picture rather than relying on memory.
Look for small errors that are easy to skim past:
One missing letter in a surname.
A copied caption that still names someone from the previous page.
An apostrophe in the wrong place, such as “Aaravs First Year” when you intended “Aarav’s First Year”.
A template title that you meant to replace.
If you use Hindi, Tamil, Bengali, Marathi or another script, inspect the rendered words in the preview. Check that the chosen font displays every character correctly and that no characters appear as boxes or missing marks. Do not assume that text pasted successfully will display correctly in every font.
Ask someone who knows the names to read them once. Give them a specific task: “Please check the names and captions.” That is easier to act on than “Does the book look okay?”
2 Confirm dates against a reliable record
Check dates against the invitation, calendar entry or family record you trust. A photo’s file date can reflect when it was downloaded or edited, so it may not settle the question.
For a wedding book, make sure each caption refers to the right event. The engagement, mehendi and wedding may have taken place on different days. For a baby book, check that the age in the caption matches the milestone you are describing.
Writing the month in words can prevent confusion. “14 October 2026” is clear to a relative reading the book abroad as well as someone in India. A date such as “10/11/2026” can be read in more than one way.
Check the cover year separately from the dates inside. If a holiday began in December and ended in January, a title copied from your folder name may leave out part of the trip.
3 Inspect the crop of every photo
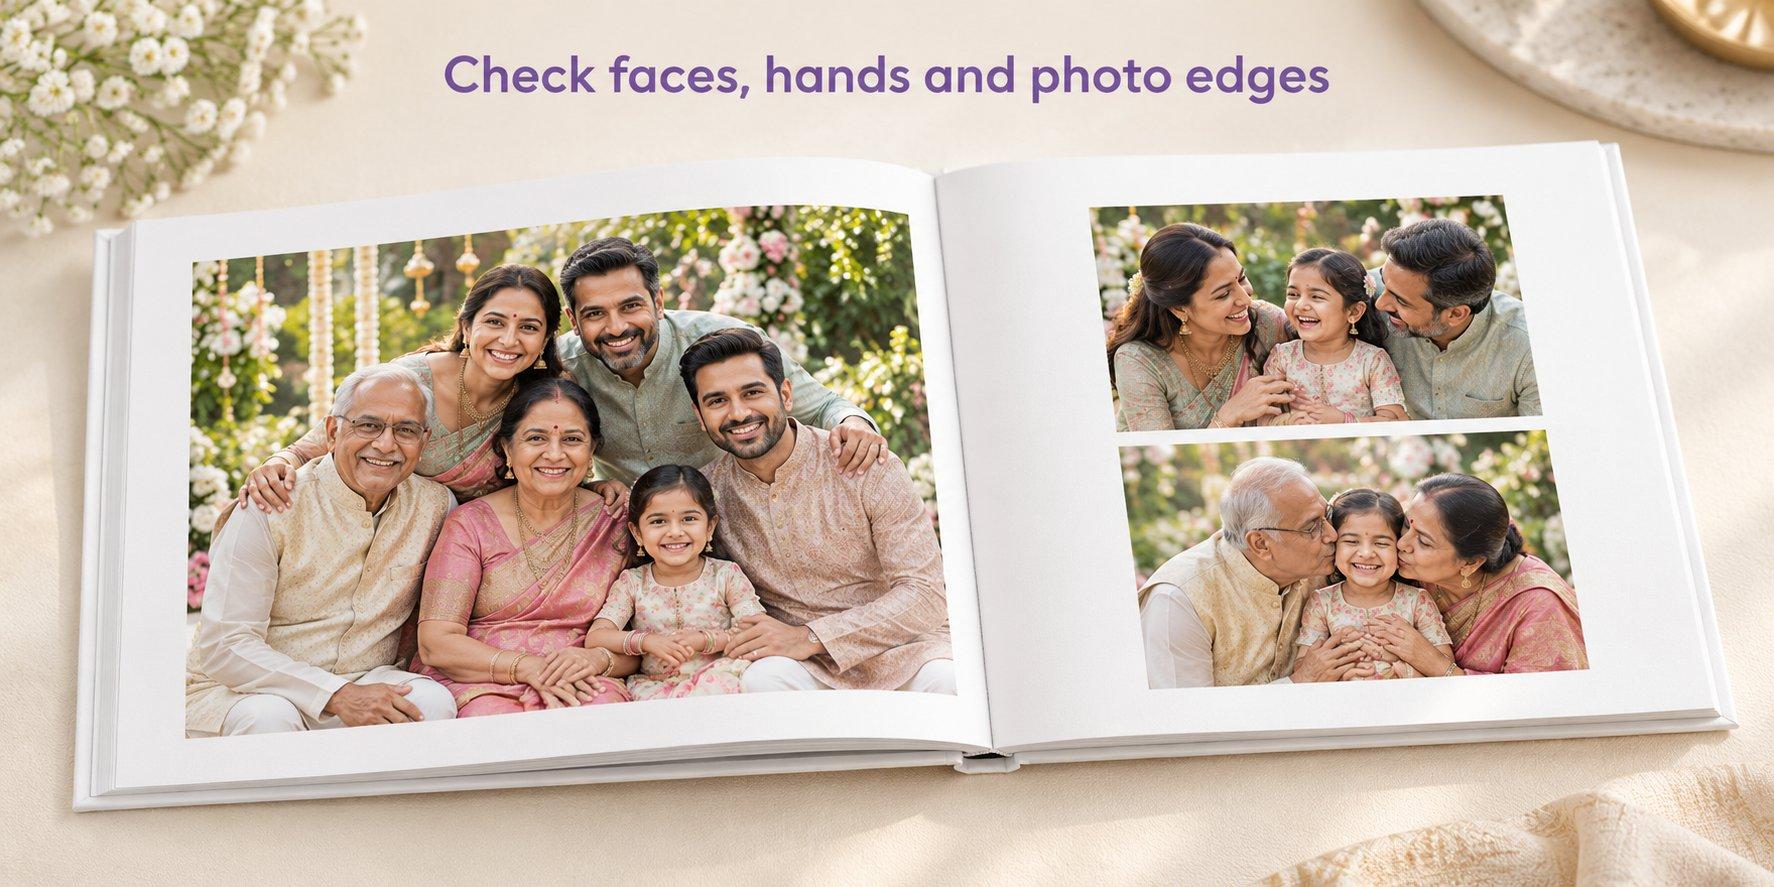
The picture in your gallery and the picture inside a page frame can show different amounts of the scene. A tall portrait placed in a wide frame may need part of the top and bottom removed. A wide group photograph placed in a square frame may lose people at either side.
Look at the actual placement in your design, rather than checking only the uploaded thumbnail.
For each photo, ask:
Can I see everyone’s face, including the people at the edges?
Have I cut through a hand, head or another detail I wanted to keep?
Does the picture still make sense after cropping?
Is any important detail too close to the outer page edge or the centre of the book?
If the crop feels cramped, try a frame with a different shape, reposition the photograph or show it with a border. Avoid enlarging a picture simply to fill a space if that makes the subject look soft.
For an edge-to-edge design, follow the product’s bleed and safe-area guidance. Bleed is the extra image area beyond the finished page edge that allows for trimming. Keep faces and text within the specified safe area. If those boundaries are unclear, ask support before ordering. An assumed margin in millimetres may be wrong for your chosen book.
At the centre of a spread, give important details room. Layflat binding can make wide photographs easier to view across facing pages, but it is still sensible to keep a face or a line of text away from the fold.
If you are choosing a format for wide scenes, compare the layflat photobook album options and check the selected product’s layout guidance before designing across a spread.
4 Check sharpness at the size you will print
A photo that looks fine as a small thumbnail may look soft when it fills a whole page. Inspect faces and other fine details in the original file, then consider how large you have placed it in the book.
If a favourite picture is blurry, use a sharper original if you have one. Otherwise, try a smaller placement and assess it again. Making a soft photograph smaller may make its limitations less noticeable, but it does not restore missing detail.
If the editor displays an image-quality warning, resolve it before ordering. The absence of a warning is not proof that every image will look sharp: focus, camera movement and compression also matter.
An on-screen preview helps you inspect the design. It is not a physical colour proof. Screen brightness, paper and the printing process can affect how the finished photographs look, so do not expect an exact match to a bright phone display.
5 Read the page order as a story
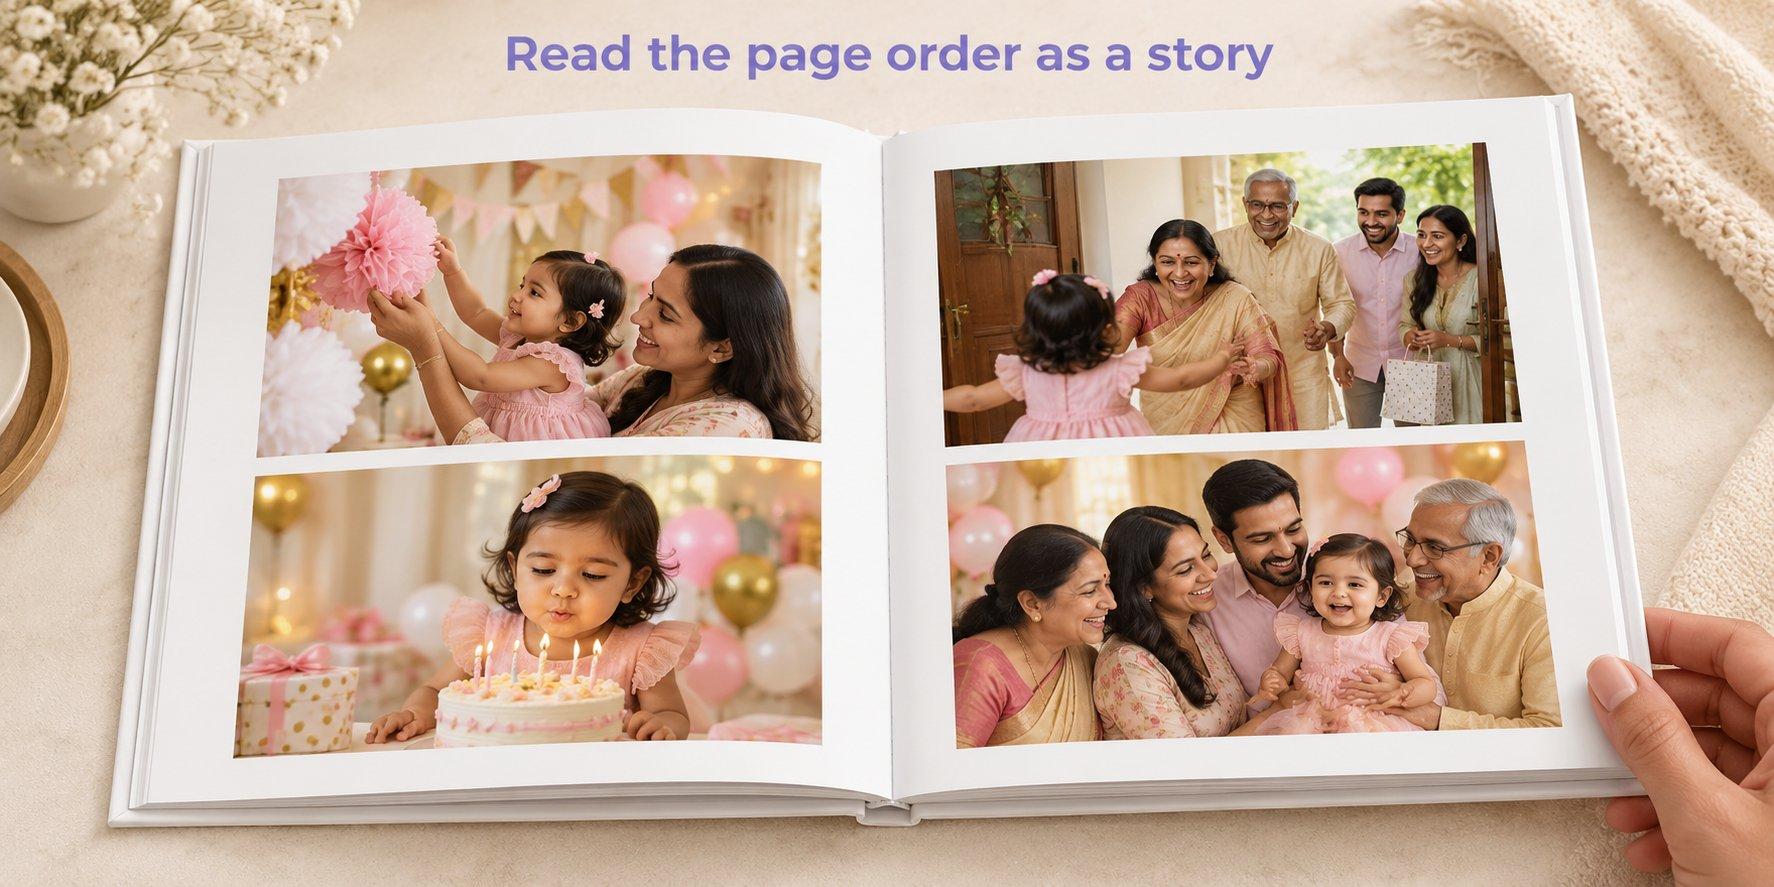
Turn through the design from the cover to the last page without stopping to edit. Notice where the story becomes confusing or where a moment seems to be missing. Make a short list, then return to fix those places.
Chronological order is a useful starting point. A travel book might move from the journey to the destination, then to the return home. A birthday book might begin with getting ready and finish with a family photograph after the celebration.
You can also arrange pictures by person or theme. What matters is that the order feels intentional to someone opening the book.
Check for:
An event appearing before the page that introduces it.
Two almost identical photographs used by accident.
A caption separated from the picture it describes.
A family member or important moment missing from the selection.
An ending that feels unfinished because the final picture was never added.
Treat a page as one side of a sheet and a spread as the two facing pages you see together. Inspect both the individual pages and the pairings. Two strong pages can still feel awkward together if the same photograph appears on both.
After moving a page, recheck the pages before and after it. Their captions and pairings may now need attention too.
6 Look for sample text and unfinished spaces
An intentional blank page can give a book breathing room. An empty photo frame usually means something was missed. Look at every space and decide which it is.
Check that template photographs, sample captions and placeholder dates have all been replaced. Look closely at decorative text: a small “Your Title Here” can disappear into the background while you are concentrating on the photos.
Read captions against the final image behind them. Pale text over a bright sky may be difficult to read, even if it looked clear on an earlier photograph. Check that longer captions fit their text boxes and that the last word has not been clipped.
If you reduce text to make it fit, consider shortening the caption instead. It should remain comfortable to read in the finished book, especially if you are giving it to someone who prefers larger type.
7 Recheck the cover and your chosen book format
The cover deserves its own final pass. Check the front and back, plus any editable spine text shown for your chosen book. If there is no spine text option, you do not need to add one.
Make sure the cover photo, title and date still match the book inside. A change from “Our First Year” to a book covering several years needs a corresponding cover update.
Confirm the size and binding you intended to order. An 8×8-inch book and an 8×11-inch book have different proportions; a layout prepared for one shape may need fresh cropping in another. If you change the format, review the whole design again.
For a rigid-cover format, see the custom hardcover photo book range and check the options for the specific theme you choose.
8 Preview again after your final correction
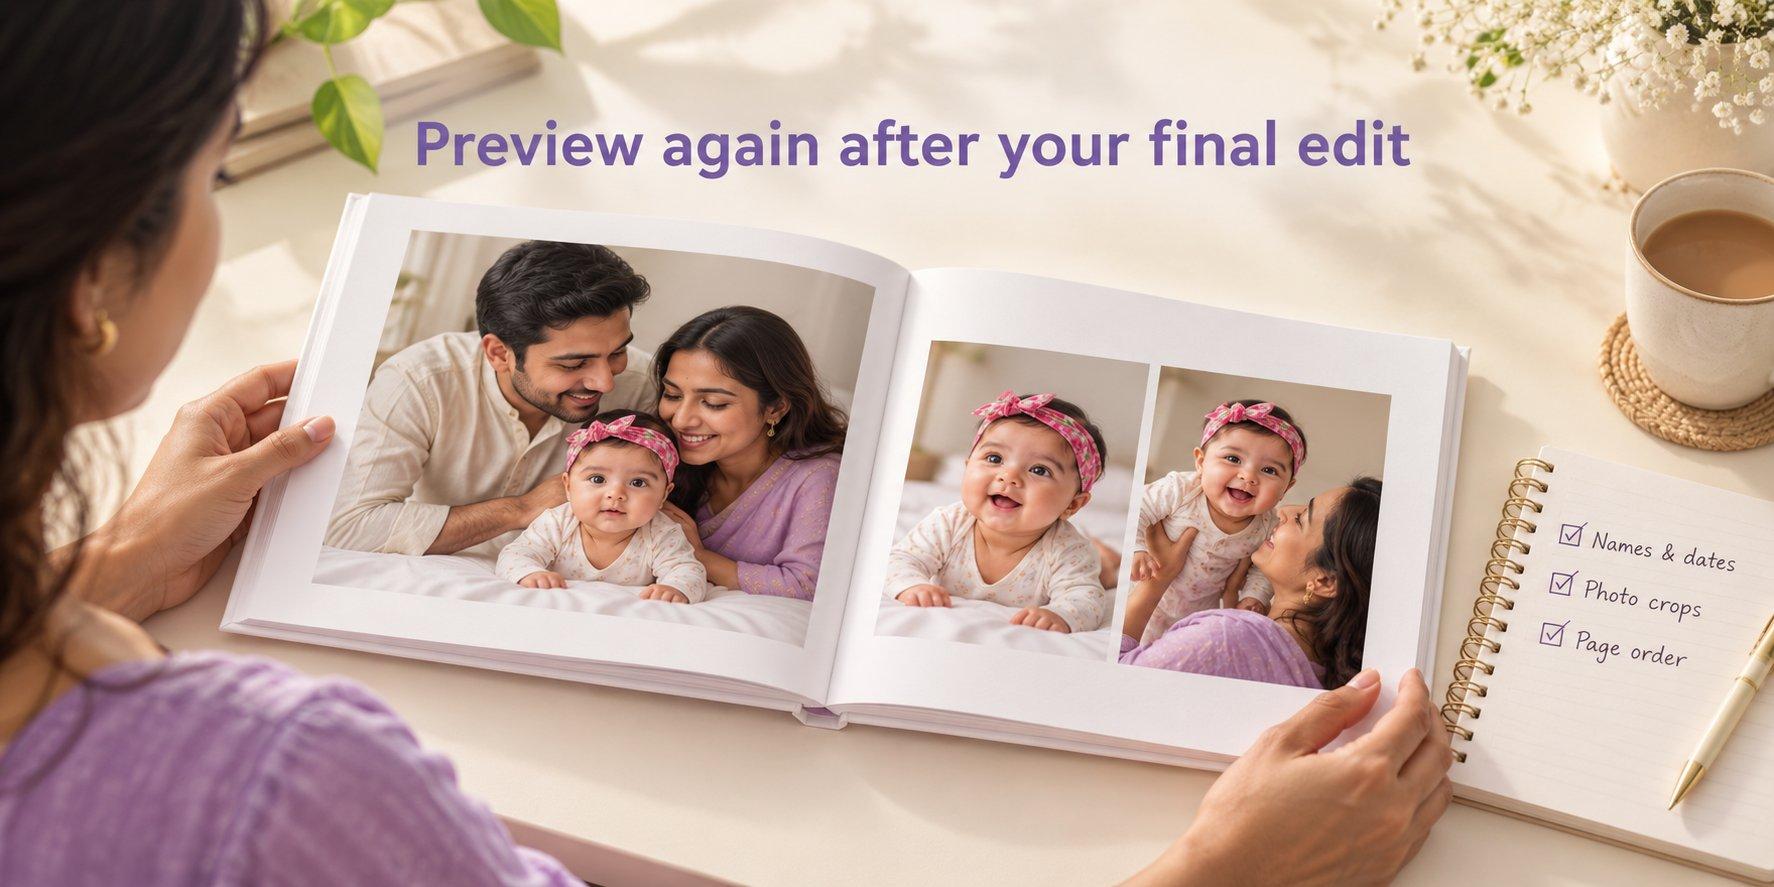
One last edit can create another small problem. A longer name can overflow a text box. A replacement photograph can change the crop. Moving a page can leave a caption in the wrong part of the story.
After making corrections, open the final preview again and review the changed pages along with the cover and page sequence. Make sure you are looking at the latest version of the design you intend to order.
Use this short final pass:
1. Read names, dates and cover text aloud.
2. Inspect photo edges, important details and text placement.
3. Turn from the opening page to the ending in order.
4. Confirm that every empty space is intentional.
5. Check the product and delivery details before paying.
At checkout, verify the book size, cover or binding, page count, quantity, delivery address and PIN code. Review the final payable amount, including any applicable taxes and delivery charges, and the delivery estimate offered for your location. Do not rely on an old promotion or a general delivery claim when ordering a gift for a particular date.
If something is unclear, resolve it before payment. Do not assume a spelling error or misplaced photo will be corrected automatically, or that a design can be changed after ordering.
Common questions about checking a photo book
What should I check before ordering a photo book?
Check names, dates, photo crops, image quality, page order, cover text and unfinished placeholders. Then confirm the book specifications, quantity, address, final amount and delivery estimate before payment.
Will the preview show exactly how my book will print?
Use the preview to inspect the layout and content. It cannot guarantee an exact physical colour match or turn a low-quality image into a sharp photograph. Follow any product-specific trim and safe-area guidance too.
Should I check the book again after changing one photo?
Yes. A replacement photo may have a different shape, crop or brightness. Recheck that page, its caption and the facing page before completing your order.
Can I correct a mistake after placing my order?
Do not rely on being able to edit an order once it has been placed. If you discover an error, contact Photojaanic support promptly to ask what is possible for that order. Check and correct the design before payment wherever possible.
Ready to make your book
Keep this checklist open while you give your design one final look. When the words, pictures and page sequence feel right, check your order details and continue.
Still choosing your book? Explore Photojaanic’s photo album printing options, select the format you want and use this checklist before placing your order.




Be the first one to comment